|
Thread Number: 23201
Turquoisedude strips.... Westy L5 cabinet |
[Down to Last] |
Post# 362101 7/6/2009 at 14:11 (5,404 days old) by turquoisedude  (.) (.) |
||

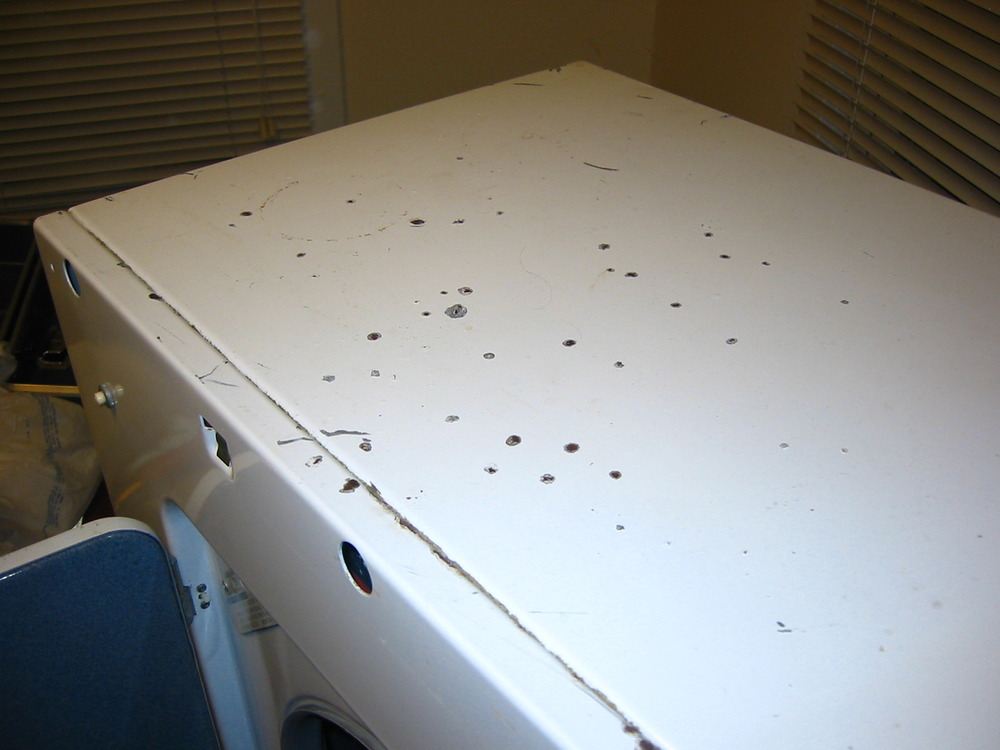
Well, I started to anyway. After spending a few hours grinding the several layers old paint off the top of the Westy (someone had brush-painted it at least twice!), hubby pointed out that maybe I didn't need to take it right down to the bare metal... What is the recommened approach for an appliance cabinet refinish? Sand the old finish just enough to rough it then prime and paint or get right down to metal?? After yesterday's attempt, I am already scared of trying to take on the GE Clothes Conditioner to turn it turquoise! 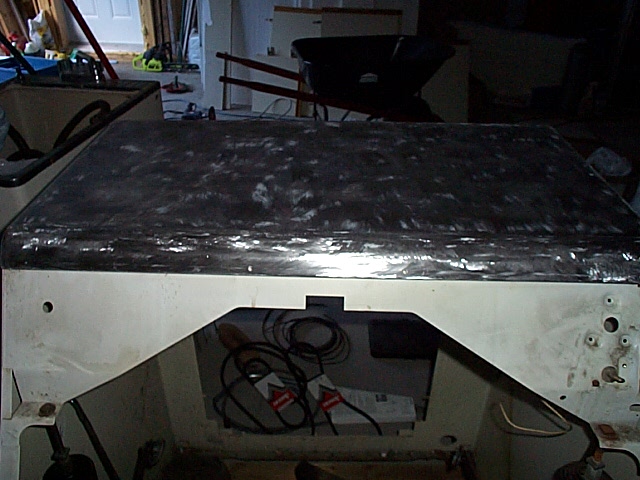
| ||

|
| Post# 362104 , Reply# 1 7/6/2009 at 14:22 (5,404 days old) by toploader55 (Massachusetts Sand Bar, Cape Cod) | ||
Hmmmmm... | ||
| Post# 362113 , Reply# 2 7/6/2009 at 14:55 (5,404 days old) by macboy91si (Frankfort, KY) | ||
Sanding
Well that depends, if you really want to start it right, then I WOULD take it to bare metal. You really need to make sure it's smooth and that you haven't gouged it by going that far in. A good primer coat however and some finer sandpaper and you can get that smoothness back. Bare metal is a lot of work, I usually just muck up the existing paint and get a good smooth adhering surface. You couldn't pull what you've done off on newer appliances, you'd go through the metal :P Just curious, what did you use to remove the paint? As long as you're committed to the project you'll do just fine. I have a Maytag dryer that's going to need some major bodywork myself, it's been painted over a few times and there are pits in the paint all the way down to the metal. -Tim | ||
|
Post# 362120 , Reply# 3 7/6/2009 at 15:08 (5,404 days old) by turquoisedude (.) |
||
|
Westy dryer on the Cape
Oh, Eddie, don't tempt me! You KNOW I want it... BUT, I am going to be strong since it's a later model than the washer I have. The worst is that I did see the matching dryer about 2 years ago in a thrift store and I thought "HMPF - Like I'll ever be able to find a matching washer to that". Hindsight is 20-20...
| ||
|
Post# 362123 , Reply# 4 7/6/2009 at 15:12 (5,404 days old) by turquoisedude (.) |
||
|
Sanding
Tim, I used a piece of fairly coarse sandpaper on a disc attachment for the electric drill. I did notice that the metal is 'swirled' in some places where, but I figure that a couple of primer and paint coats will fix that. The lid that I sanded was probably the worst part of the machine; despite evidence of serious water leaks over the years, the lower front and door panels are pretty good! Any advice on other tools I could use and what grade of sandpaper I should be using?? The Maytag sounds like a big project! Are you going to keep the original colour or change it?? | ||
| Post# 362133 , Reply# 5 7/6/2009 at 15:57 (5,404 days old) by macboy91si (Frankfort, KY) | ||
|
Tools and the Maytags
I don't generally use tools unless I have to, I learned to work with hard tools when I was younger and it sort of stuck with me. Once the primer coats start going on, I start with a 200 range and work up to wet-sanding 800-1000 depending on the finish I want. The little yellow Maytag A-50 was the labor of 800 grit hand wet-sanding with about 5-7 coats of "Bauhaus Gold" Krylon. No wax or top coat, I think it turned out good and it's tough. Everyone I think has a different approach though. The dryer is a Maytag DE-50 dryer. It was installed on a boat for years and appears to have at least 2 coats on it. Original color of the machine is white, as was the matching A-50 I picked up with it. The washer cleaned up pretty well, so I think I'll leave it white. I'll have to take it apart pretty far to paint it, so it's been on the back burner. Mechanically it works wonders, I discovered it's a mini "Halo of Heat" model which I think is soooo cool. Does a full load in under 60 minutes on 110v. Here is a pic of the 1st A-50 I acquired, it was originally white, but a well beaten and smacked around white. I'll post a pic of the dryer a little later when I unload my camera. -Tim Also there's a link to the progress of painting the A-50 CLICK HERE TO GO TO macboy91si's LINK 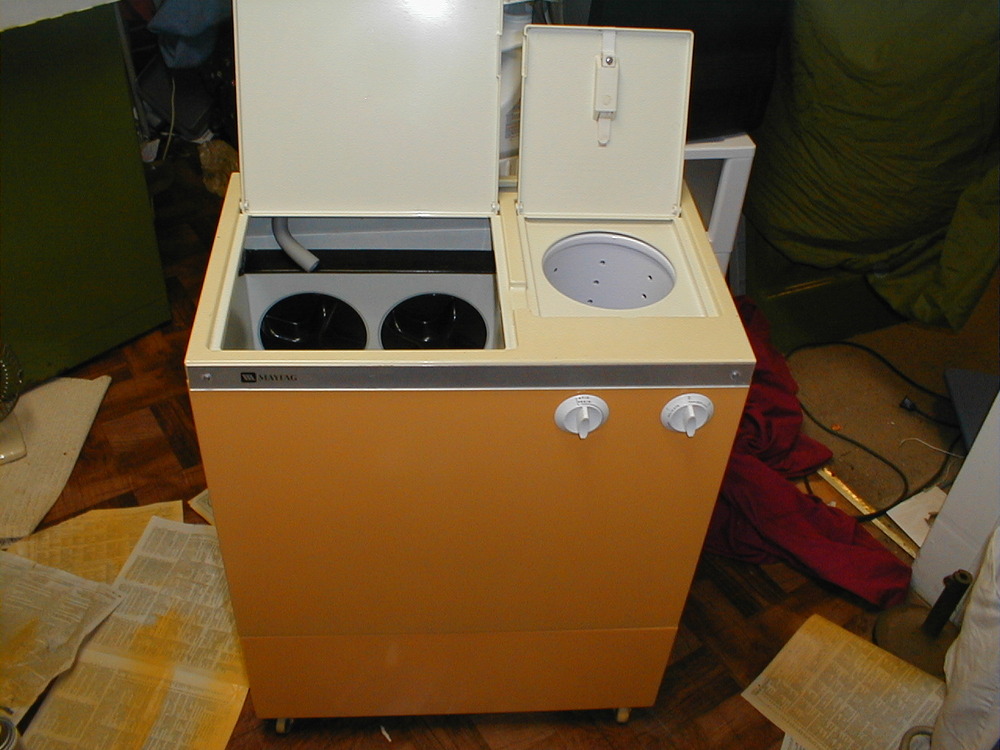
| ||
| Post# 362159 , Reply# 7 7/6/2009 at 17:23 (5,404 days old) by qsd-dan (West) | ||
|
How far down are you going to tear the machine apart? If you're taking the entire machine apart, I would take the parts to a sandblaster. If you want to powder coat it, most powder coating outfits will sandblast as SOP before powder coating since the surface must be 100% clean and free of dirt, rust, oils, and previous paints, ect.
| ||
| Post# 362185 , Reply# 8 7/6/2009 at 20:04 (5,404 days old) by macboy91si (Frankfort, KY) | ||
|
Maytag DE-50 Dryer | ||
| Forum Index: | 
| Other Forums: |

|

|

|

|

|

 Comes to the Rescue!