|
Thread Number: 32591
Mark's DE606 rebuild |
[Down to Last] |
Post# 491430 1/25/2011 at 13:36 (4,833 days old) by akronman  (Akron/Cleveland Ohio) (Akron/Cleveland Ohio) |
||
Guys--- I stole TONS of info from a day old thread on Turquoisedude's DE306, but all my pics thrown in there can get confusing between the 2 rebuilds.
I installed the new gasket, and am halfway thru ordering a felt seal for the front of the drum, and a timer knob cap (missing since day one of my possesion of this machine.) Before I place final?? parts order------there's a felt ring, approx 2 inch diameter OD, around the shaft at hind end of the blower housing. I can't find one online, maybe just wipe out the housing carefully and leave existing one intact and dry, just dust it off? Pictures attached. It doesn't look bad, I'll be carefull when cleaning the housing, i think. There was a dead mouse inside, I put it in the garbage can before pictures, sorry. Snap ring pliers haven't arrived from $2.99 Ebay yet, so the drum and shaft are all still installed, I can work on other issues for a day or two before tackling that aspect of lubing. Motor---it's a square one---I'll have better access in a few days, just a few drops of oil on bearings at each end? I'm a good electrician, but my knowledge of motors is just get the wires back exactly as before, after a few drops in the correct little oil cups like my furnace, but this motor doesn't have those cups. Advice? By the way, is everything on this machine 120 volts except for heater coil? Idler pulley? Sliding mechanism: to lube----plain old white lithium grease? Thermostats, 2 in blower housing and one inside the Halo-----de-wire and de-lint, wipe inside surface with a damp cloth, re-install? You guys in last 2 days, and Turquoise thread and Volvo's rebuild from last year have been very helpful, thanks. This dryer ran fine except for that door gasket, I'm hoping these lubes and rejuvenations and advice will get me years of good service. When I was happily stuck on a Hoover Twin tub and Easy SPindrier and Speed Queen wringer, I used my recent Kenmore gas dryer and paid no attention to dryers. Now that I have a fine Maytag A608 washer, I just had to jump on the first matching dryer, gas or electric, and this one ran well from day one about 2 weeks ago. Come summer and better than 53 degress in the basement, it'll be fun to get back to them again. Just too damn cold on the fingers! 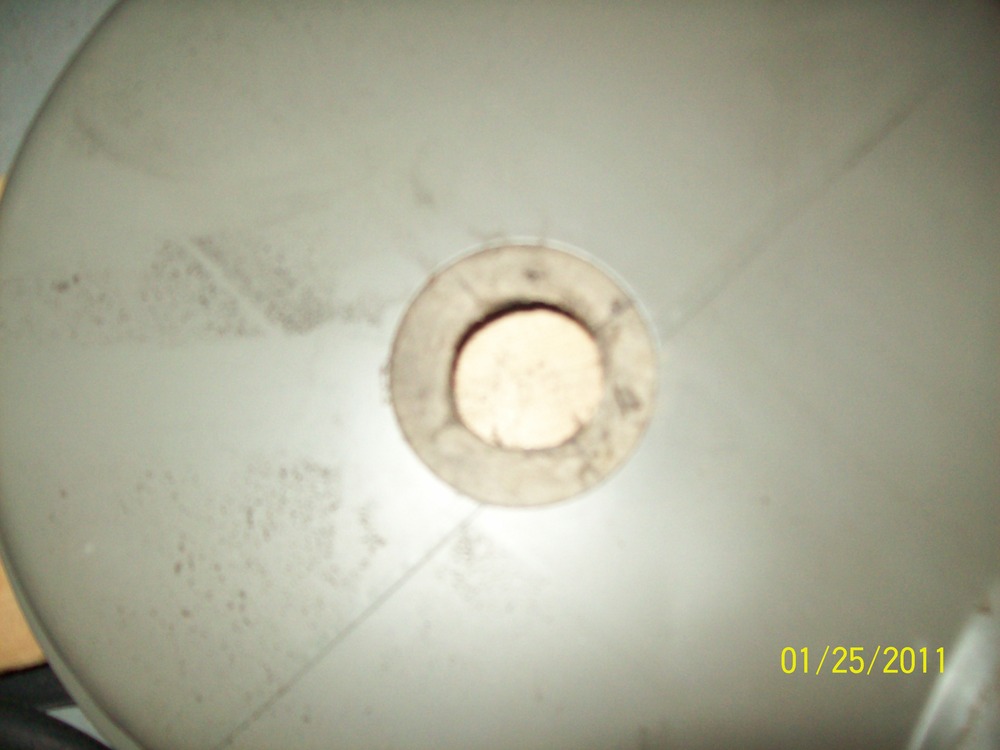
| ||

|
|
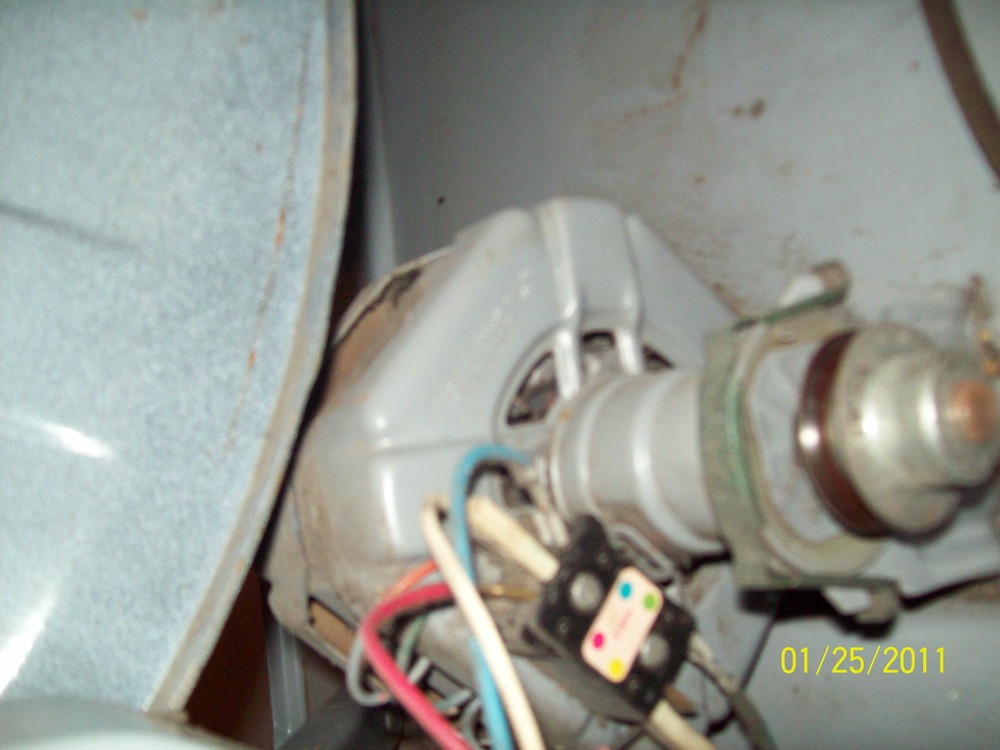
Post# 491432 , Reply# 1 1/25/2011 at 13:42 (4,833 days old) by akronman (Akron/Cleveland Ohio) |
||
|
DE606 motor | ||
|
Post# 491637 , Reply# 2 1/26/2011 at 12:16 (4,832 days old) by turquoisedude (.) |
||
A couple more answers
Mark,
If it helps, I didn't have that felt ring or gasket on the DE306's blower housing. If you can dust off the existing one and keep it, it should be fine. For the voltage, the motor, timer, and any lights would be 120 volts; the heating element and thermostats would be 240 volts. Idler pulley - I used that white lithium grease when I reassembled mine - I think that should be OK... I just brushed the lint off of the thermostats with a dry paintbrush. Funny that your model has the square motor - I wonder if may have been replaced at some point... Not sure where or how to oil a motor like this, though! The felt seal at the front of the drum probably got baked until it crumbled, like mine did. I think replacement is a wise idea to protect the element! If you haven't already found one, I got mine NOS off of eBay. Keep up the good work!! | ||
|
Post# 491645 , Reply# 3 1/26/2011 at 12:53 (4,832 days old) by akronman (Akron/Cleveland Ohio) |
||
|
DE606 motor
Thanks Turq----I think you may be right on a replaced motor, the contact block has all sorts of labelling on the wires, like a proper electrician wanted to know he got it right. I'll have a better look in a few days once my snap ring pliers arrive for proper removal of the drum.
Felt seal already on order, around $10 on PartSelect.com. Once parts arrive, I'll post pics and questions, thanks for input so far-- Mark | ||
| Post# 491759 , Reply# 4 1/26/2011 at 23:12 (4,831 days old) by beekeyknee (Columbia, MO) | ||
DE606 Motor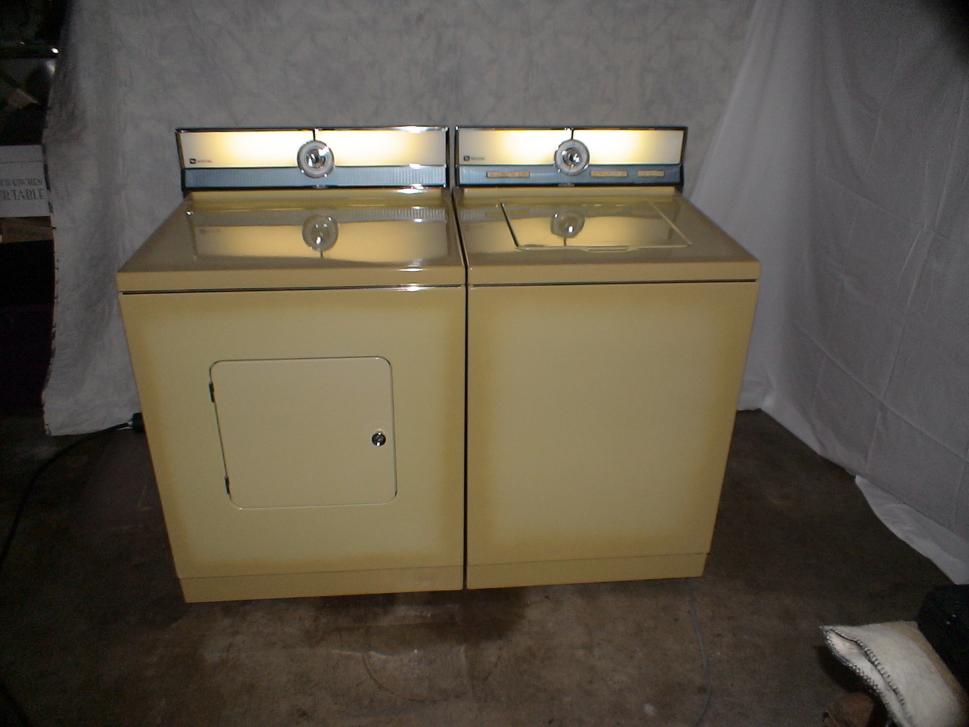
Mark,
That motor probably has sealed bearings. If you can find where the shaft enters the bearings, you could try a couple of drops of Zoom Spout there, but if it doesn't absorb, be prepared to wipe it off. Vacuum off the dust, then blow the rest out with an air compressor, if you have one. If you don't have an air compressor you can turn your vacuum cleaner into a blower. Make sure there's no residual dust in the hose. You don't want to blow dust into the motor. Check the centrifugal switch is moving freely by moving it back and forth on the shaft, if you can get to it. Get behind it and gently push it toward the end of the motor. Stay out of the way of it's moving parts as you operate it. Most people on here don't talk about these switches, but if one gets stuck it will burn the motor up. | ||
|
Post# 492110 , Reply# 5 1/28/2011 at 13:47 (4,830 days old) by akronman (Akron/Cleveland Ohio) |
||
|
More DE606 rebuild info
Thanks beekeyknee and turquoisedude and others, so far so good.
I finally got the snap ring pliers and removed the drum (that snap ring has TINY holes, had to go back to Sears for a smaller set.) I oiled up all bearings and inside the sleeve bearings very nicely, then grease on that idler pulley plate, all of that is now reassembled. While I had the motor off, I blew out dust, did a few drops of oil on the pulley end of the shaft, under the pulley towards the motor, but that seemed like the only oiling places. Also, I could see inside where the centrifugal switch is, and with bright lights and minimal oil, I got a drop on the friction points there. The inside of the drum, at the blower, behind the final filter and grille, was JAMMED with lint and crap, amazing, airflow must have been down by 50%. That's now all clean, dead mouse removed also. I'm still waiting about 3 days on the back-ordered felt seal for front of drum, but fired her up dis-assembled anyhows. The airflow out the vent is about double what is was before, I am expecting faster dry times and efficiency like never before. Well, like not in 35 years since she was this clean and new. Only question before the felt seal for the drum front arrives--------is it sticky? Has glue on it? Or please suggest some hi-temp adhesive. It sounds like they definetely do wear and get plenty hot, but I at least want the rebuild to start out correct. So for a 35 year old machine, all sleeves and bearings are still shiny and smooth, tons of lint and dirt has been removed from everywhere, and I just need a bit of advice on gluing that front felt seal. Thanks Mark | ||
|
Post# 492117 , Reply# 6 1/28/2011 at 14:17 (4,830 days old) by Volvoguy87 (Cincinnati, OH) |
||
Adheasive.
You'll need a tube of Maytag High Temperature Adhesive for this. Others might work, but I bought the tube of Maytag stuff and it worked like it's supposed to, and it's pretty cheap.
You might be able to find a better price, Dave CLICK HERE TO GO TO Volvoguy87's LINK | ||
| Post# 492559 , Reply# 7 1/30/2011 at 02:36 (4,828 days old) by beekeyknee (Columbia, MO) | ||
|
Applying High Temp Adhesive
Wrap your new seal around the outside lip of the drum to see if it fits first. Make sure the lip is clean and dry. You could buff it with some fine steel wool and then dust the drum inside and out and/or wipe the edge with lacquer thinner.
Put the drum on the floor or work bench, put down a big piece of cardboard to protect the porcelain, take your high temp adhesive and place a generous bead around half the drum edge and spread the bead to cover the lip. Turn the drum 180 degrees and do the other half. Have your felt ready to go. Don't dawdle. Clean the glue off your fingers. The glue should be slightly tacky where you started the leading edge on the half you coated first. Place the felt, cover the lip and press and smooth as you go. Don't stretch it much, though. Keep your unattached felt away from the glued lip as you go round. Attach with one hand and feed with the other. Go one way or the other, depending whether you're right or left handed. If you have a helper, they can assist in holding the felt. When you checked you length of felt for the perimeter, if it was a bit short you might want to stretch a bit, if it was long, vice versa. I think there's usually plenty. When you get to the ends they should butt together. If the end is too long, cut it off square and butt it. If you want to put a dab of glue on the end before you butt it, you can. Wipe off any excess. Clean your fingers. Run your fingers gently around the perimeter, pressing to insure good contact. Be careful about pulling or pushing on the felt until it's completely dry. You don't want it to shift. When you finish, the felt should be sticking straight out away from the drum. The key to success is getting the felt on while the glue is still tacky to insure a tight bond. A bead of glue will drip. That's why I suggested coating half and turning. Wear old clothes. I got some on my pants and it doesn't come out. Good Luck. Brian | ||
| Post# 492560 , Reply# 8 1/30/2011 at 02:48 (4,828 days old) by beekeyknee (Columbia, MO) | ||
|
Oh, the glue.
Any high temp adhesive will do. Maycor made it, FSP makes it, and I think 3M makes it. Check your local appliance stores and appliance parts stores. Our local Maytag Outlet gave me a tube. He said every seal they get comes with one. Your Mom and Pop type stores will usually help you more. There's an old boy in Cleveland that would have it. Don't remember his name though. Somebody on here knows it, I'm sure.
| ||
|
Post# 492669 , Reply# 9 1/30/2011 at 16:04 (4,827 days old) by akronman (Akron/Cleveland Ohio) |
||
|
DE606
Thanks very much for advice. The local Maytag dealer, 20 miles away and 2 minutes before closing, said to get any hi-temp glue from an auto-parts store, it was easy to use and the felt gasket is on perfectly.
So now I have a matched, lubed, rebuilt, painted, cleaned Maytag set, 1979 A608 washer with a 1975 DE606 dryer. Pictures follow. So this makes the collection: Speed Queen wringer, Hoover #0519 Twin Tub, Easy SPindrier, 70's full size Maytag set, recent Kenmore 800 Gas dryer, and recent Home Depot Admiral TL. I think my next spending on laundry things should be some added plumbing/drainage/tubs, frankly, it's a maze of crapola for now, but no leaks. Then what additional machines float my boat? I'll keep my eyes peeled for a late 60's/early 70's Frigidaire with the up/down agitation(Mom had one of that era) or an old 60's Kenmore(Mom again, I remember a studded agitator top for scrubbing clothes, the Kenmore K was in the center of it, covered with a removable plastic measuring cup. And there was a lint filter in the machine top, just under the front right corner of the lid.) While I'm remembering, late 60's, my mother was on a tight budget and always used some soap/detergent tablets, one per load, because the box always included a new washcloth. Any idea what that brand was? Each tablet was probably 1/2 cup. We also drank out of jelly jars, Mom was pretty resourceful( and broke) for raising 7 kids. Also, that lint filter you see was jammed, crusted, gross, dishwasher didn't help, finally a bottle of CLR and that fingernail brush pushed thru all the holes, took about a half hour and now perfectly clean and working. Again, thanks to about a dozen folks here for advice on the washer then the dryer, quiet smooth operating machines now. I'm actually glad they were both plain old white, it was very easy to repaint where neeeded. I'd personally hate to try to re-do some of the shaded and colored machines I've seen, my hat's off to those who can. 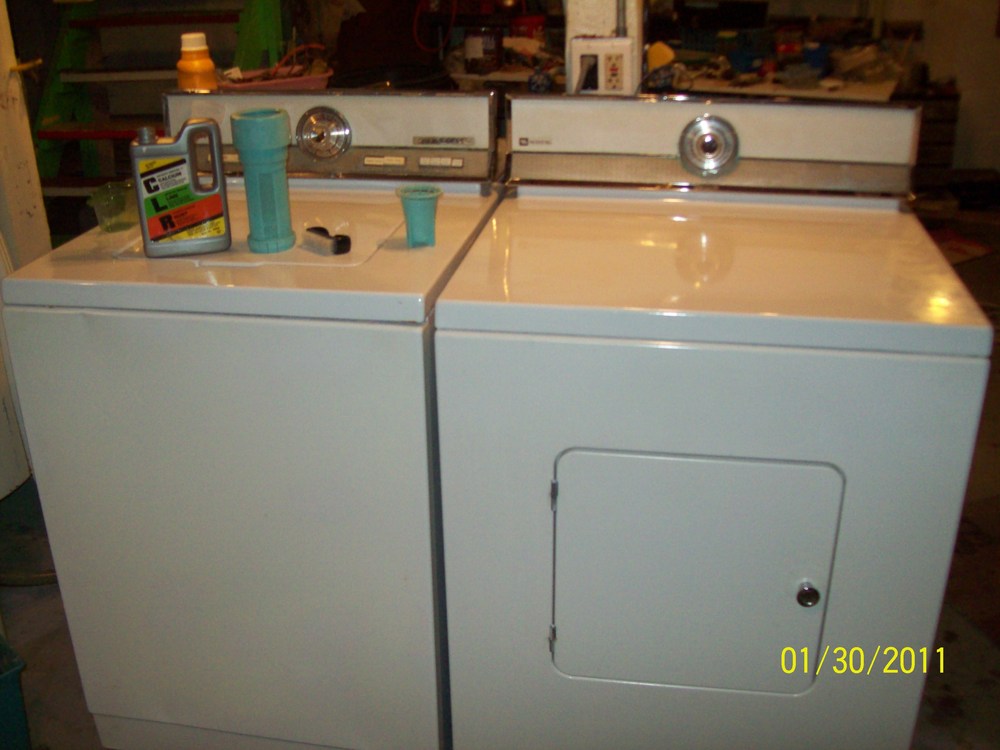
| ||
|
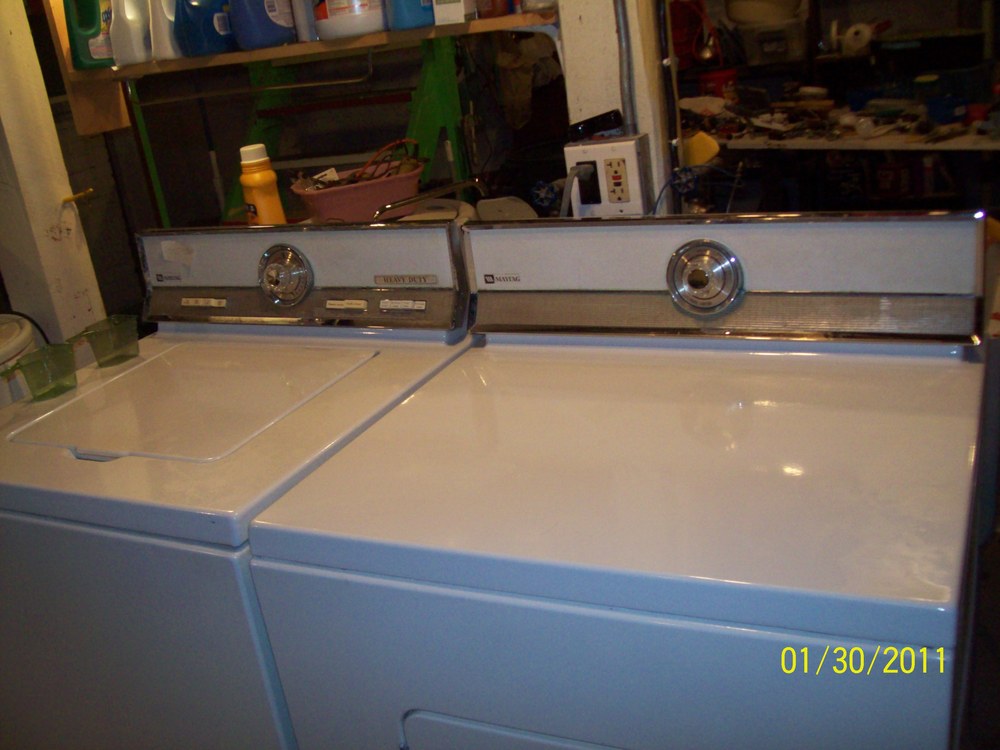
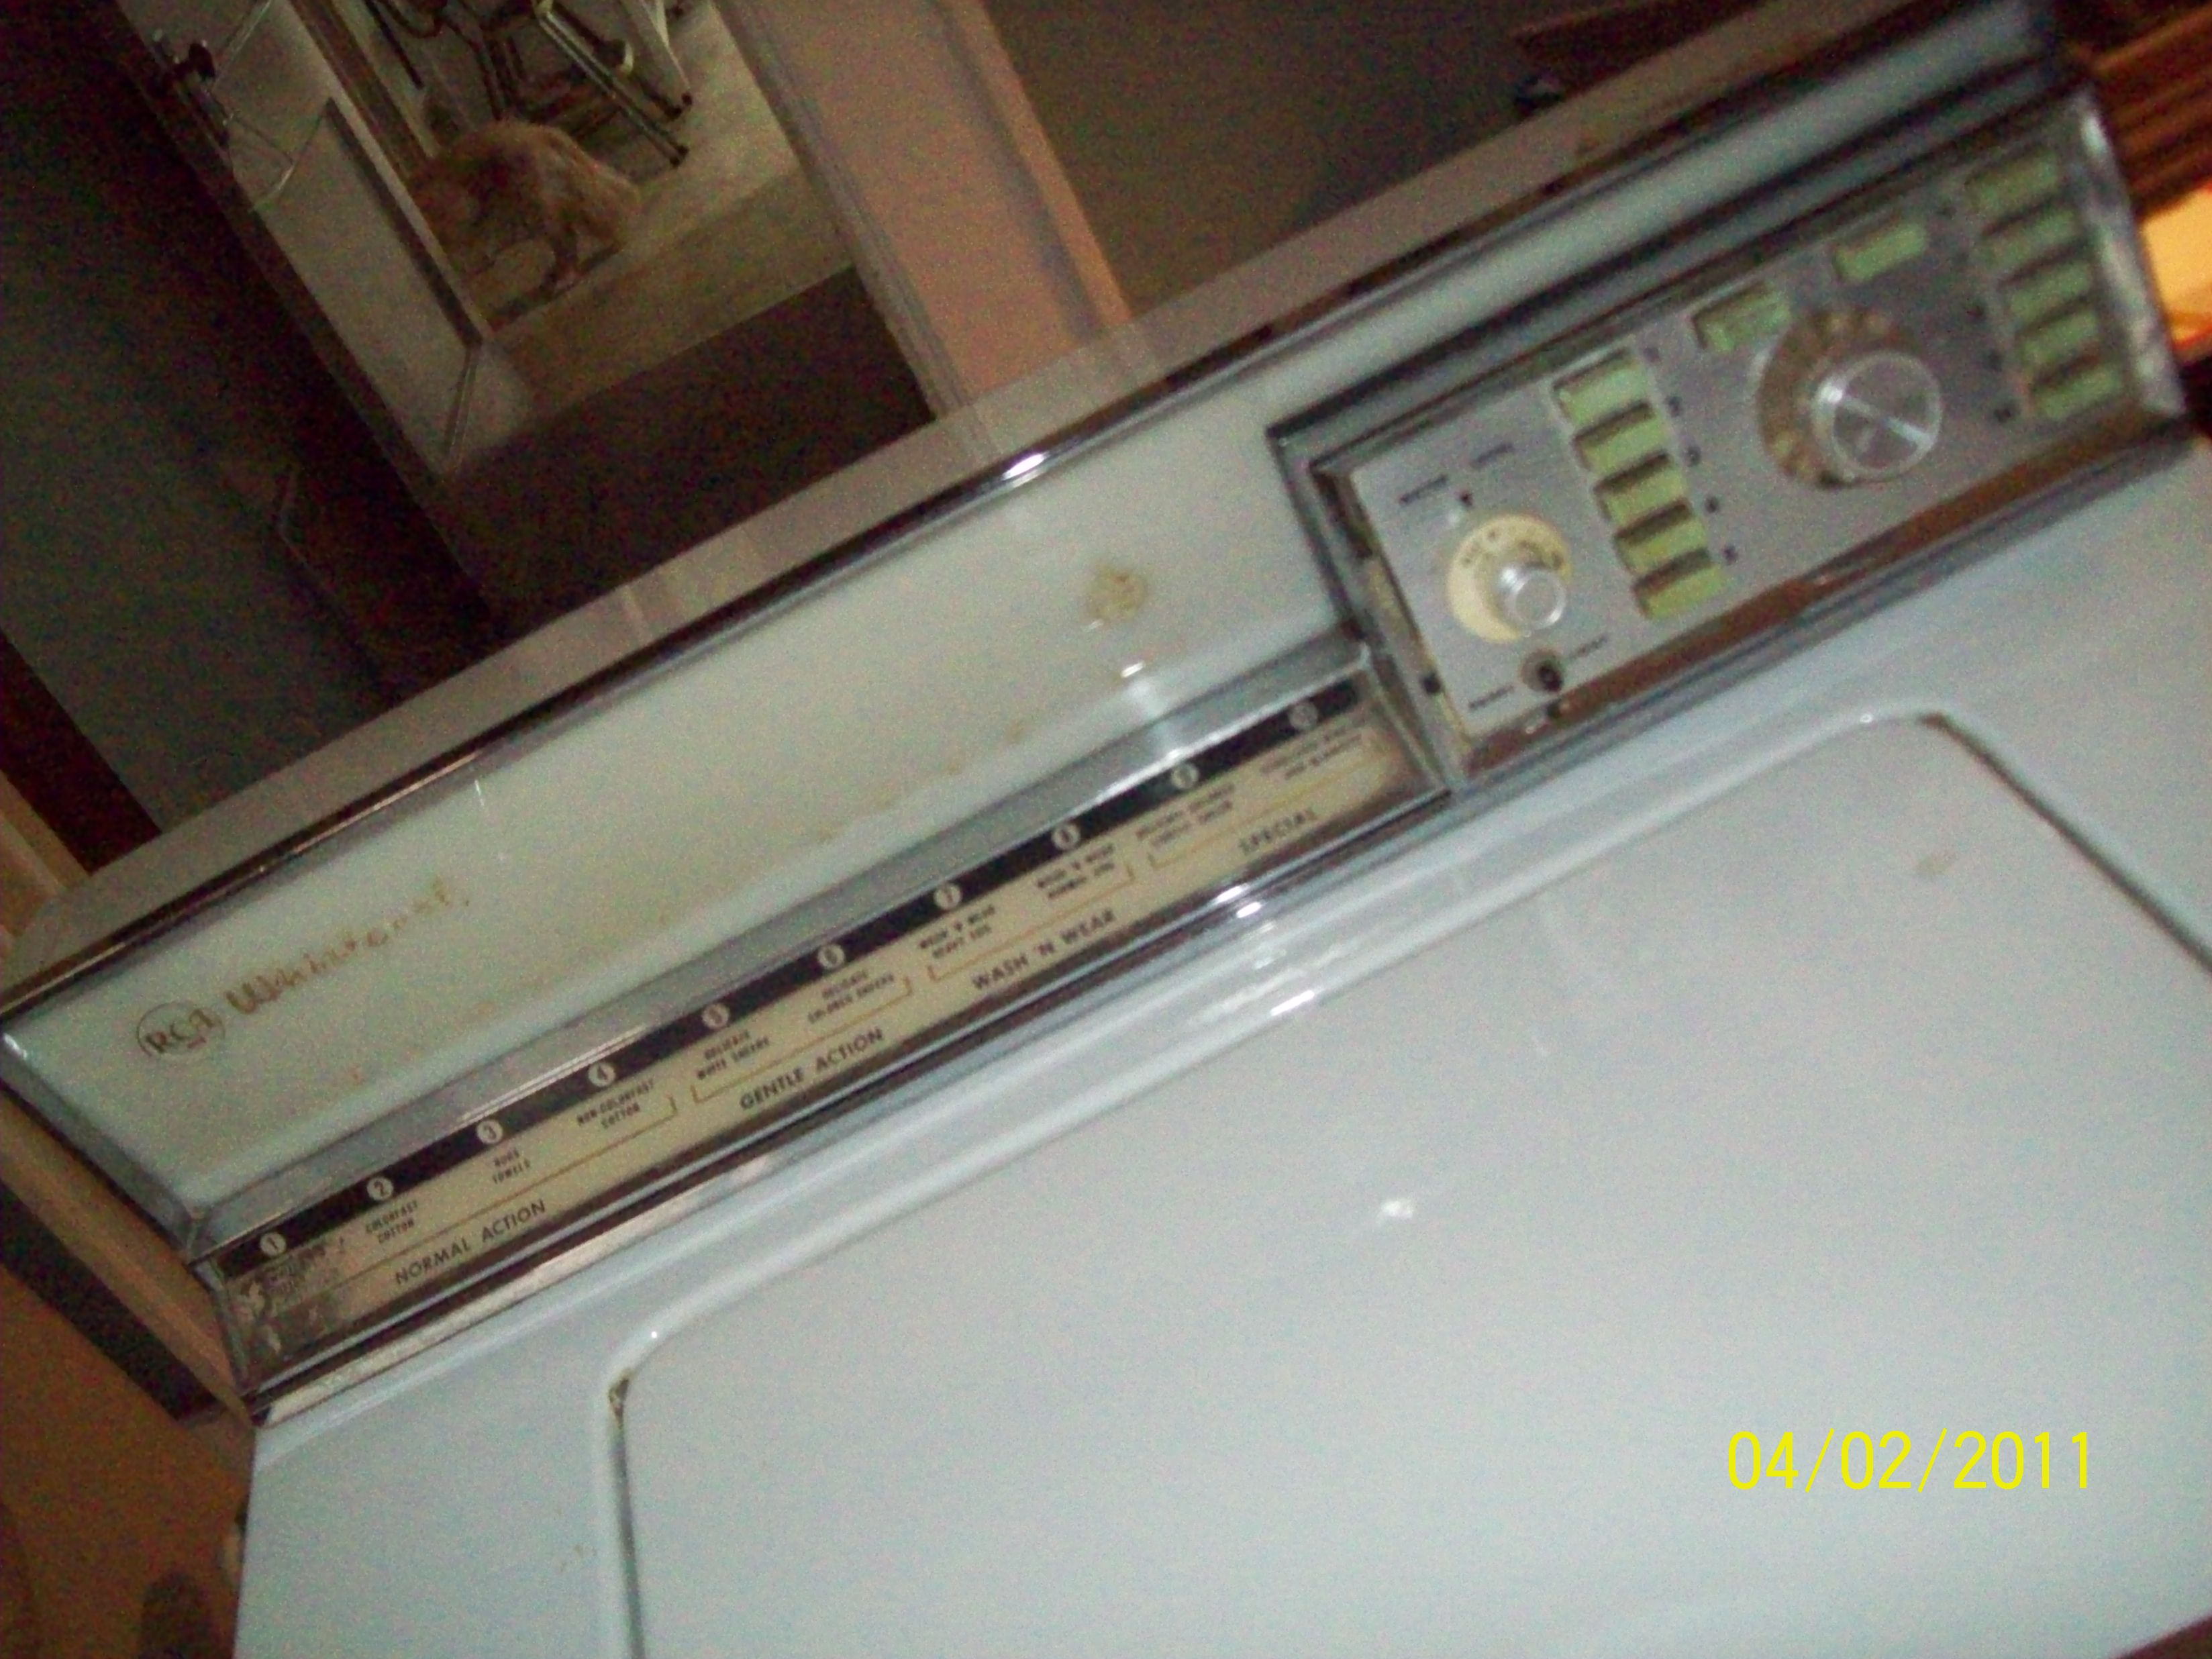
Post# 492670 , Reply# 10 1/30/2011 at 16:07 (4,827 days old) by akronman (Akron/Cleveland Ohio) |
||
|
DE606 and A608 Maytags | ||
| Post# 492686 , Reply# 11 1/30/2011 at 17:15 (4,827 days old) by beekeyknee (Columbia, MO) | ||
|
Nice looking machines
Are you going to be looking for a replacement for that washer. I remember the thread you posted on it. It looked horrible. And those dials are really hard to find.
If you're gonna try and restore that washer to better condition, you can check out my 30451 thread and if you have dials that are hard to turn or buttons that don't work smoothly you can look at my 31983 thread. I was advised to use tuner cleaner followed by silicone spray instead of WD-40. Makes since. I just bought a HDE608 dryer and a HA408 washer that I think I'll restore this spring. The dial on the washer turns very hard and if I don't give it the treatment, I believe it will fail. Just things to keep in mind. | ||
|
Post# 492694 , Reply# 12 1/30/2011 at 18:18 (4,827 days old) by akronman (Akron/Cleveland Ohio) |
||
|
Hey Beekyknee
Thanks for the info, and both of those threads, your 2 restorations, are top-notch for sure! wonderful work!
For now, all buttons and timers are easily pushed/pulled/turned, I don't think I want to fix what ain't broken. As for replacing the 1979 Maytag, no way. I put plenty of time and energy and wire brush and Rustoleum and minor new parts into it, it's now Mine Mine Mine for keeps. It doesn't look anywhere near as mint condition as yours, but runs quietly and washes anything. Also, since everything for that washer, including the buy price, has only been around $60 so far, I figured I'd customize it a bit. I have 3 switches on the back, one overrides the lid/balance switch, one is a poorman's suds-saver revision, and one stops the timer from advancing so I can extend any/every part of the cycle when I want. So it's mine for keeps, no one else would understand it, and it looks at home in my 94 year old basement. I like the idea of electronics cleaner followed by silicone, but everything right now seems to work very smoothly. You do great work, I can only aspire right now, and keep hoping. Thanks Mark | ||
| Post# 492740 , Reply# 13 1/30/2011 at 22:11 (4,827 days old) by beekeyknee (Columbia, MO) | ||
|
Congrats | ||
| Post# 492741 , Reply# 14 1/30/2011 at 22:12 (4,827 days old) by beekeyknee (Columbia, MO) | ||
|
This post has been removed by the member who posted it. | ||
| Forum Index: | 
| Other Forums: |

|

|

|

|

|

 Comes to the Rescue!