Thread Number: 43995
Care of Maytag bakelite agitator
[Down to Last]

automaticwasher.org's exclusive eBay Watch:
scroll >>> for more items --- [As an eBay Partner, eBay may compensate automaticwasher.org if you make a purchase using any link to eBay on this page]
Post# 646615   12/15/2012 at 08:58 (4,143 days old) by scoots (Chattanooga TN)        

scoots's profile picture
I picked up a Maytag E2LP with the old red Bakelite agitator and the surface has lost its sheen and looking chalky. Is there anything I can do to preserve this plastic? Restore it to its original appearance? - Thanks


Post# 646627 , Reply# 1   12/15/2012 at 10:03 (4,143 days old) by wringer (x)        
Hello,

I had a red Bakelite agitator like yours and it cleaned up nicely. I used white rubbing compound first and then auto wax. It was a HORRIBLE job to do and took forever but the results were beautiful. After I did all the work I received the attached instructions from a friend who collects appliances with Bakelite handles. I have never used his method but sent it to Larry who just rebuilt his E. I was able to find him a black agitator at the Amish and sent it to him. He is in the process of cleaning his but I don't know which method he is using. I think the one I am attaching may work better than the way I cleaned mine. Mine sparkles now. Larry's black one was really corroded so he has a job ahead of him.

Here is the method; "What I would like you to do, is find an area of your agitators that no one will see if you mess up, (most likely underneath) and has some of that disgusting, yucky soap scum that you describe in that area. (This procedure will be sort of a "test" both to see how well your material responds to the work you are doing on it, and whether you like doing it.)

Get some 200 grit wet or dry sandpaper, which is usually dark gray or black in color. Wet it and sand the area you've chosen until you are confident that the scum and any small scratches that may have been there go away. If at this point you sand off the black color.....then you can't proceed any further. I have seen some plastics that have a coating on a base material, and if it has rubbed off - well, then without seeing the agitator, I don't know what you can do. As you are working the area, dry it off every once in a while to see your progress.

If it has survived so far, your test spot should be very smooth - but dull and may appear whitish.

Next, get some 400 grit wet/dry and do it over again. It will be even smoother, and not as whitish.

Then, and since this is only a test - there could very well be other steps that I can explain later - but would like to know your results first, get some Mother's Power Polish...

www.autogeek.net/mo8616.html...


Load up a terry cloth with it, and rub the crap out of it until it shines like a baby's bottom....(?) and just a smooth.

Now - if the procedure has worked, you should be able to see a real change in the appearance of the agitator. You won't need a clear coating (like your lacquer) for a shine. It will have arrived there all by itself. And, the lacquer even though solvent based - will come off in use in the washer".

I wish you lots of luck cleaning yours. I think Larry is going to post pics of his progress here. All I have is a before and after pic. I can send them if you wish. You should read all of the thread Larry made of his restoration story. It is VERY interesting and he really put a lot of work and patience in it. I can't remember the title of the thread but it is about a Maytag E2L that he made an E2LP out of.

Good luck !!!

Jim


Post# 646629 , Reply# 2   12/15/2012 at 10:07 (4,143 days old) by wringer (x)        
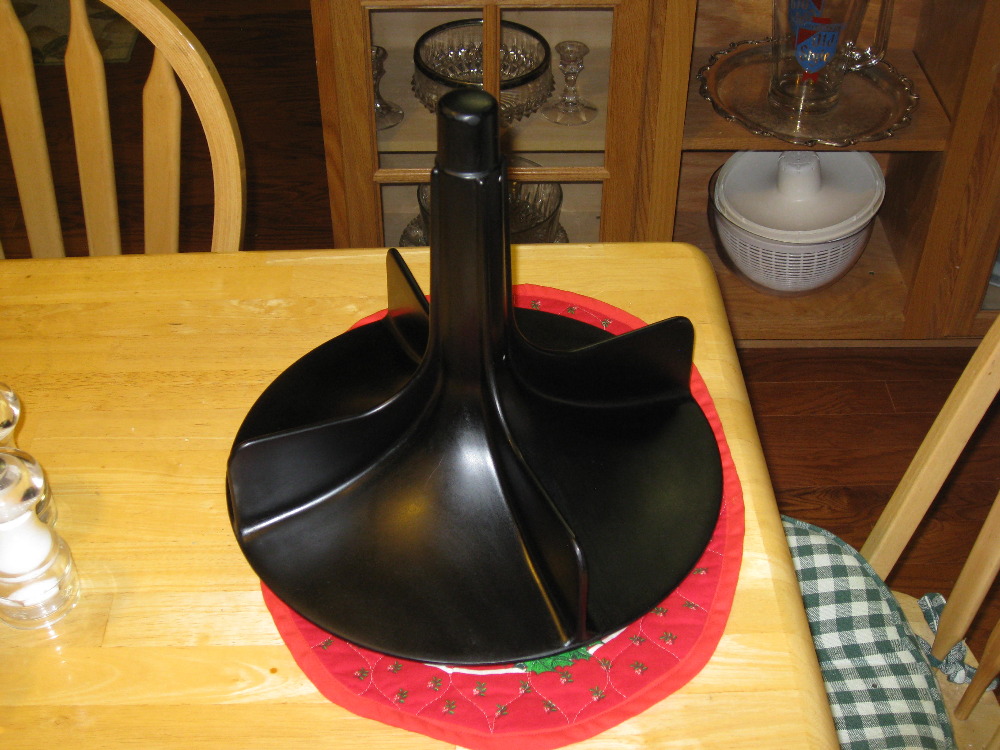
Here

is the after pic. I switched it to the N and use it there. When I took this pic it had some wax on it that I did not get wiped off. It didn't show with the naked eye. Anyhow it turned out very smooth and shiny.

Jim


Post# 646688 , Reply# 3   12/15/2012 at 14:54 (4,143 days old) by e2l-arry (LAKEWOOD COLORADO)        
I haven't finished mine yet.

I tried using 2,000 grit wet sand paper and rubbing compound. That was like hunting bear with a fly swatter, ineffective! 2,000 grit is for fine finishing. Then I re-read Jim's instructions and it said 200 NOT 2,000. I was only off by 1 zero. Probably over the next few weeks I'm going to have a go at it with 200 grit paper using my mouse sander. That will get all the top layer of crud and corrosion off. THEN, go at it with a finishing sand paper to smooth it out then finish it up with rubbing compound. I should have pictures as I keep a photo log of everything I do on my E2LP

And speaking of my E2LP I've been using it as a daily driver now for over 5 weeks without incident! It works like a champ!

Back to agitators, does anyone know why there a small hole on the lower surface area between blades on the older agitators? Even our automatic Maytag had that hole in it's agitator. My new turquoise agitator doesn't have that hole. I'm assuming it was to allow air to escape to make it less likely to float off the spline?? Less buoyancy perhaps?

Larry


Post# 646714 , Reply# 4   12/15/2012 at 16:08 (4,143 days old) by wringer (x)        
You are

right Larry, the new after market turquoise agitators do not have any "vent" holes. My black Bakelite one has 3, my red Bakelite one has 2, my turquoise one has 1 and my aluminum one has only 1 at the very top near the water level mark and is a bigger hole. I have no idea what they are for other than as you say to allow air to leave the inside of the agitator. I have also found that since all of my agitators are old they are FILTHY inside. I bought a long brush made to clean commercial coffee makers and use Soft Scrub and hot water to clean them out. It takes a long time for all of the caked dirt to come out. I just keep using the brush in and out and rinsing them until the crud stops coming out. It is black and I am presuming it is from soap/scum. I, as you can tell, have OCD LOL.

Best, Jim


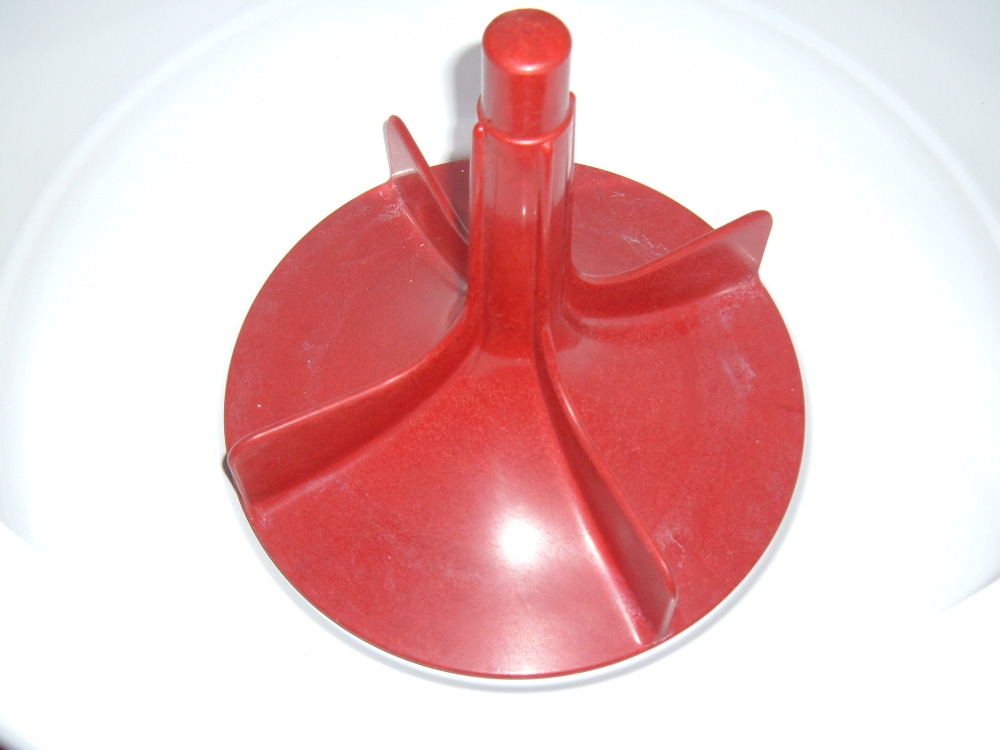
Post# 646820 , Reply# 5   12/16/2012 at 09:43 (4,142 days old) by perc-o-prince (Southboro, Mass)        

We've used Mother's Mag & Aluminum polish on bakelite (like TV cabinets) before with good success. The worst part is getting any bits of it that may be in crevasses out (toothpicks and Q-tips).

Good luck,
Chuck


Post# 646881 , Reply# 6   12/16/2012 at 12:22 (4,142 days old) by scoots (Chattanooga TN)        

scoots's profile picture
Thanks for all your suggestions: I'll post before and after shots next week.

Post# 648445 , Reply# 7   12/22/2012 at 18:40 (4,136 days old) by e2l-arry (LAKEWOOD COLORADO)        
Here's mine,

This is the black agitator Jim was nice enough to send me. It's typical of the old ones I've seen. Here's the BEORE shot

Post# 648446 , Reply# 8   12/22/2012 at 18:48 (4,136 days old) by e2l-arry (LAKEWOOD COLORADO)        
I tried hand sanding

And figured out it would be easier with the Mouse Sander. I LOVE that thing! So I sanded until it was smooth and all the white residue was off. Then wet sanded with 1500 wet grit paper. Then rubbing compound and wax.

It didn't really come out like brand new, but what can you expect from something that probably over 50 years old. But as you can see, there is significant improvement. I might be able to polish it up some more some time in the future but for now it's good enough.


Post# 648449 , Reply# 9   12/22/2012 at 18:55 (4,136 days old) by e2l-arry (LAKEWOOD COLORADO)        
Here's how it looks in the machine,

I think the black agitator does look better in the older washers with the red release bars. More "stock" anyway. I did a couple of loads of wash and it worked fine. No problems with it floating off or anything. It seems the older agitators have more venting so they may stay put better. Anyway, now my new turquoise agitator is on hand as a spare. There's no real difference in how they perform.

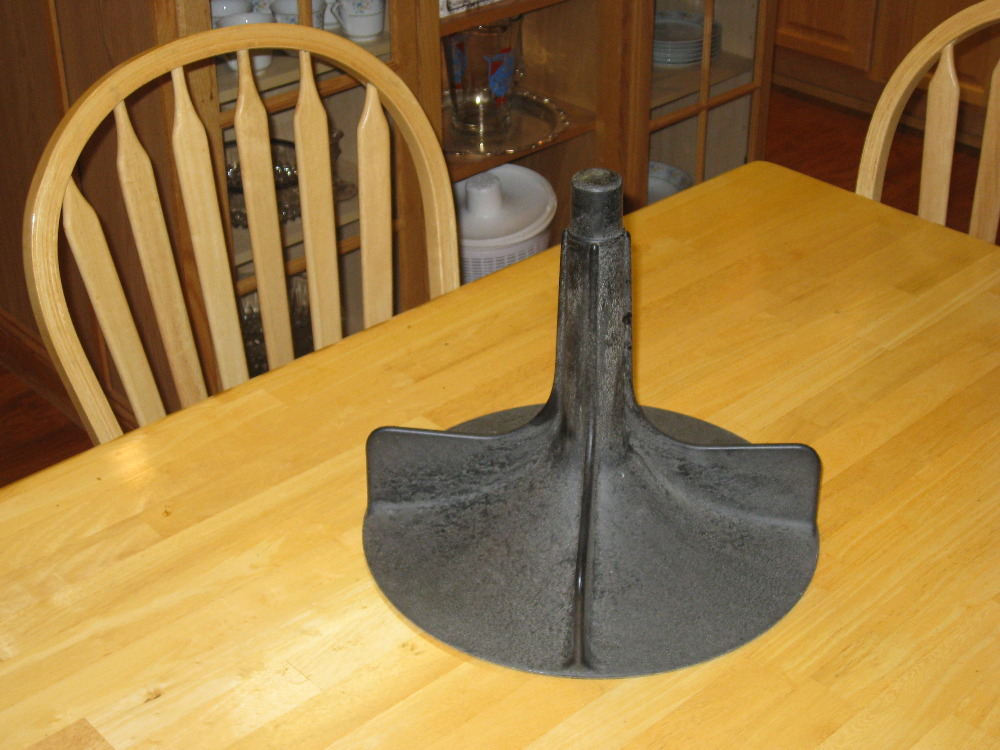
Post# 648468 , Reply# 10   12/22/2012 at 20:09 (4,136 days old) by wringer (x)        
Well,

once again you have done magic Larry !! It looks like my red one when I got done with it. Glad you now have the original "agibitator" in your beauty. You would certainly not know they were the same unit. Nice job !

Jim


Post# 648479 , Reply# 11   12/22/2012 at 22:14 (4,136 days old) by crevicetool (Snellville Ga.)        

crevicetool's profile picture
Love the shiny Bakelite! Good job guys.

Post# 648494 , Reply# 12   12/22/2012 at 23:46 (4,136 days old) by e2l-arry (LAKEWOOD COLORADO)        
Remember this?

This was the first posted picture on the agitator the machine came with. That promptly broke the first day!

That was over 4 months ago!

I've come a long way baby!

Merry Christmas!!!
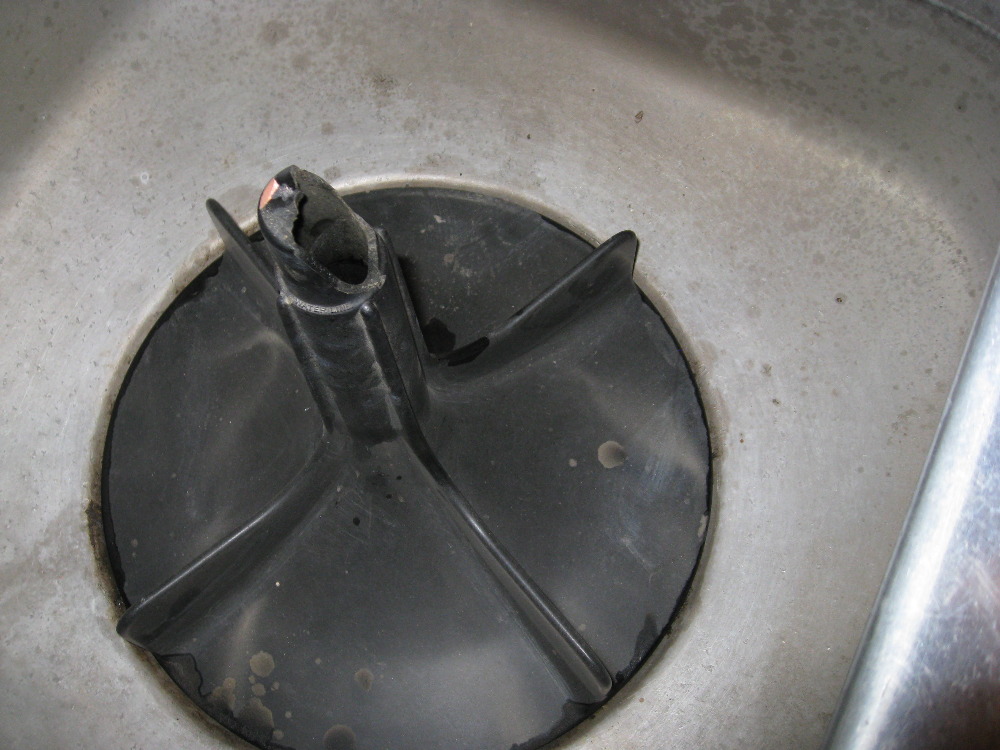

Post# 648553 , Reply# 13   12/23/2012 at 09:49 (4,135 days old) by wringer (x)        
Thanks to Crevistool

as he is the member who told me how to clean Bakelite. I will apologize to him here in public for not having gotten back with him since my go at it was a success. Thanks Rick !! It worked for Larry also. Happy Maytaging to all and to all a great Holiday Season.

Jim


Forum Index:       Other Forums:                      


Comes to the Rescue!

The Discuss-o-Mat has stopped, buzzer is sounding!!!
If you would like to reply to this thread please log-in...

Discuss-O-MAT Log-In


New Members
Click Here To Sign Up.


automaticwasher.org home
Discuss-o-Mat Forums
Vintage Brochures, Service and Owners Manuals
Fun Vintage Washer Ephemera
See It Wash!
Video Downloads
Audio Downloads
Picture of the Day
Patent of the Day
Photos of our Collections
The Old Aberdeen Farm
Vintage Service Manuals
Vintage washer/dryer/dishwasher to sell?
Technical/service questions?
Looking for Parts?
Website related questions?
Digital Millennium Copyright Act Policy
Our Privacy Policy