|
Thread Number: 48256
Hoover 455 (A3072) Washer Overhaul Pt 1 |
[Down to Last] |

|
| Post# 699397 , Reply# 1 8/28/2013 at 02:00 (3,892 days old) by crouzet951 () | ||
|
There is a hole about 20mm long and 5mm wide, right where the drain tube attaches to the drum. This probably wasn't helped by the machine having been stored in my garage for six years. The rust around the heater element support is quite minor. 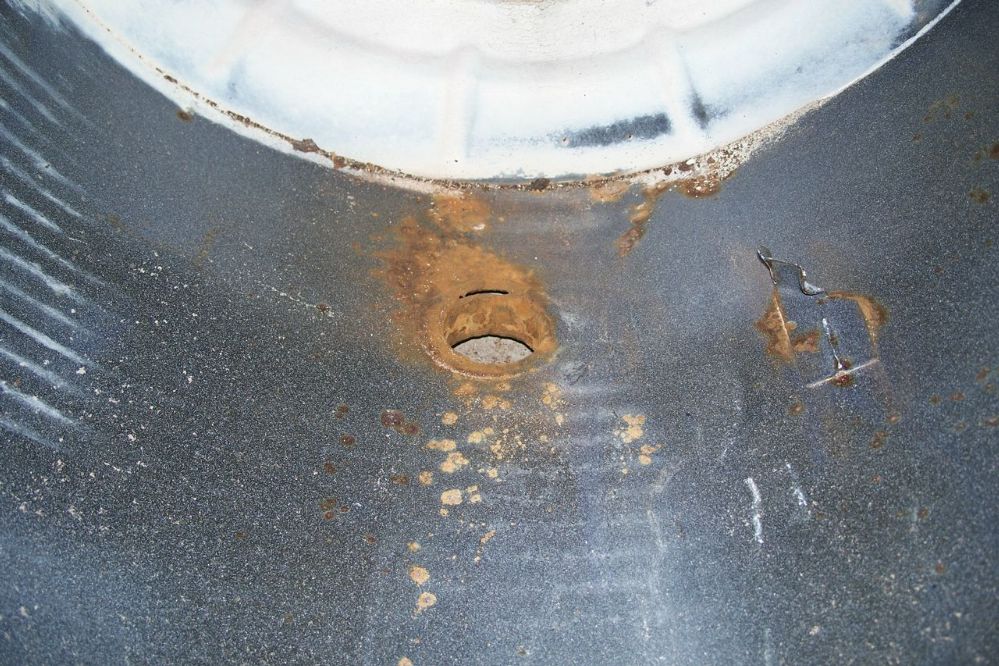
| ||
| Post# 699398 , Reply# 2 8/28/2013 at 02:03 (3,892 days old) by crouzet951 () | ||
|
The telltale sign of water getting into the bearings. The heating element is covered in scale 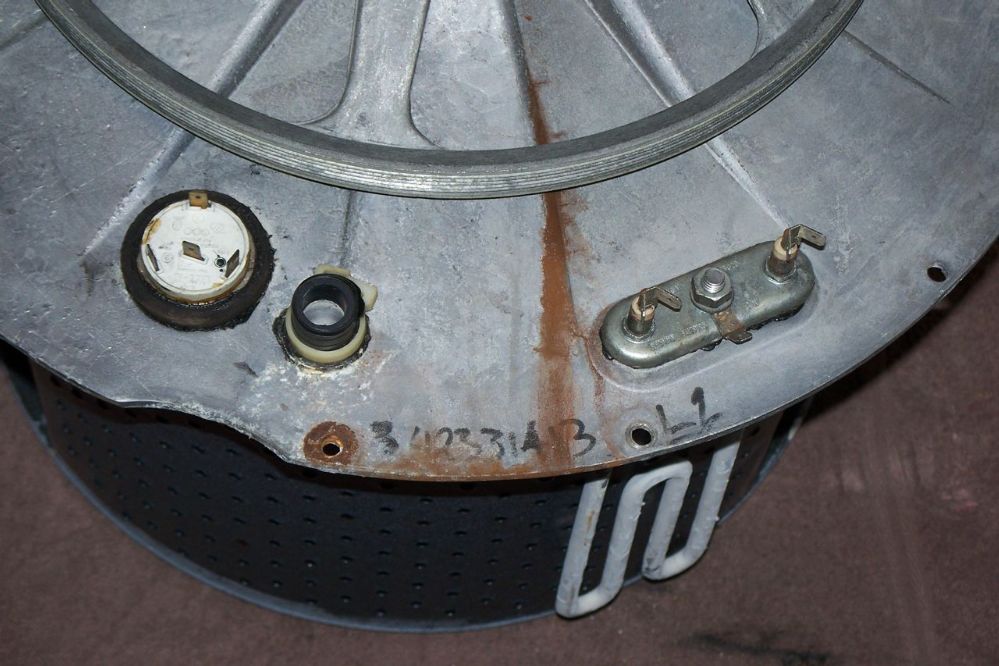
| ||
| Post# 699399 , Reply# 3 8/28/2013 at 02:05 (3,892 days old) by crouzet951 () | ||
|
The inner bearing was seized and has worn a groove in the spider shaft. This can't be reused. 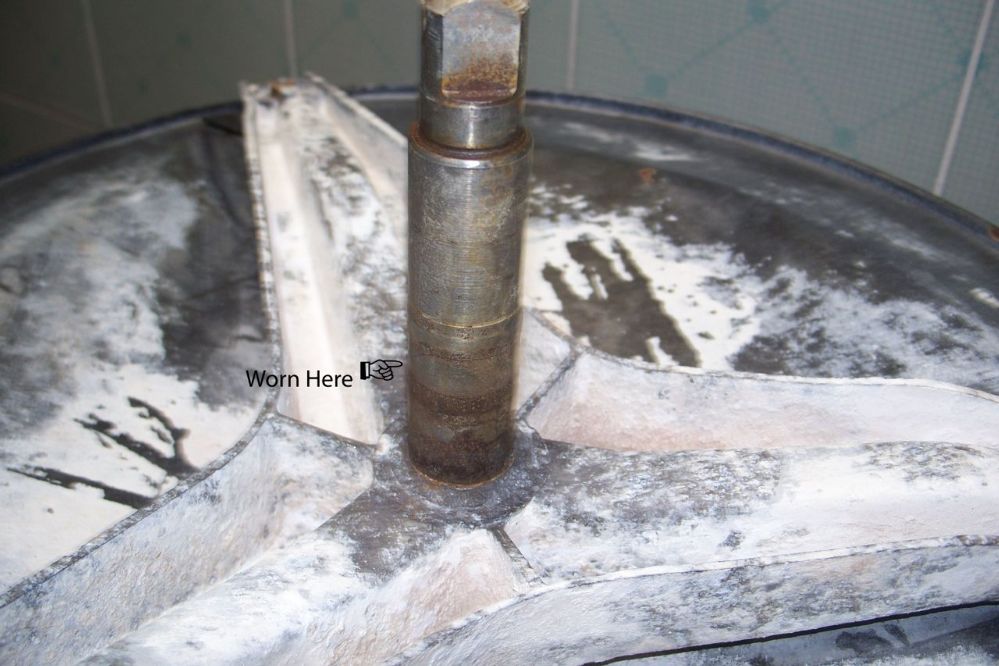
| ||
| Post# 699400 , Reply# 4 8/28/2013 at 02:09 (3,892 days old) by crouzet951 () | ||
|
This looks like it was brought up from the Titanic! The back plate was brand new in 2001, and the machine was retired in 2007. I don't understand why it looks so bad. Perhaps I've been under-dosing washing detergent. 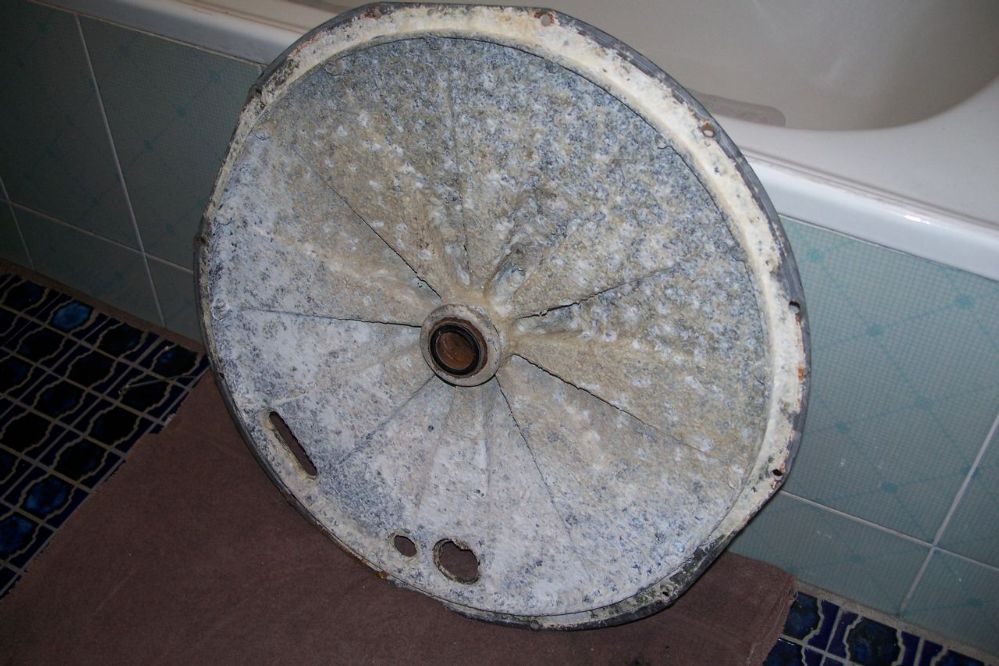
| ||
| Post# 699401 , Reply# 5 8/28/2013 at 02:12 (3,892 days old) by crouzet951 () | ||
|
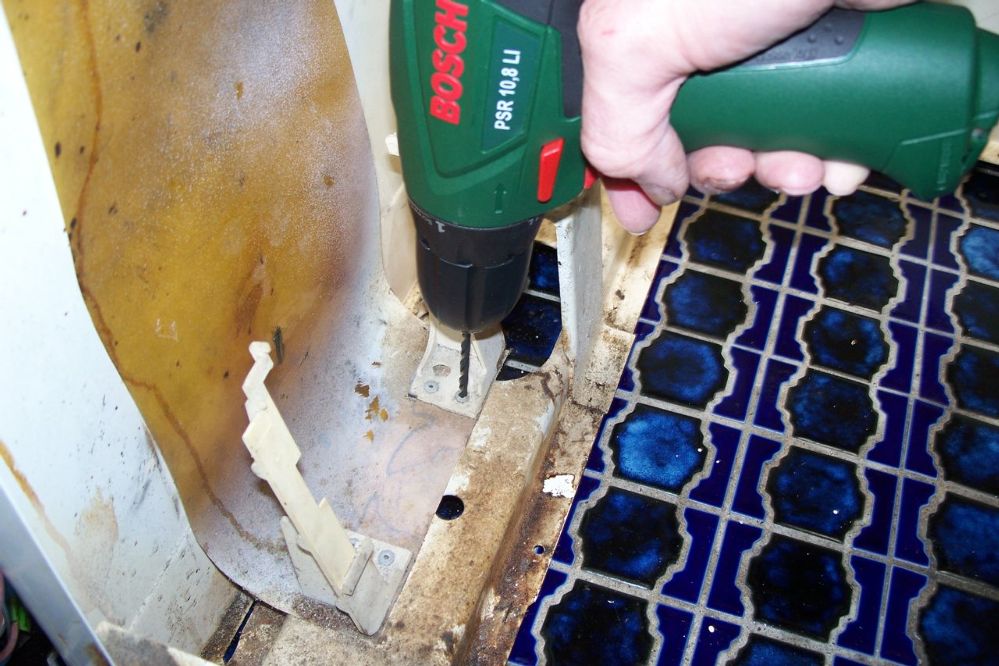
The spider needed to come off the drum, one way or another. The rivets have been drilled out and the support is being popped off the drum. This needs to be done gently as the vitreous enamel cracks easily. 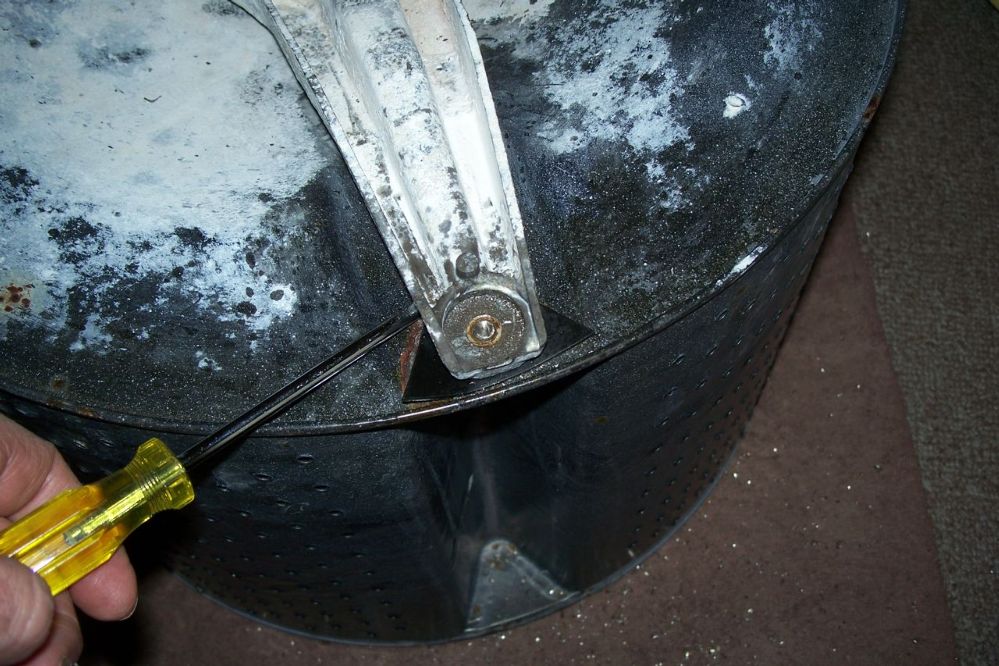
| ||
| Post# 699402 , Reply# 6 8/28/2013 at 02:23 (3,892 days old) by crouzet951 () | ||
|
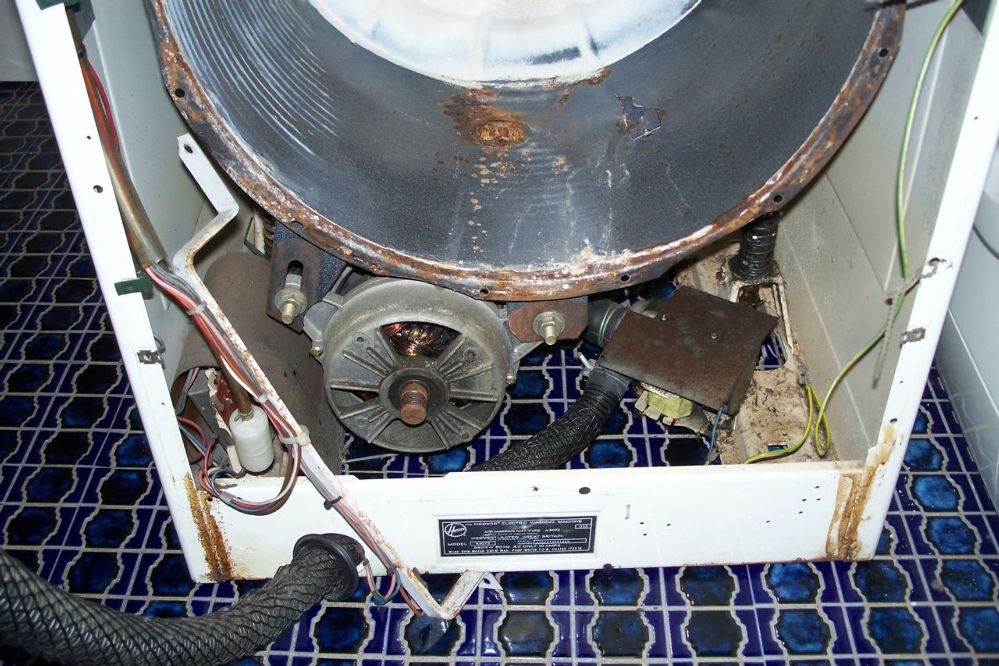
Next the motor. The bearings were very rough and needed to be replaced. The motor came apart pretty easily. Thank goodness as I've not done this before. I had to buy a three-claw puller to get the large bearing off the armature. 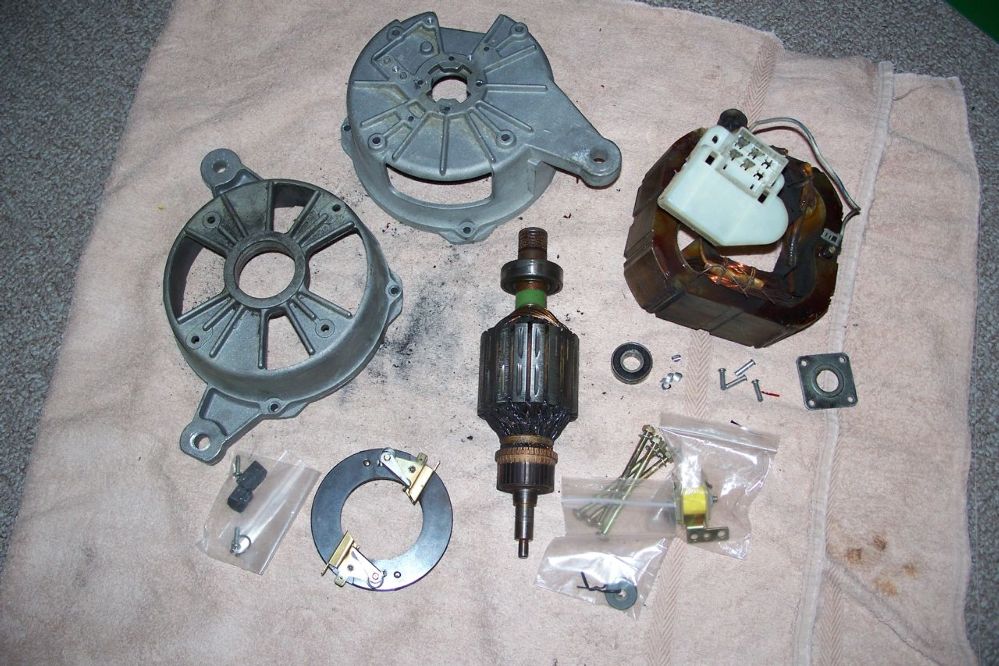
| ||
| Post# 699403 , Reply# 7 8/28/2013 at 02:25 (3,892 days old) by crouzet951 () | ||
|
The commutator didn't look too bad, but I decided to have the armature checked out and cleaned up by an electric motor specialist. 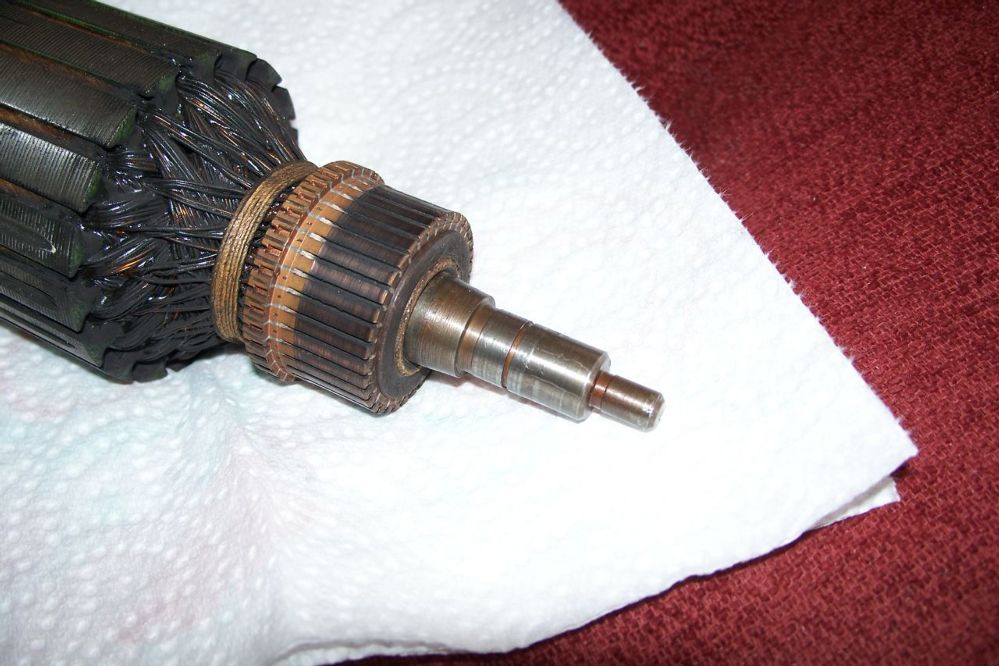
| ||
| Post# 699404 , Reply# 8 8/28/2013 at 02:30 (3,892 days old) by crouzet951 () | ||
|
When the armature was collected, I left the field windings with them to also check out. The outermost item on the left side windings, retained by twine, is the thermal overload cutout. 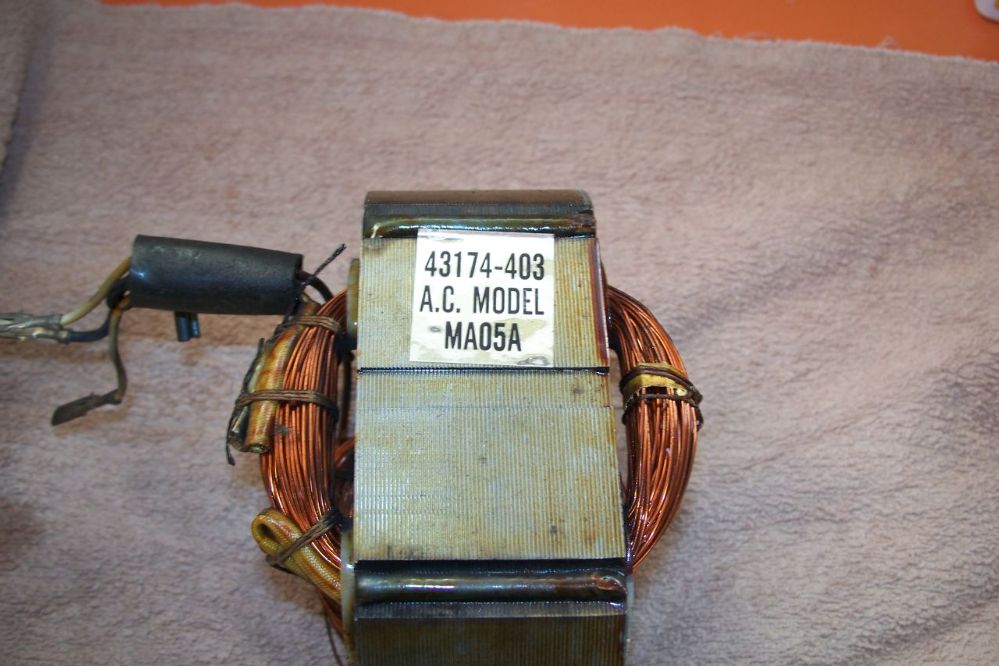
| ||
| Post# 699405 , Reply# 9 8/28/2013 at 02:32 (3,892 days old) by crouzet951 () | ||
|
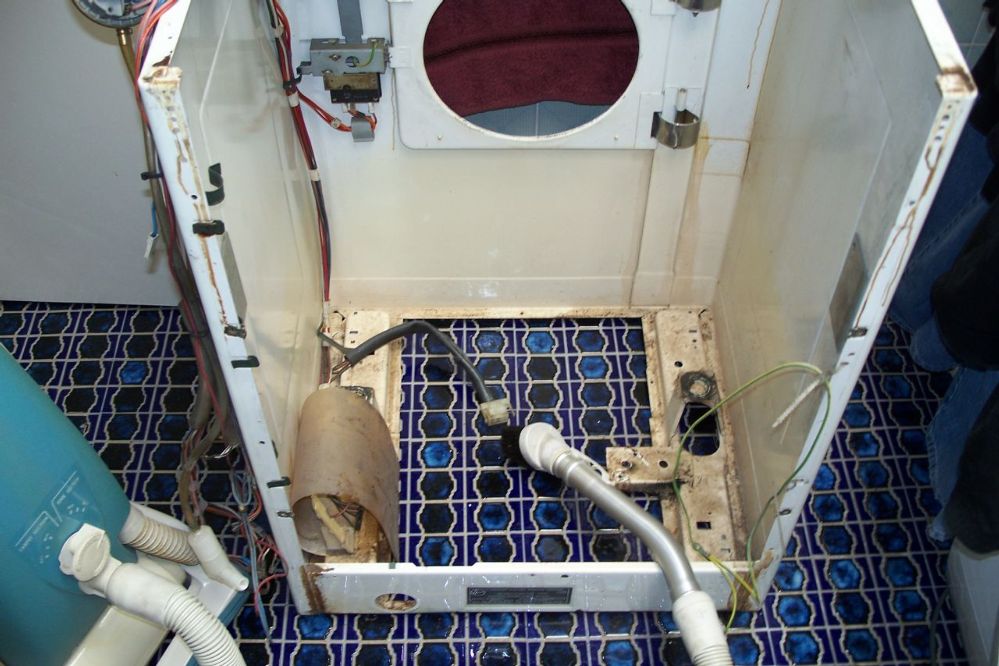
I was originally going to repair the rust in situ, but it would be easier with the outer drum out of the cabinet. 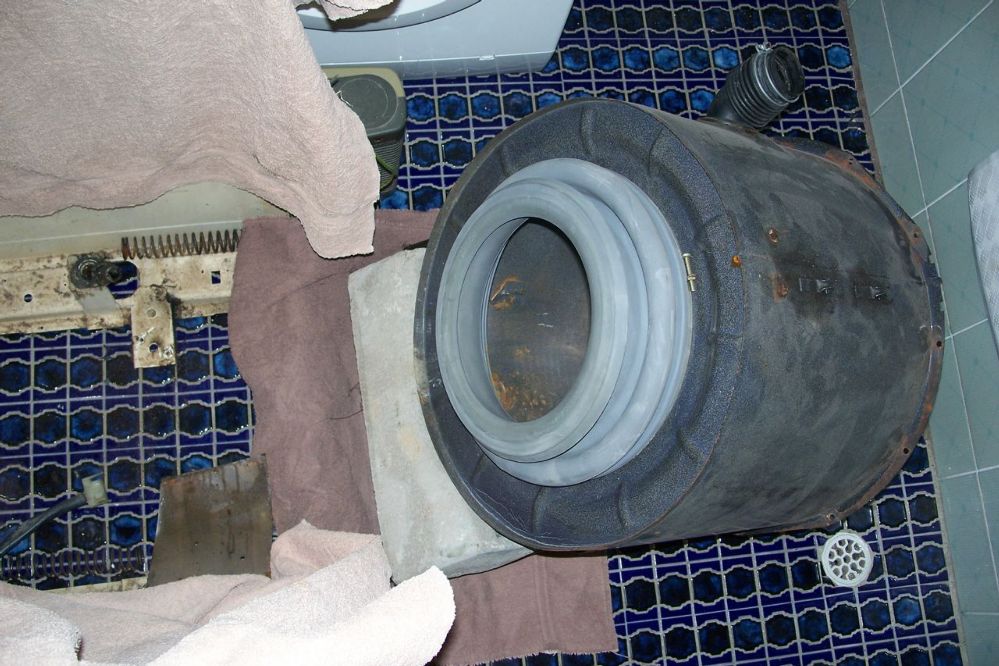
| ||
| Post# 699406 , Reply# 10 8/28/2013 at 02:35 (3,892 days old) by crouzet951 () | ||
|
Another thing I've never done before is remove a ballast weight. It weighs 13.5kg, 30 lbs or so. 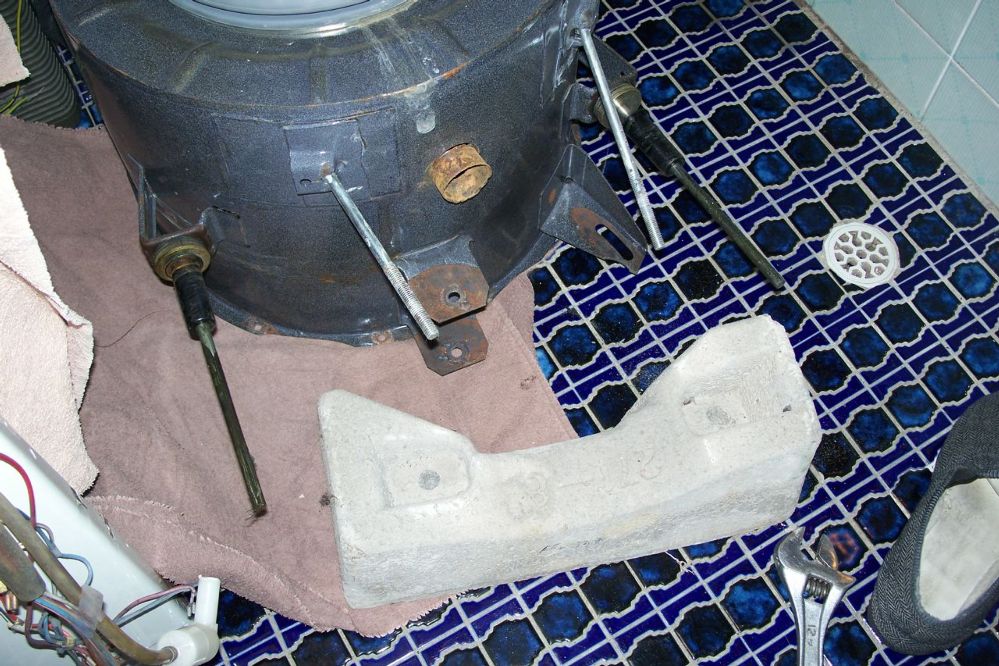
| ||
| Post# 699407 , Reply# 11 8/28/2013 at 02:36 (3,892 days old) by crouzet951 () | ||
|
YOU WILL BE EXTERMINATED!!! 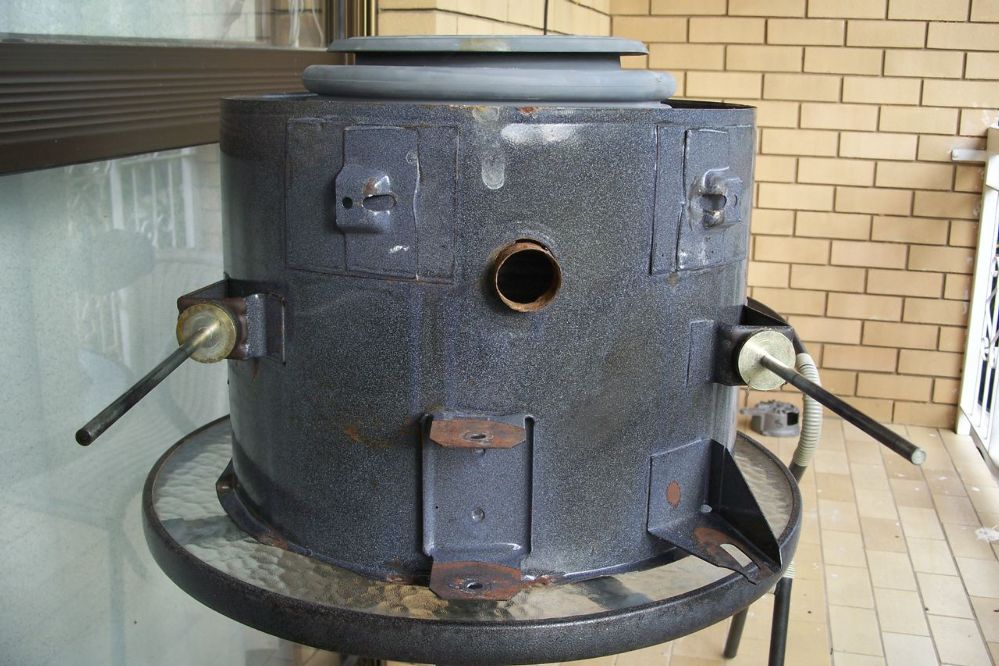
| ||
| Post# 699408 , Reply# 12 8/28/2013 at 02:39 (3,892 days old) by crouzet951 () | ||
|
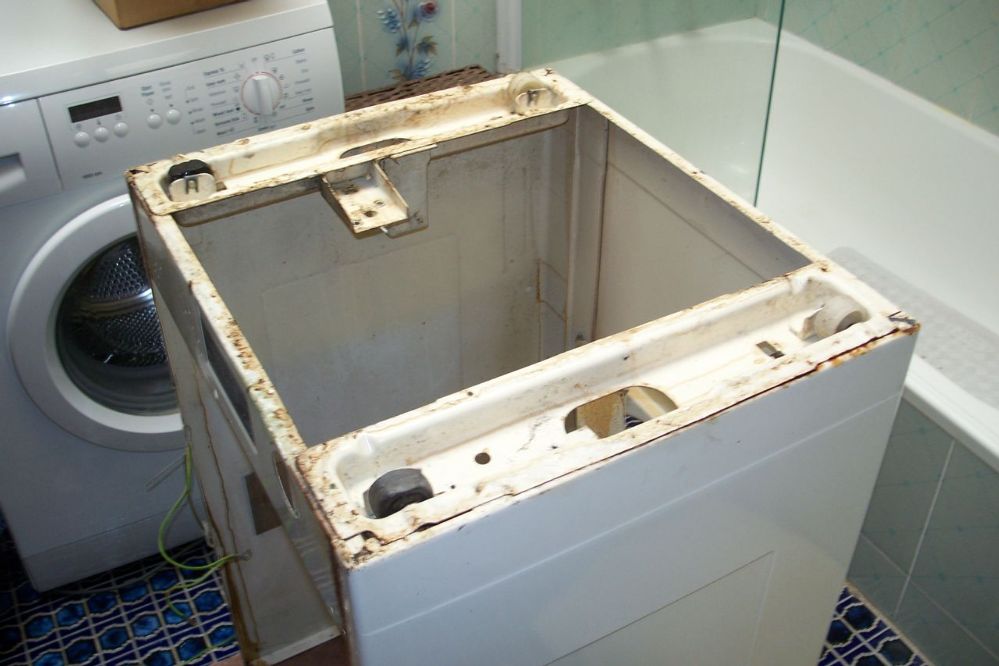
I moved the drum outside to my balcony as it's not as cramped as my bathroom. This is rust damage to the door seal flange on the front of the drum. It's at top centre, which is good. 
| ||
| Post# 699409 , Reply# 13 8/28/2013 at 02:43 (3,892 days old) by crouzet951 () | ||
|
After initial wire brushing, the awful truth about the drain tube is revealed. It's rusty and razor sharp in part (tetanus anyone!), but the metal is still solid. 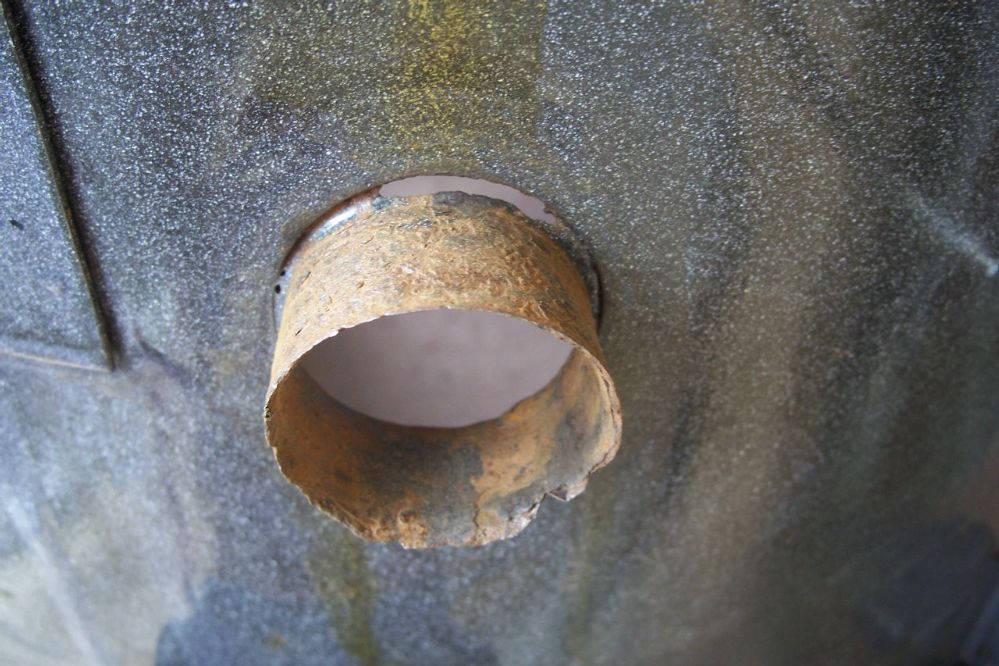
| ||
| Post# 699412 , Reply# 16 8/28/2013 at 02:52 (3,892 days old) by crouzet951 () | ||
|
EEEK!! 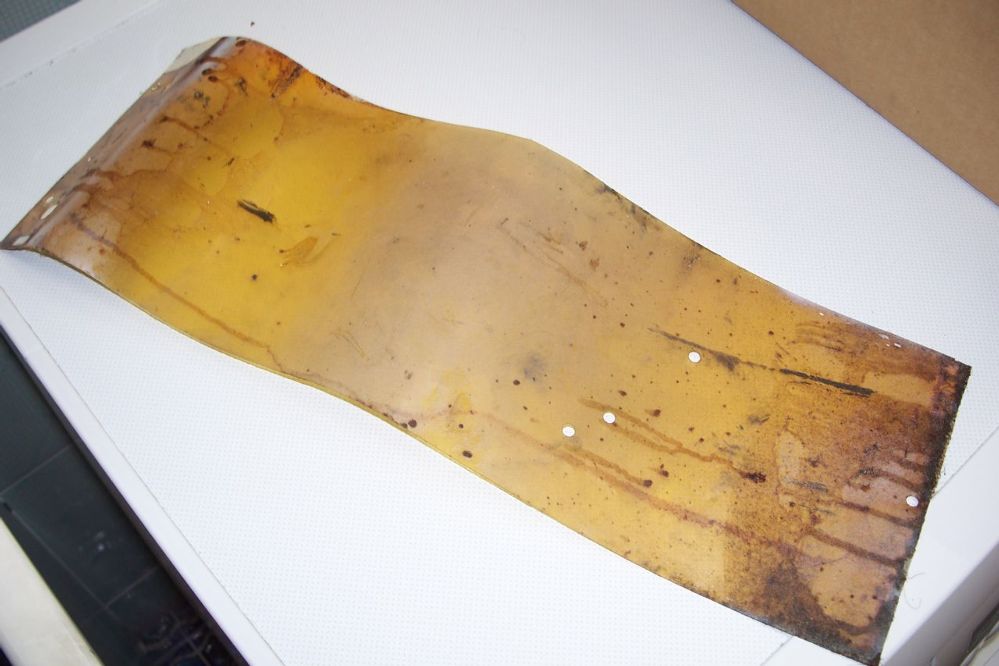
| ||
| Post# 699415 , Reply# 18 8/28/2013 at 03:00 (3,892 days old) by crouzet951 () | ||
|
The upper rear panel and the drum wire support both look pretty bad. 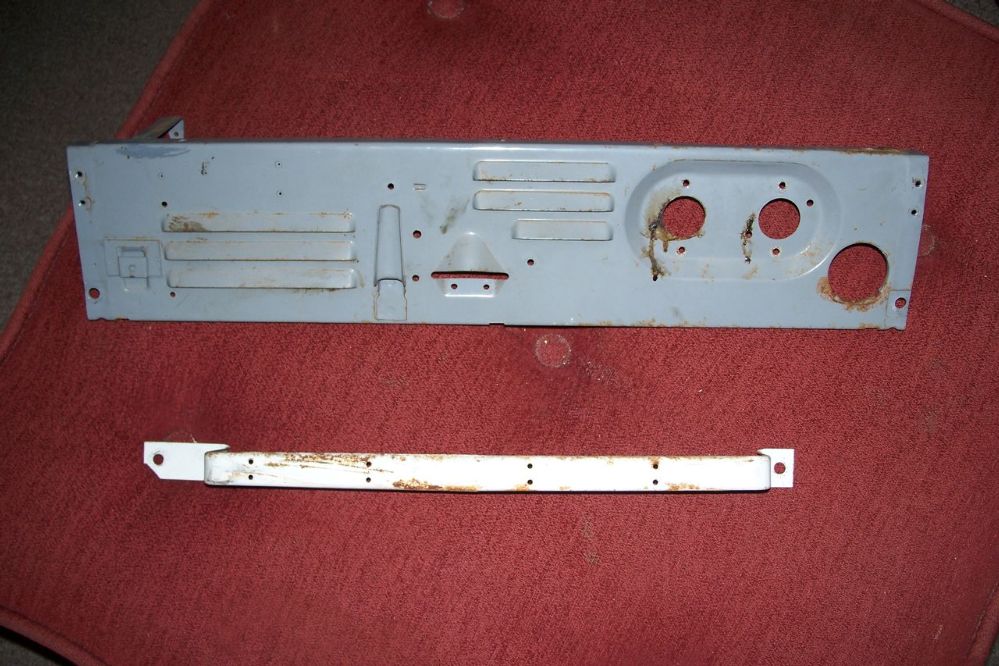
| ||
| Post# 699416 , Reply# 19 8/28/2013 at 03:04 (3,892 days old) by crouzet951 () | ||
|
The door is terrible. I repainted the inner and outer door panels many years ago when rust appeared at the bottom. I do have a new front door panel and aluminium trim ring. 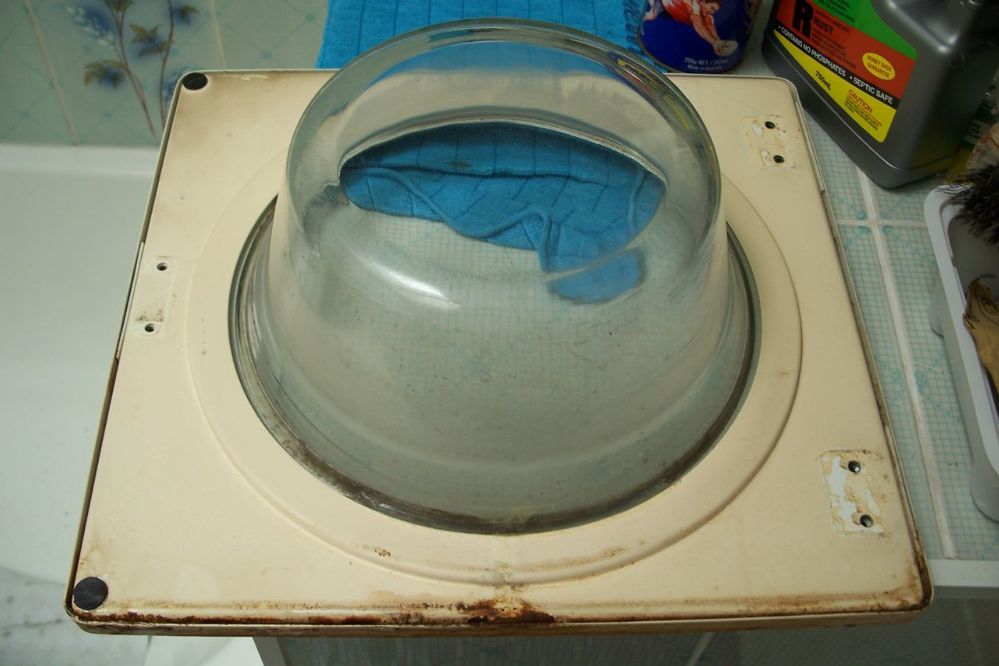
| ||
| Post# 699482 , Reply# 21 8/28/2013 at 11:43 (3,892 days old) by fido () | ||
|
I would have re-used the spider with some Loctite to glue the new bearing to the shaft. What detergent do you use? Liquids tend to cause more rot than powder. | ||
| Post# 699513 , Reply# 22 8/28/2013 at 14:00 (3,892 days old) by sesteve (London, UK) | ||
 | ||
Post# 699514 , Reply# 23 8/28/2013 at 14:11 (3,892 days old) by chestermikeuk  (Rainhill *Home of the RailwayTrials* Merseyside,UK) (Rainhill *Home of the RailwayTrials* Merseyside,UK) |
||
Hoover
Glad to see you are cracking on with the full restore, my 3008 keymatic tub needed a hole filling and some good coats of rustoleum and enamel paint, Fab washers to work on, nothing much that cant be adapted...
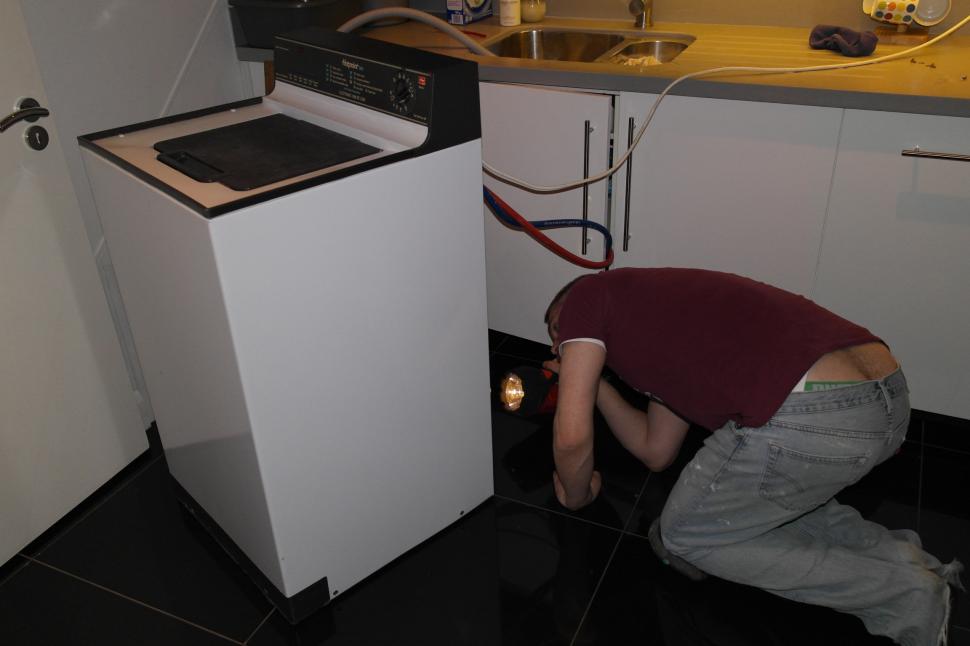
Nice to see a Dial-a-mat or convertible in use for all the vintage paint flakes and dust!! | ||
| Forum Index: | 
| Other Forums: |

|

|

|

|

|

 Comes to the Rescue!