Thread Number: 48283
Hoover 455 (A3072) Washer Overhaul Pt 2
[Down to Last]

automaticwasher.org's exclusive eBay Watch:
scroll >>> for more items --- [As an eBay Partner, eBay may compensate automaticwasher.org if you make a purchase using any link to eBay on this page]
Post# 699660   8/29/2013 at 02:44 (3,885 days old) by crouzet951 ()        

Hi folks

Back again with the next instalment. Part 1 is at the link.

This time:

Repair, Replace, & Paint

After a thorough wire brushing of the rusty areas, the tub was cleaned and dried.

Following electron1100's lead, the first step was to apply KURUST to all the rusty areas. This included the front and rear flanges. I did go a bit overboard in this picture.


CLICK HERE TO GO TO crouzet951's LINK


Post# 699661 , Reply# 1   8/29/2013 at 02:47 (3,884 days old) by crouzet951 ()        

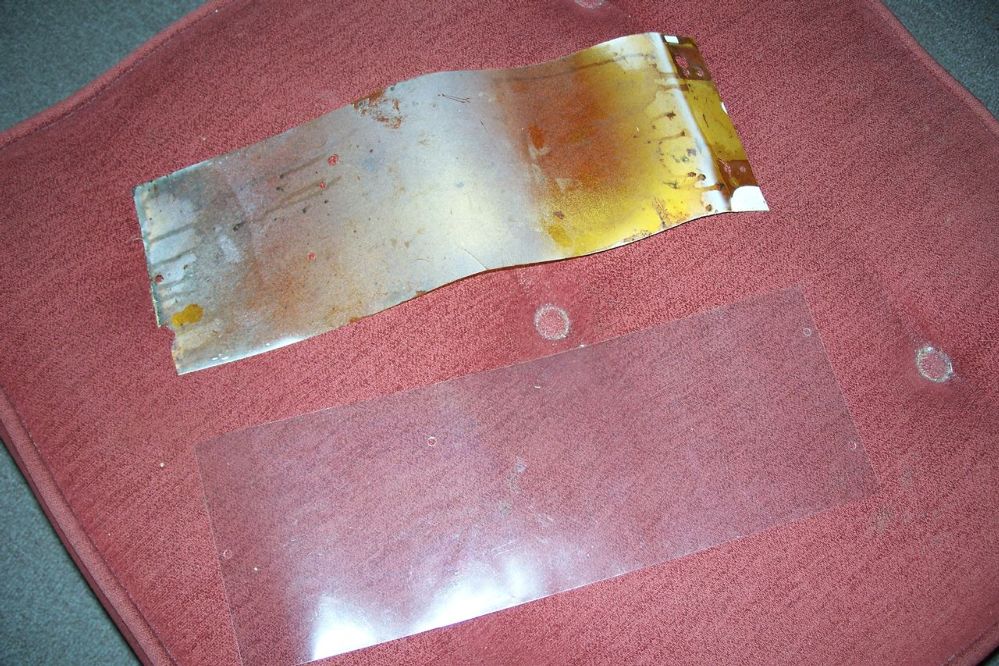
This also included the rusty drain tube.

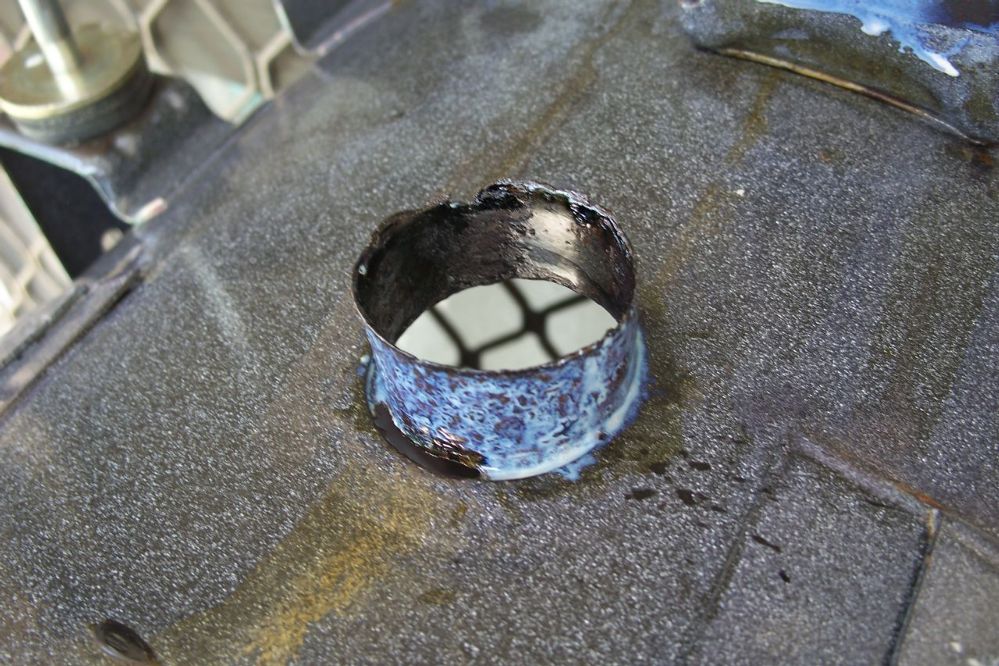
Post# 699663 , Reply# 2   8/29/2013 at 02:49 (3,884 days old) by crouzet951 ()        

Black Hammerite is being applied to both flanges, and some miscellaneous exterior locations.

Post# 699665 , Reply# 3   8/29/2013 at 02:58 (3,884 days old) by crouzet951 ()        

This is the Chemical Metal hole repair. When the instructions say you have five minutes usable time, you really do have five minutes - and no more!

I was trying to make it look a little smoother, but no time. It was also applied to the rust points around the heating element support.

It's a remarkable product.


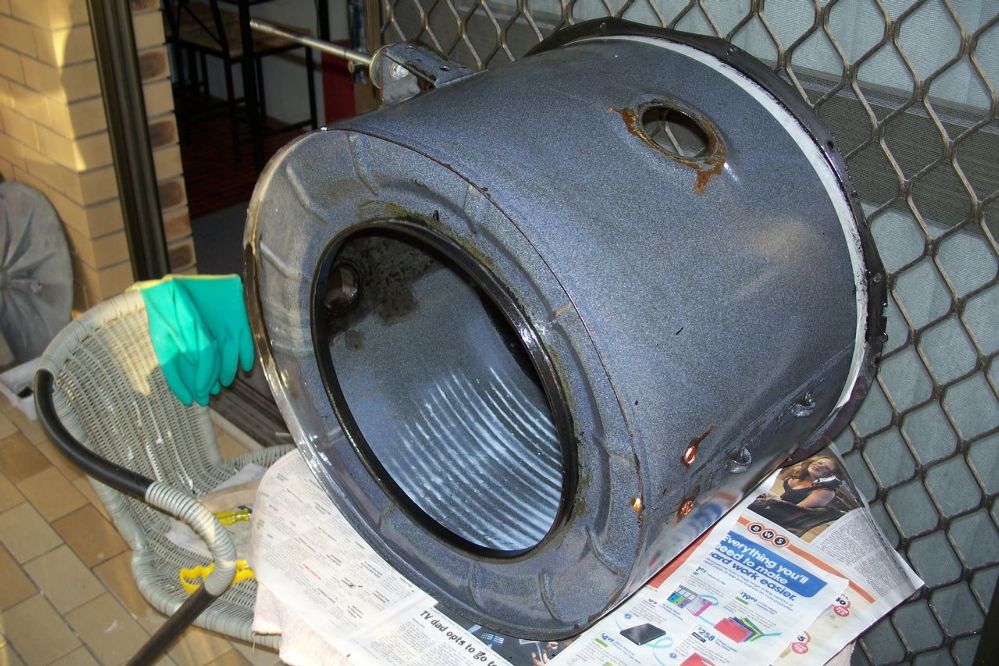
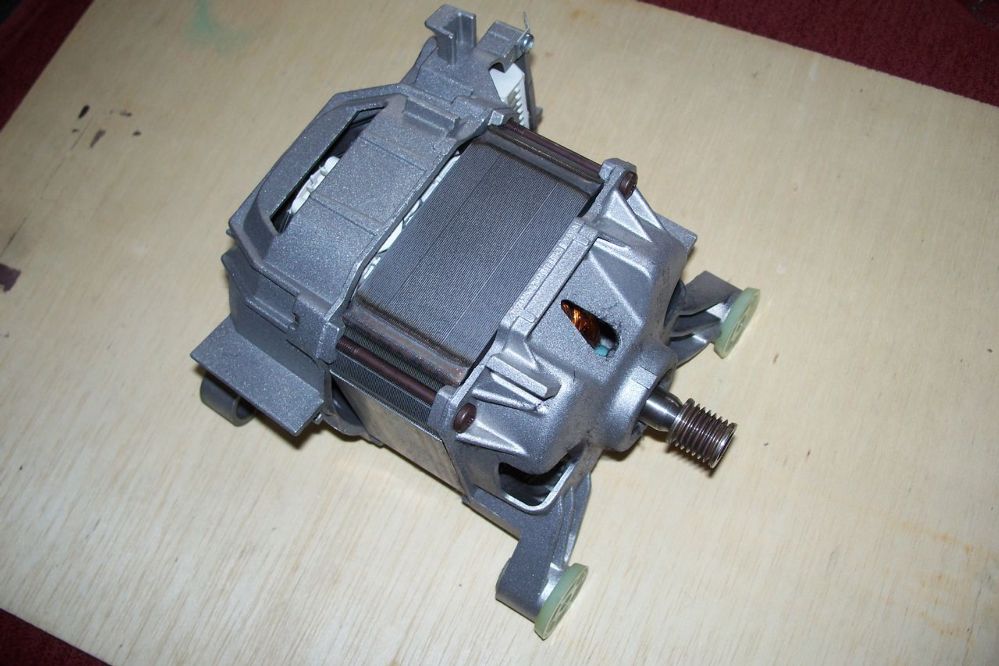
Post# 699666 , Reply# 4   8/29/2013 at 03:03 (3,884 days old) by crouzet951 ()        

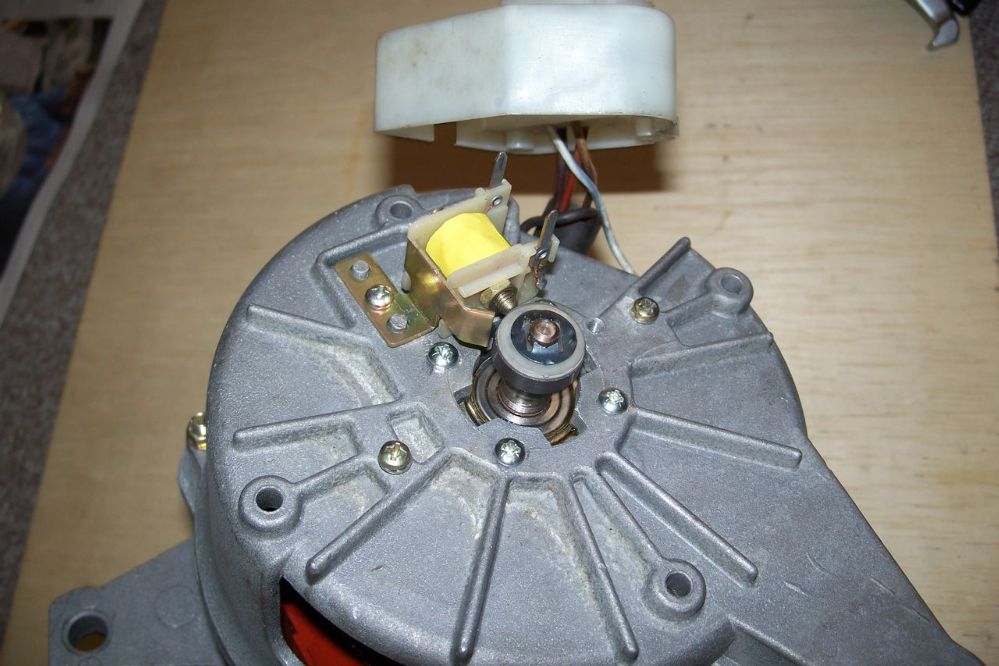
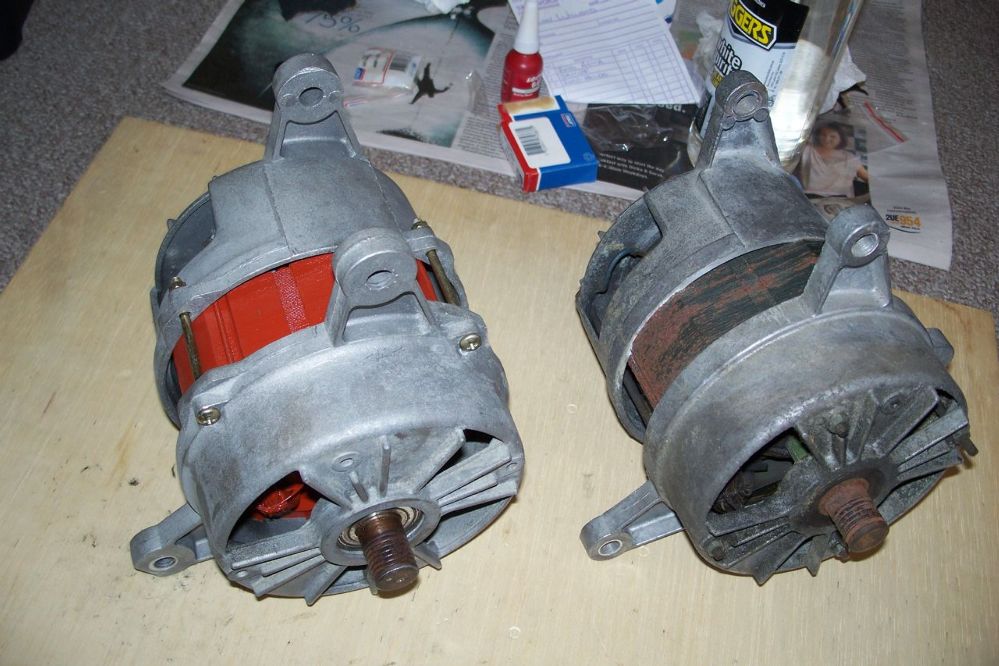
The motor parts ready to go back together.

The repairer painted the field windings red when re-baking them. The motor now has a racing stripe. Hehe.


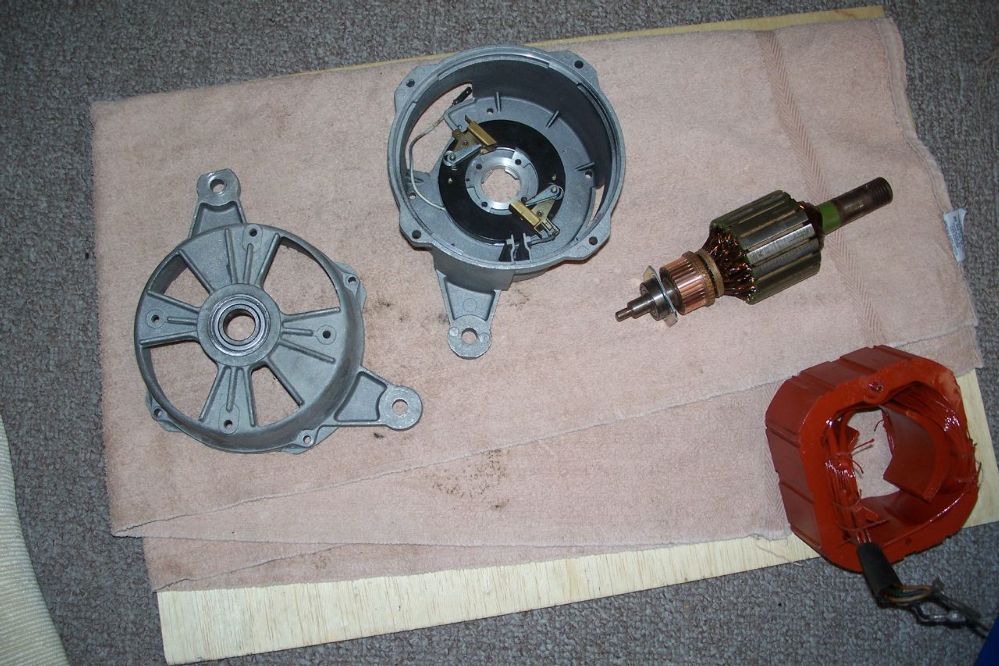
Post# 699667 , Reply# 5   8/29/2013 at 03:04 (3,884 days old) by crouzet951 ()        

The commutator came up very well.

Post# 699669 , Reply# 6   8/29/2013 at 03:18 (3,884 days old) by crouzet951 ()        

This is the (yellow) tachometer feedback coil that is used by the module to regulate the speeds for tumble and distribute. It uses the round magnet on the shaft as it rotates to create the electrical feedback.

The four screws around the shaft screw into the outer race retaining plate. This is the square plate trapped behind the bearing in the previous image. The plate was originally retained by aluminium rivets, but the bearing kits use these screws. It is a much better arrangement.

It was about two seconds after this picture was taken that I realised the inner race circlip had been left off, so it all had to come off again. Sigh!


Post# 699670 , Reply# 7   8/29/2013 at 03:30 (3,884 days old) by crouzet951 ()        

This is an interesting comparison.

The right motor is the UK manufactured motor which was originally fitted to the 455. The left motor is the Australian made motor fitted to the later Aus made front loaders.

The Aus motor was fitted to my washer many years ago as it was cheap (free), and in very good order. The UK motor was getting a bit noisy at the time.

There's not all that much difference, except perhaps for the method of retaining the front and rear brackets. The Aus motor uses shorter screws, though the holes are still there for the longer UK screws.

The UK motor will be disassembled and the rust cleaned up.


Post# 699672 , Reply# 8   8/29/2013 at 03:36 (3,884 days old) by crouzet951 ()        

This is the mythical spider kit that finally turned up only last Friday (24 August), after it was ordered more than four weeks before. It is for the later Aus front loaders which do not use the carbon seal and counterface. The triple lip seal is on the right.

The smaller bearing is not correct. It appears to be the commutator end bearing for the main motor, but I had already purchased SKF bearings for the spider, this didn't matter.


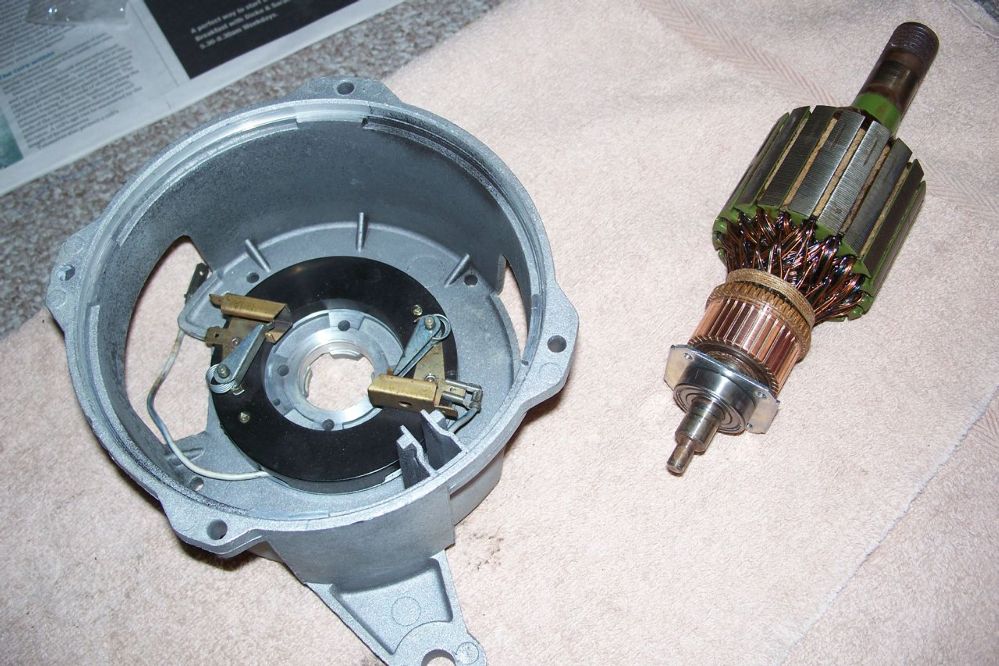
Post# 699673 , Reply# 9   8/29/2013 at 03:39 (3,884 days old) by crouzet951 ()        

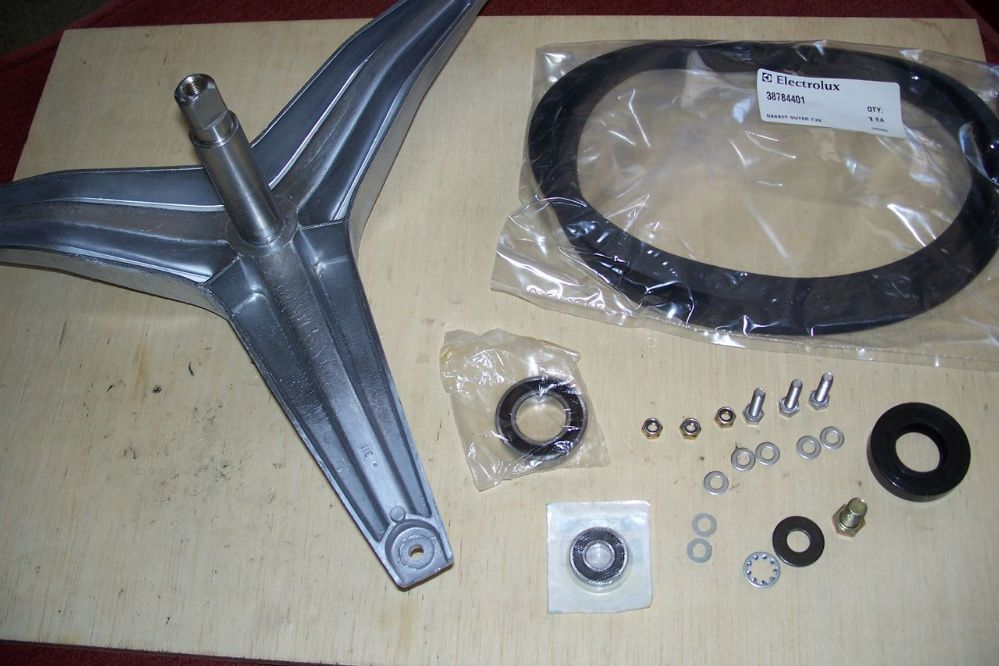
The screws, nyloc nuts, and washers, are stainless steel. The screws are the same size as the screws used to attach the backplate to the outer drum.

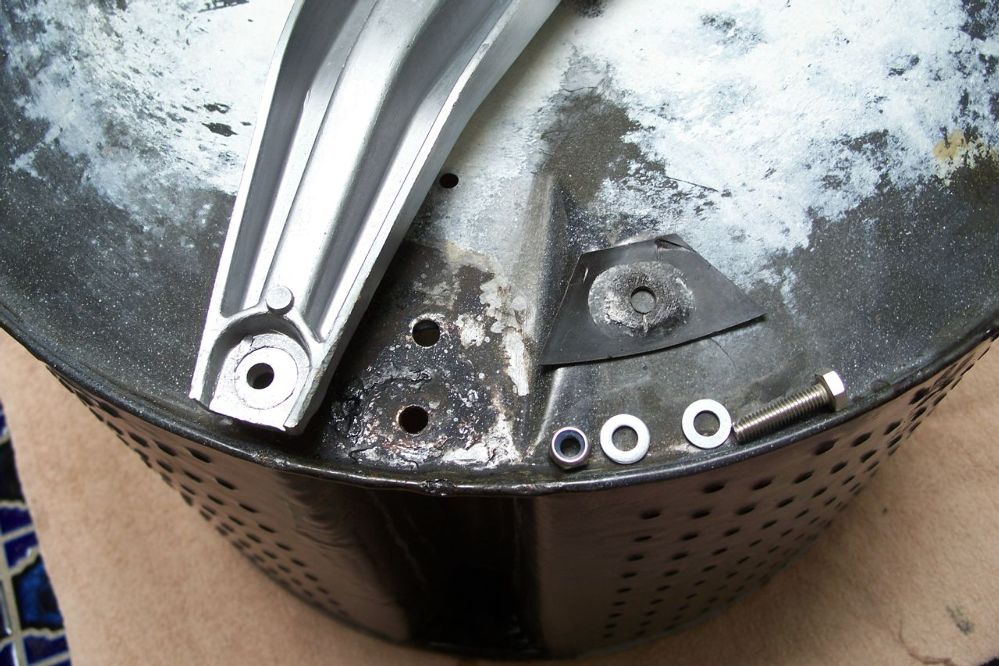
Post# 699674 , Reply# 10   8/29/2013 at 03:42 (3,884 days old) by crouzet951 ()        

As can be seen, the screw length is irrelevant.

Post# 699675 , Reply# 11   8/29/2013 at 03:43 (3,884 days old) by crouzet951 ()        

The heating element cleaned up very well using some kettle decalcifier.

Post# 699676 , Reply# 12   8/29/2013 at 03:49 (3,884 days old) by crouzet951 ()        

I decided that if the aluminium trim ring could be removed from the door with little or no damage, the inner and outer door would be stripped and repainted. Luckily the old adhesive holding the ring had come loose for most of the way round, with only a small movement back and forth needed to loosen the last bit. Please note these parts weren't sprayed inside, just dried inside. Hehe.

It almost looks like op art.


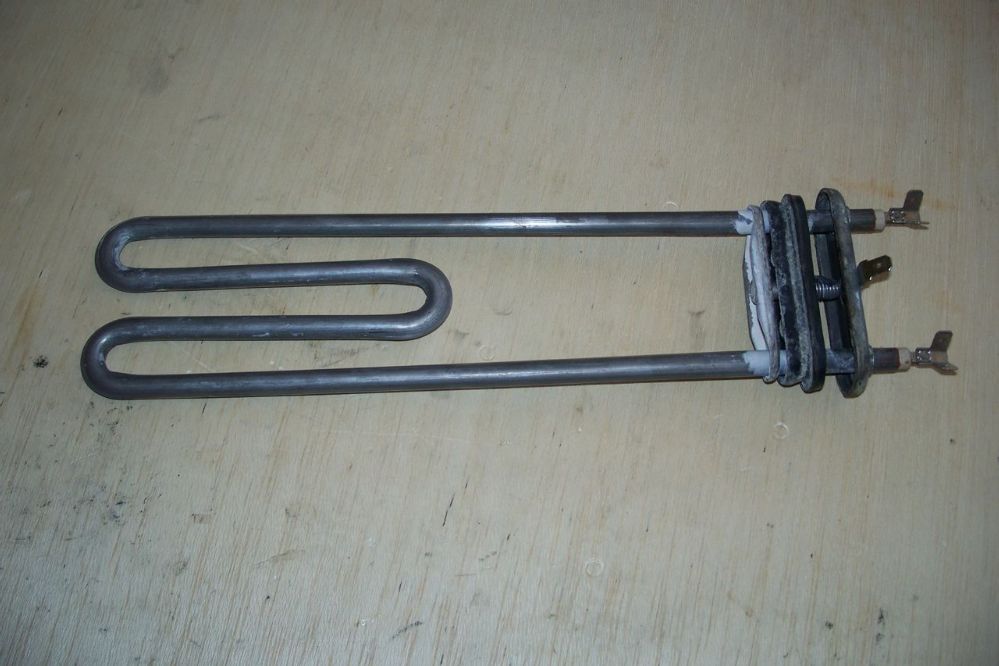
Post# 699677 , Reply# 13   8/29/2013 at 03:51 (3,884 days old) by crouzet951 ()        

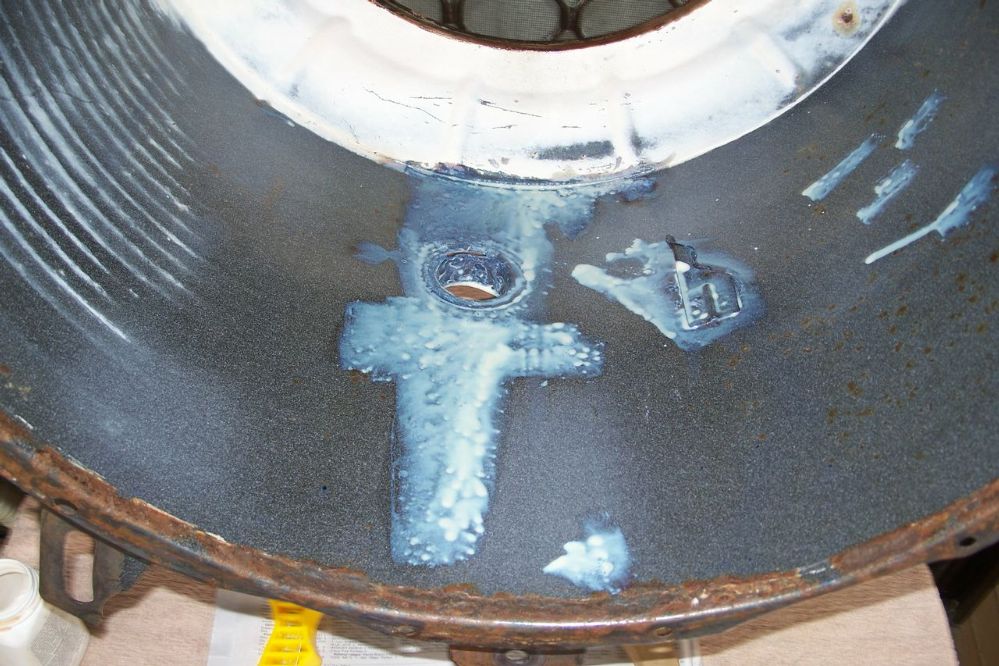
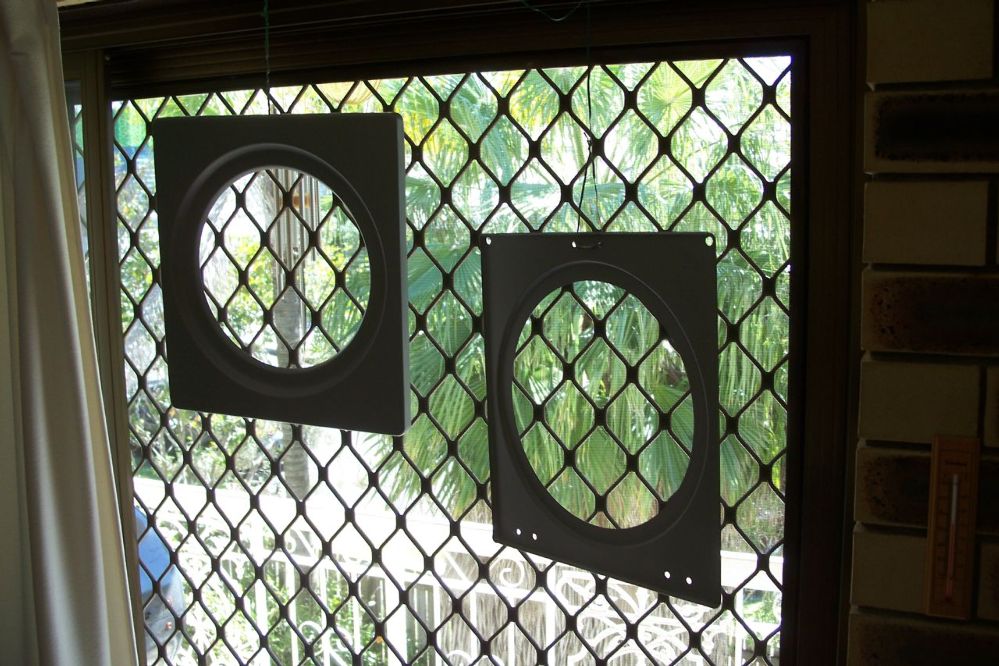
Can you guess what these are? More op art?

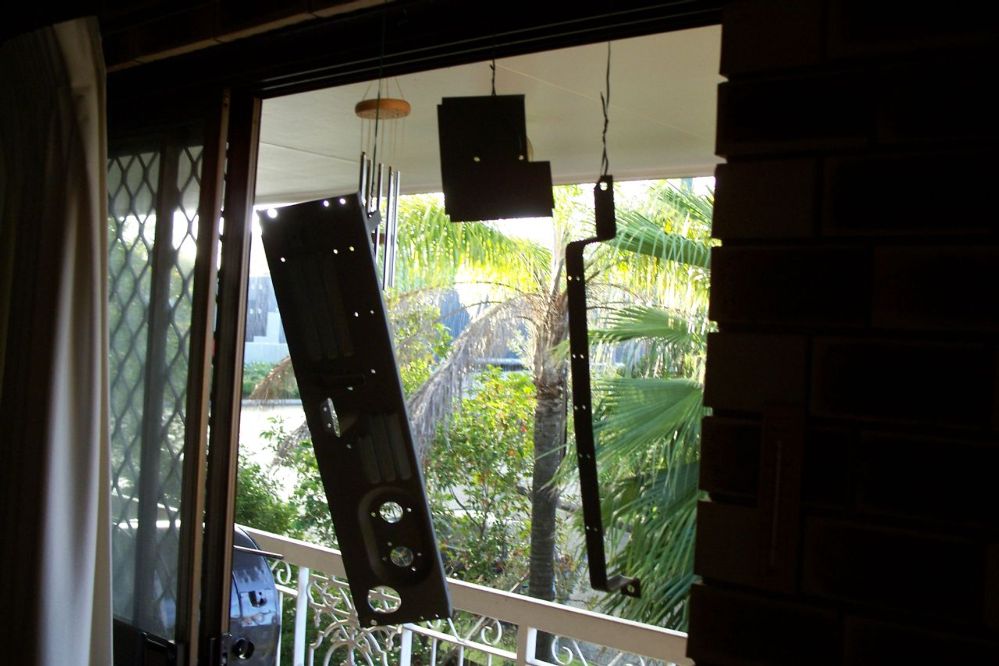
Post# 699679 , Reply# 14   8/29/2013 at 03:55 (3,884 days old) by crouzet951 ()        

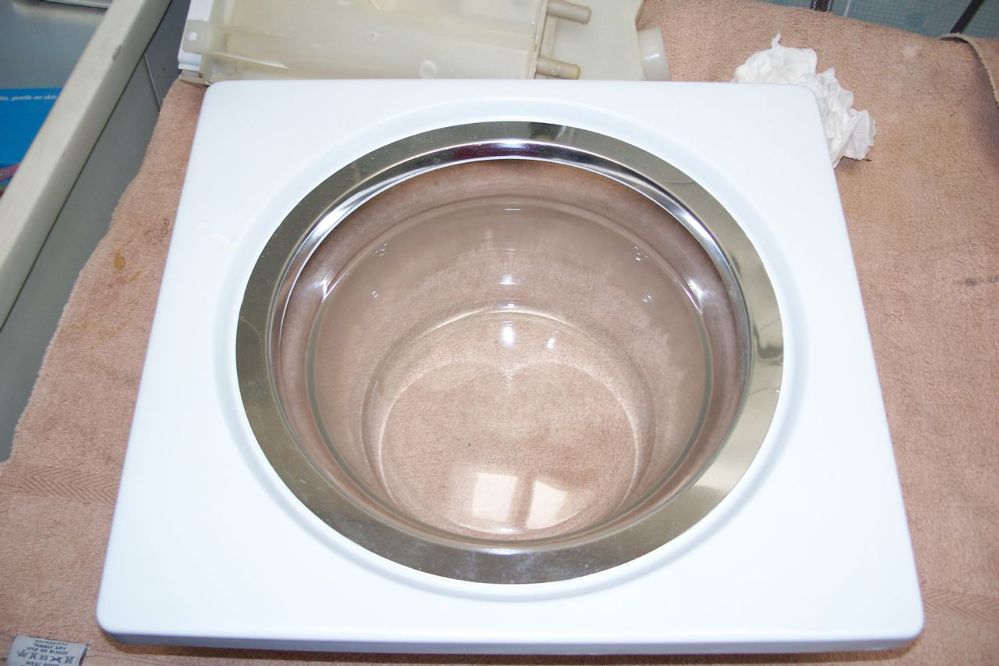
The old paint was stripped off (now that is a pleasant experience), KURUST to the rust, sanded and cleaned, then two coats of primer and two top coats. They came up quite well.

Post# 699680 , Reply# 15   8/29/2013 at 04:10 (3,884 days old) by crouzet951 ()        

The previous process was also applied to the inner and outer door, and they also came up well. The trim ring is now held on with Blue-Tack.

It's a little hard to see, but at about the 9.30 position there's a small paint blemish. It was almost literally the last spray stroke of the top coat, when I let the base of the can touch the surface. I couldn't face repeating the process of stripping and painting the outer door, so it was touched up manually.


Post# 699681 , Reply# 16   8/29/2013 at 04:27 (3,884 days old) by crouzet951 ()        

It was actually quite difficult to think of something to use for the module cover.

I finally decided to use an A3 laminating pouch, after it had been laminated with nothing inside. It was about 10mm shorter than the original, but that was solved by only attaching it with two holes instead of four.

A hollow punch was used to create the holes, including the one for the module adjustment pot.


Post# 699682 , Reply# 17   8/29/2013 at 04:29 (3,884 days old) by crouzet951 ()        

That's all for now. I'll be back tomorrow with the conclusion.

Cheers
John


Post# 699765 , Reply# 18   8/29/2013 at 14:09 (3,884 days old) by sesteve (London, UK)        

sesteve's profile picture
Wow more fantastic pictures and great to see such a detailed restoration. Looking forward to the conclusion

S


Post# 699766 , Reply# 19   8/29/2013 at 14:10 (3,884 days old) by fido ()        

I've never heard of a motor bearing kit. Back in the day it was quite cheap to fit a new armature but the big pre-logic motor armatures became obsolete some years ago. I had a machine similar to yours in my store for some time, waiting for a replacement armature, then one day I was out walking and spotted a rusty wreck of a Hoover auto in a ditch. The only bit worth salvaging on the machine was the armature so I got my machine running and sold it!

Post# 700026 , Reply# 20   8/30/2013 at 18:43 (3,883 days old) by crouzet951 ()        

Hi all

seateve

It will be posted shortly.

fido

Motor bearing kits have been around for years. though the bearings are just standard sizes and can be sourced easily.

An image of a third party bearing kit is attached. I had already bought SKF bearings for the motor, but the NSK bearings in the kit are very high quality as well. The top bearing isn't rusty - it's preservative. It's in a sealed bag under the shrink wrap.

As mentioned earlier, the main things I wanted were the threaded bearing retainer and screws.

John


Post# 700149 , Reply# 21   8/31/2013 at 04:13 (3,882 days old) by fido ()        

Qualtex, that explains it. When I first started in the trade I had an account with Crum & Sons of Glasgow. They were Qualtex agents but they were hopeless, sending the wrong parts all the time. I soon abandoned them in favour of other suppliers, athough I probably still have an old Qualtex catalogue in the shed in UK. The armature kit used to include that same retaining plate and screws. Most armatures are not designed to have new front bearings, as the pulley is bigger than the front bearing inside diameter.

Post# 701034 , Reply# 22   9/4/2013 at 05:42 (3,878 days old) by crouzet951 ()        

Hi fido

It's funny you should mention pulleys larger then the bearing inside diameter, as I pulled the motor off my Bosch washer (2007 vintage) this week to check the brush wear.

I wonder how the pulley is fitted. It must be either pressed on, or heated and pushed on for a shrink fit. Can these motors can be repaired at all, apart from the brushes?


Post# 701159 , Reply# 23   9/4/2013 at 14:05 (3,878 days old) by fido ()        

Actually the rear bearing seems more liable to fail than the front so I have put new rear bearings in quite a few Hotpoint GEC motors over the years. Yes, I think the pulley is probably shrunk on before the armature is wound and you could probably not heat it enough to remove it without damaging the windings.


Forum Index:       Other Forums:                      


Comes to the Rescue!

The Discuss-o-Mat has stopped, buzzer is sounding!!!
If you would like to reply to this thread please log-in...

Discuss-O-MAT Log-In


New Members
Click Here To Sign Up.


automaticwasher.org home
Discuss-o-Mat Forums
Vintage Brochures, Service and Owners Manuals
Fun Vintage Washer Ephemera
See It Wash!
Video Downloads
Audio Downloads
Picture of the Day
Patent of the Day
Photos of our Collections
The Old Aberdeen Farm
Vintage Service Manuals
Vintage washer/dryer/dishwasher to sell?
Technical/service questions?
Looking for Parts?
Website related questions?
Digital Millennium Copyright Act Policy
Our Privacy Policy