|
Thread Number: 49673
Hoover 155 (D6028) Dryer Overhaul Pt 2 |
[Down to Last] |

|
| Post# 717947 , Reply# 1 11/26/2013 at 22:12 (3,797 days old) by crouzet951 () | ||
|
The cleaned up windings, rotor, and one of the endplates, ready to reassemble. End thrust of the rotor shaft is controlled by washers at the fan end of the motor. They can be seen on the shaft. 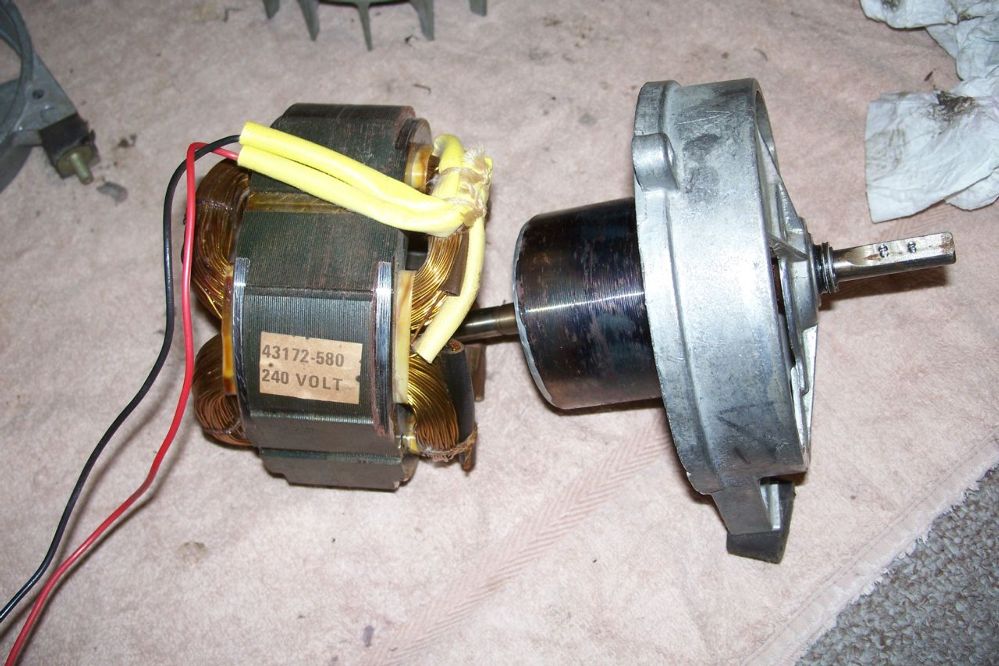
| ||
| Post# 717949 , Reply# 2 11/26/2013 at 22:14 (3,797 days old) by crouzet951 () | ||
|
Looking much better cleaned up. 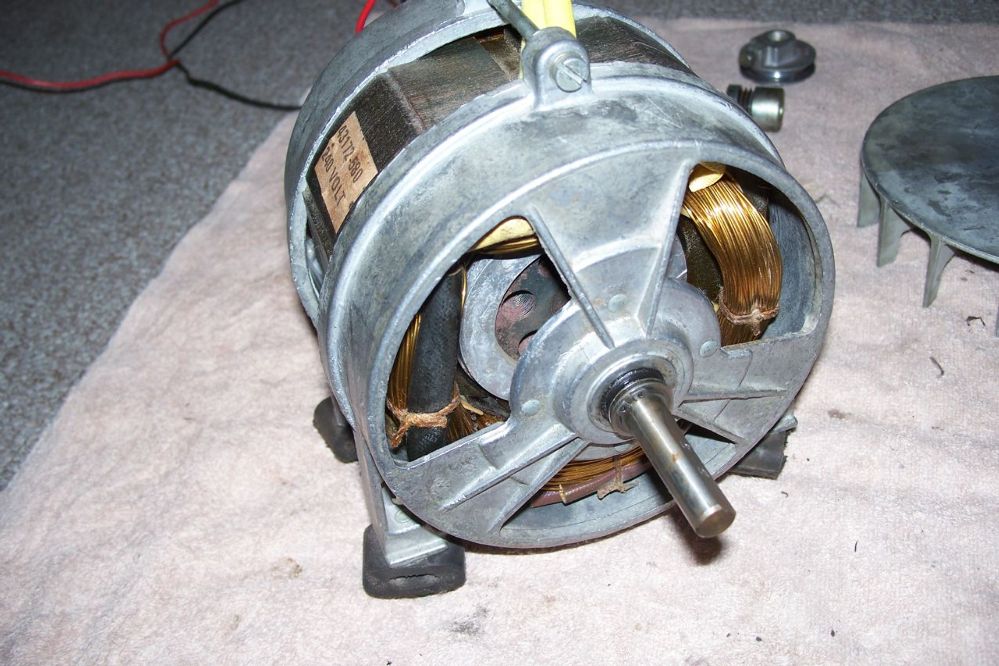
| ||
| Post# 717950 , Reply# 3 11/26/2013 at 22:16 (3,797 days old) by crouzet951 () | ||
|
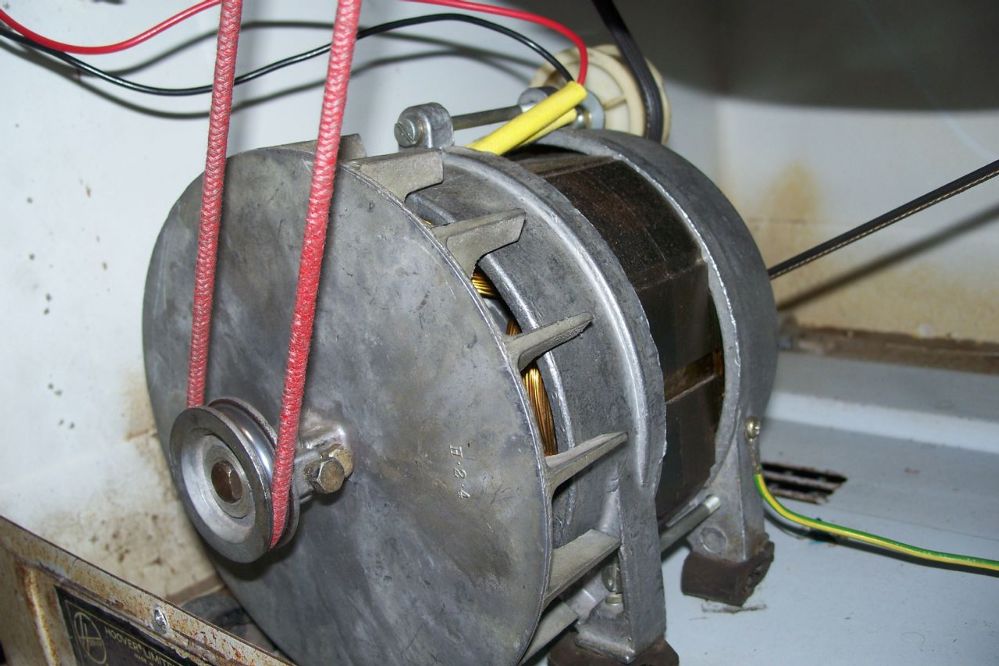
Reinstalled in the cleaned up cabinet. The motor sits on rubber insulators to absorb vibration. 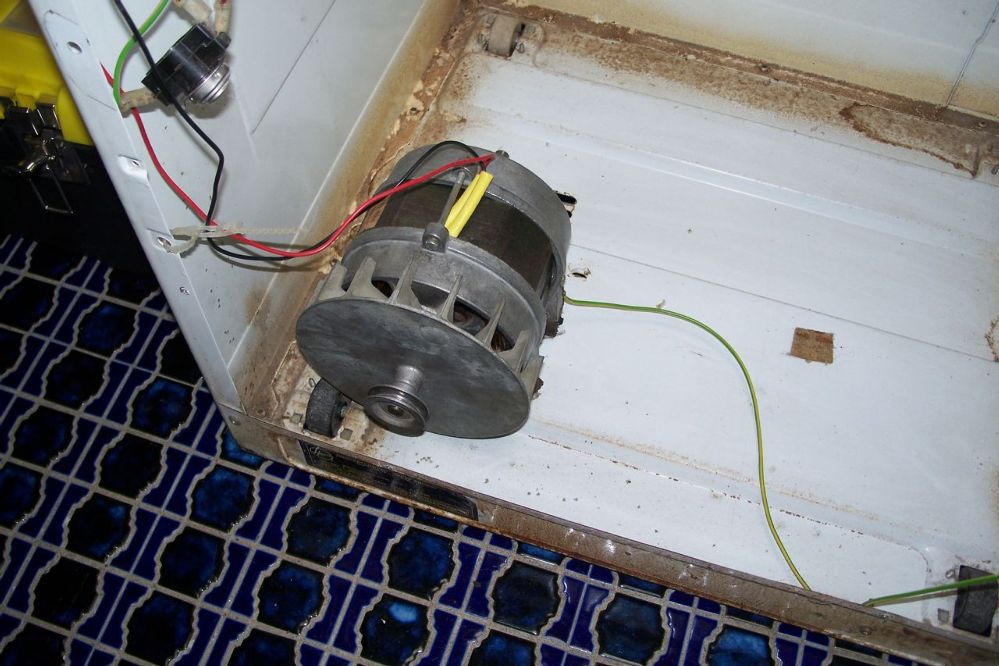
| ||
| Post# 717952 , Reply# 5 11/26/2013 at 22:23 (3,797 days old) by crouzet951 () | ||
|
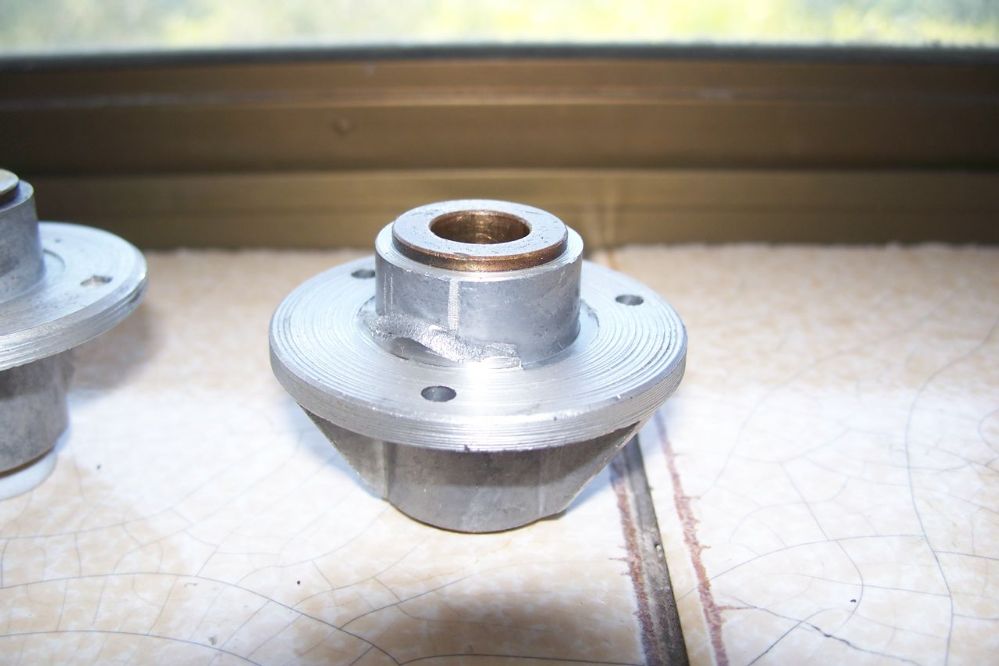
Once again, the bushings needed to soak up oil overnight. There is some fibre material between the inner and outer bushes which act as a reservoir. The new fan shaft is next to it. 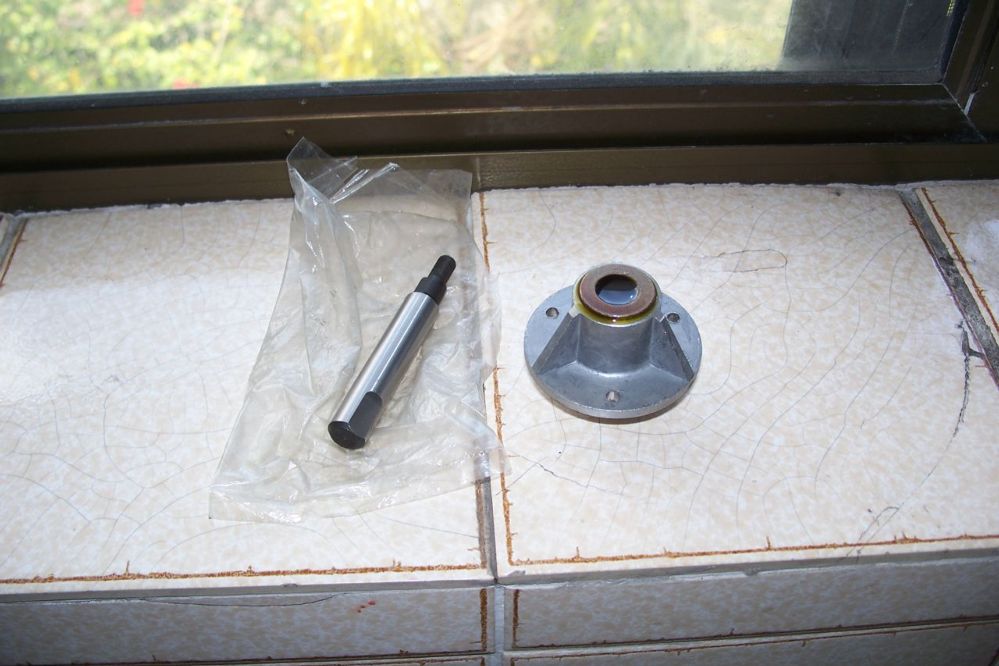
| ||
| Post# 717954 , Reply# 6 11/26/2013 at 22:27 (3,797 days old) by crouzet951 () | ||
|
The old and new shafts. There was already slight wear on the shaft and the bushes when the dryer was overhauled in 1991, and the shaft still looks much the same. 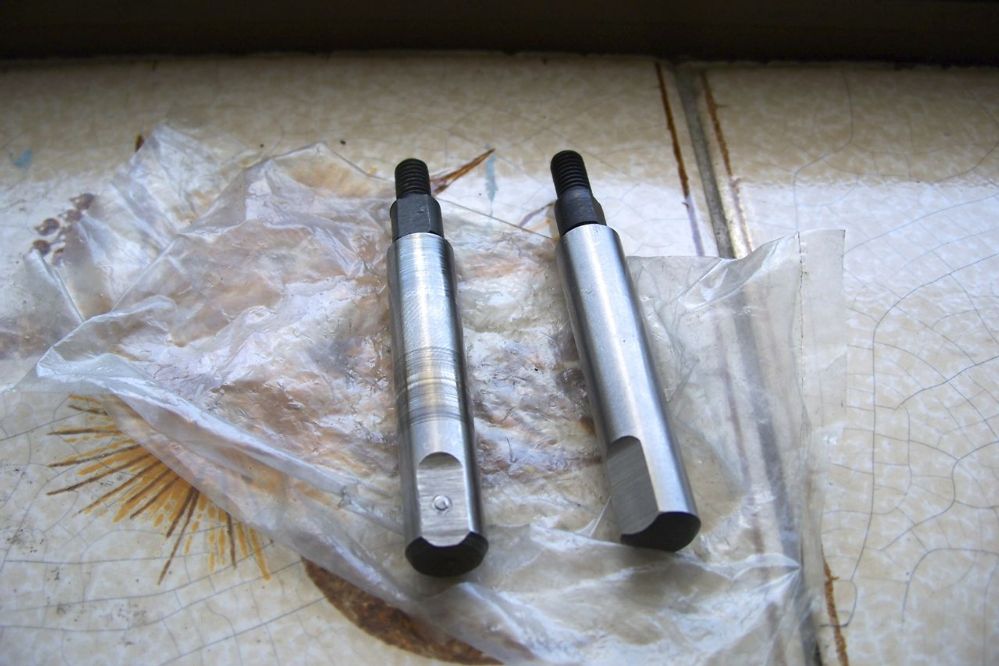
| ||
| Post# 717955 , Reply# 7 11/26/2013 at 22:30 (3,797 days old) by crouzet951 () | ||
|
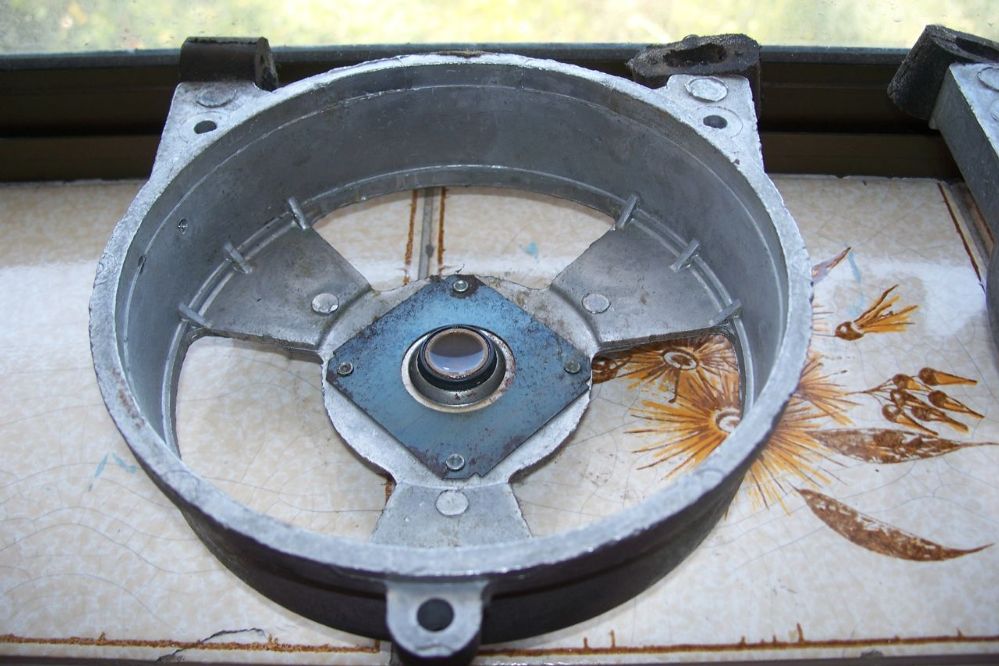
This is the new fan bearing assembly mounted in the fan housing. Rather then using aluminium rivets again, I used 3mm stainless steel (ss) set screws with washers and ss nyloc nuts. 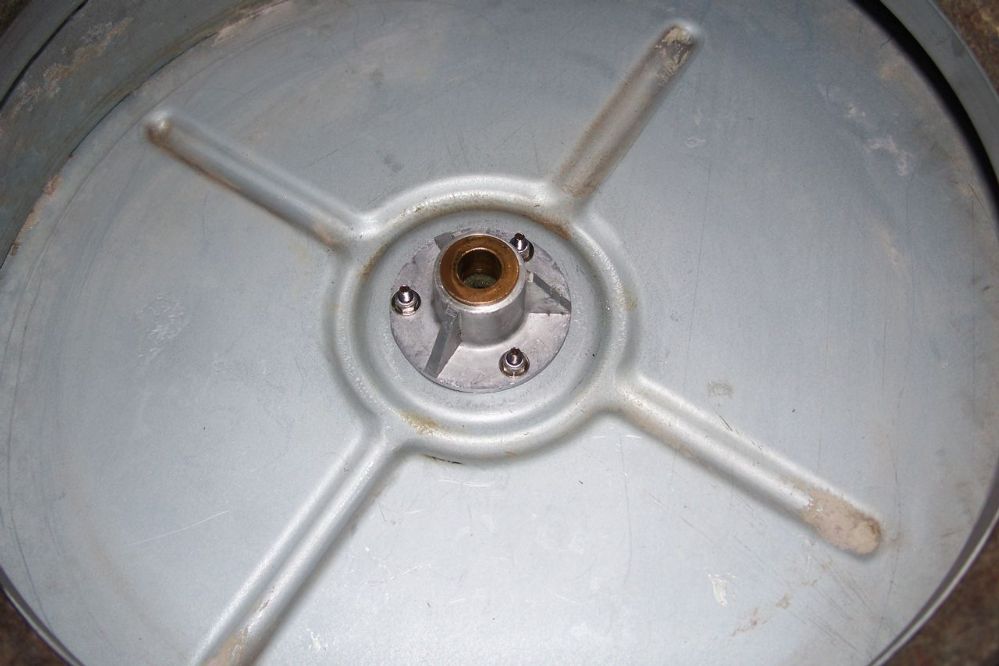
| ||
| Post# 717956 , Reply# 8 11/26/2013 at 22:31 (3,797 days old) by crouzet951 () | ||
|
The new shaft installed in the fan. 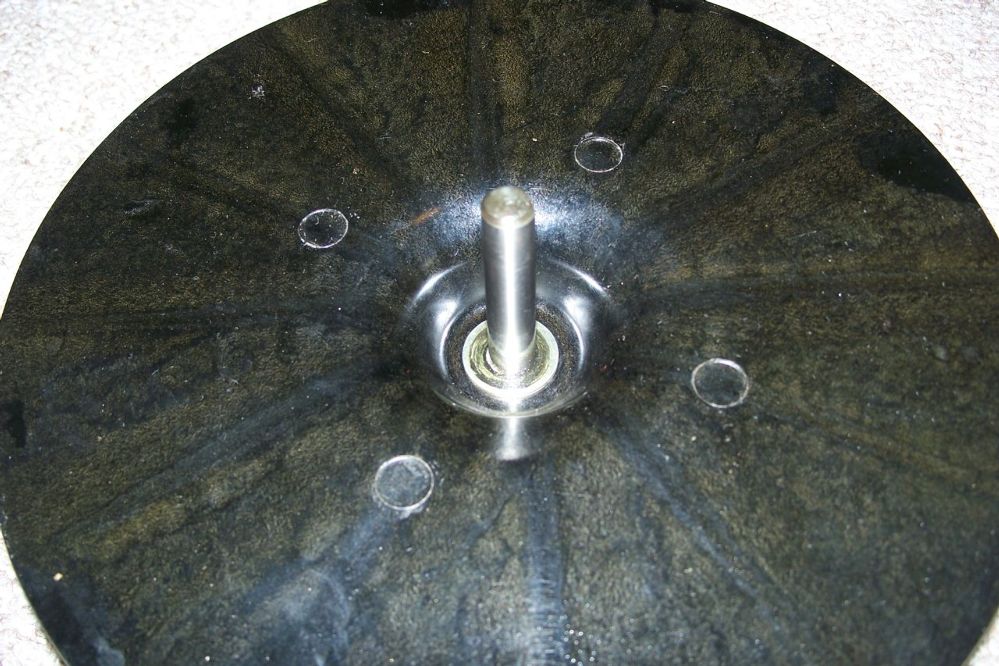
| ||
| Post# 717959 , Reply# 9 11/26/2013 at 22:34 (3,797 days old) by crouzet951 () | ||
|
The fan is very nice cleaned up. Just thinking, that it would make a great clock dial (perfect with 12 blades for the hours) for the Hoover enthusiast who has everything. Hehe. 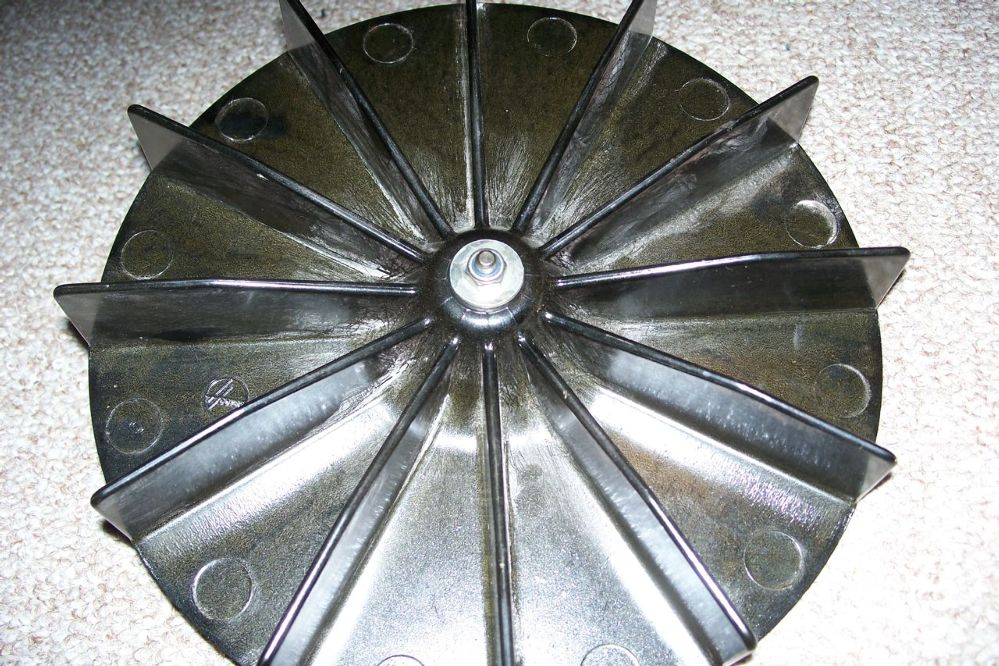
| ||
| Post# 717960 , Reply# 10 11/26/2013 at 22:36 (3,797 days old) by crouzet951 () | ||
|
Reinstalling the support bridge for the drum rear bearing. 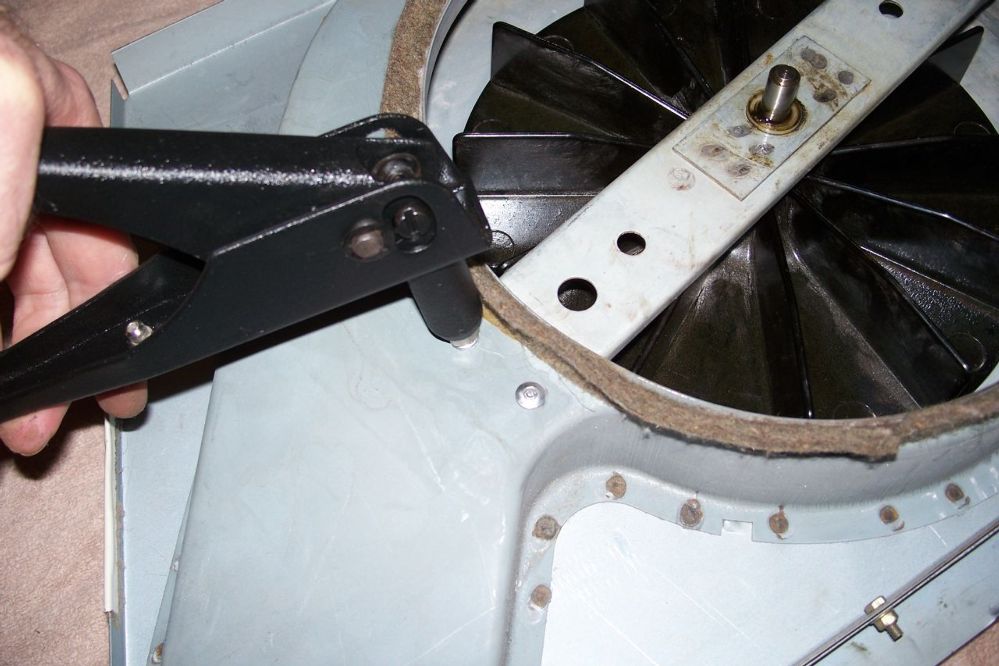
| ||
| Post# 717961 , Reply# 11 11/26/2013 at 22:37 (3,797 days old) by crouzet951 () | ||
|
All ready to go. The felt seal is original and is in very good condition, especially after a good vacuum. 
| ||
| Post# 717962 , Reply# 12 11/26/2013 at 22:42 (3,797 days old) by crouzet951 () | ||
|
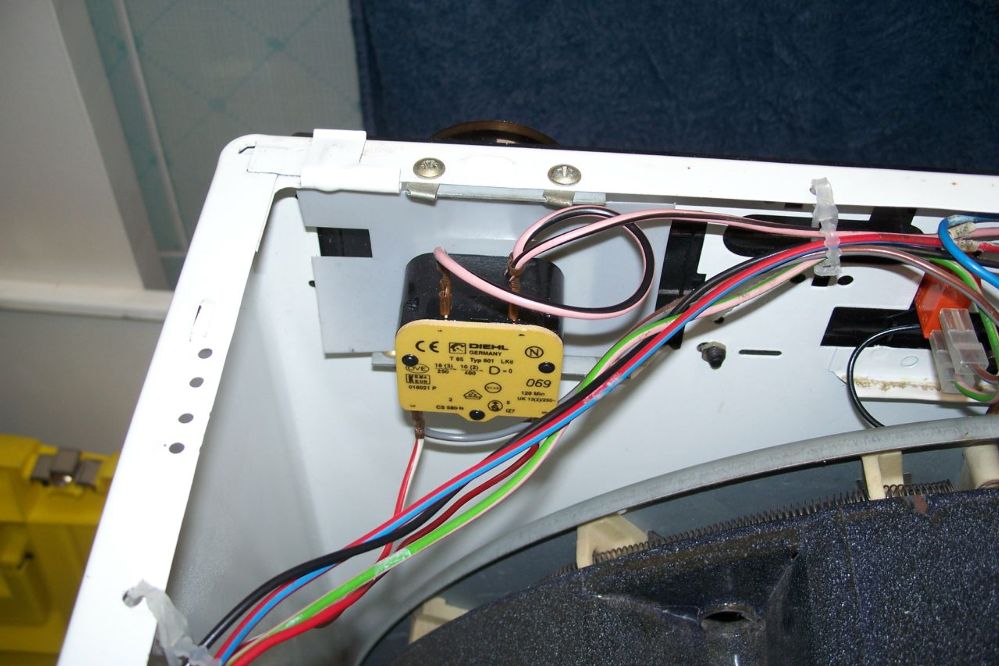
At this point I decided to install the thermostat on the fan housing while it was out. It is retained by a rubber grommet that can be tricky to install. 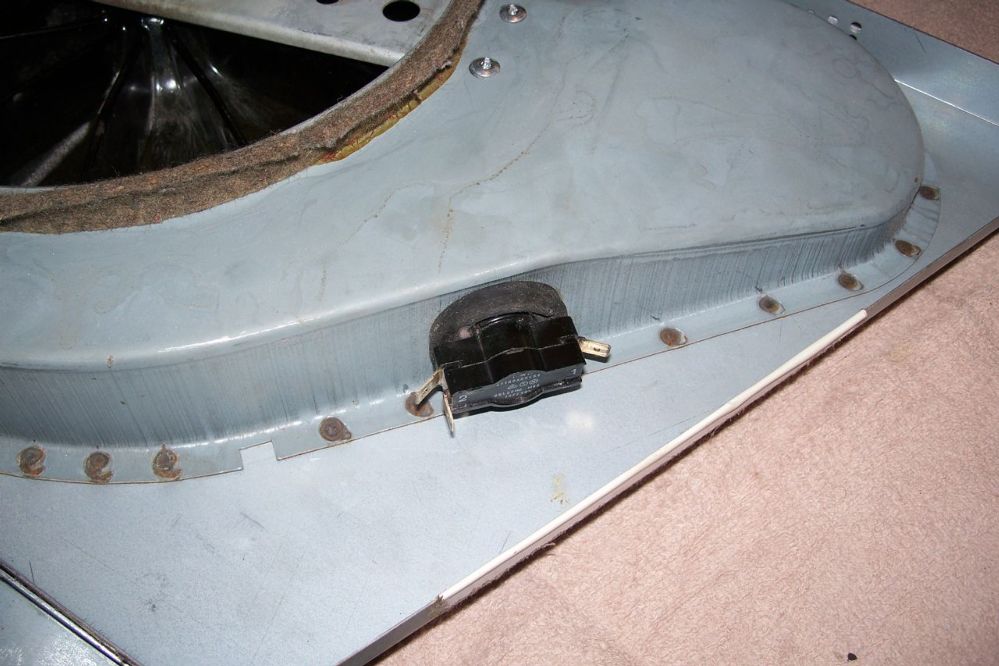
| ||
| Post# 717966 , Reply# 14 11/26/2013 at 22:51 (3,797 days old) by crouzet951 () | ||
|
As mentioned earlier, the cabinet has to be spread slightly to get the drum back in. Towels were used to protect the paint on the cabinet. The 455 is washing a load of towels as a first test of the dryer. 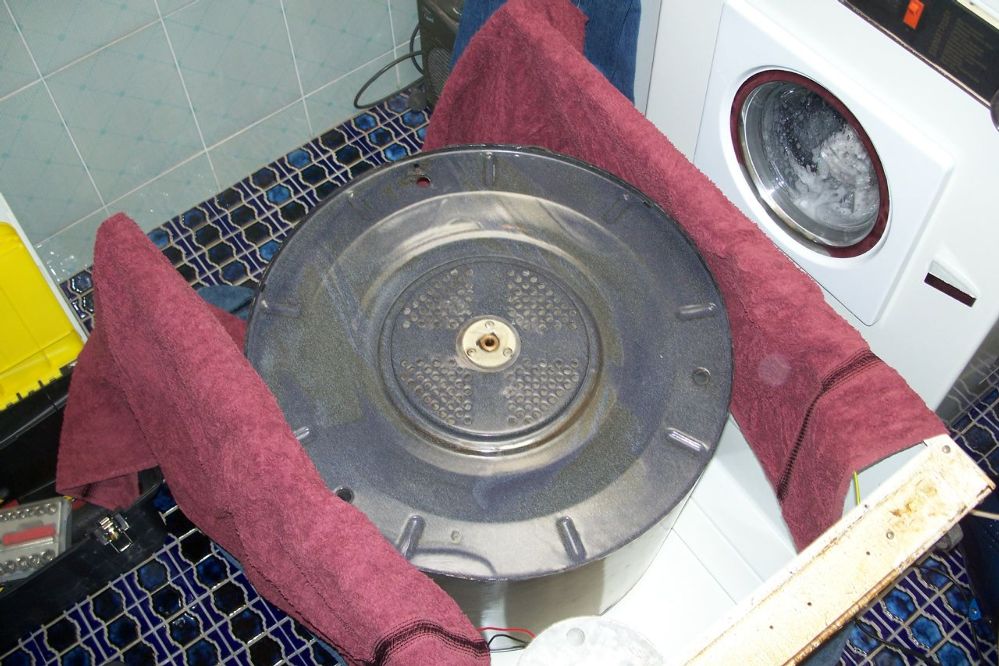
| ||
| Post# 717968 , Reply# 15 11/26/2013 at 22:53 (3,797 days old) by crouzet951 () | ||
|
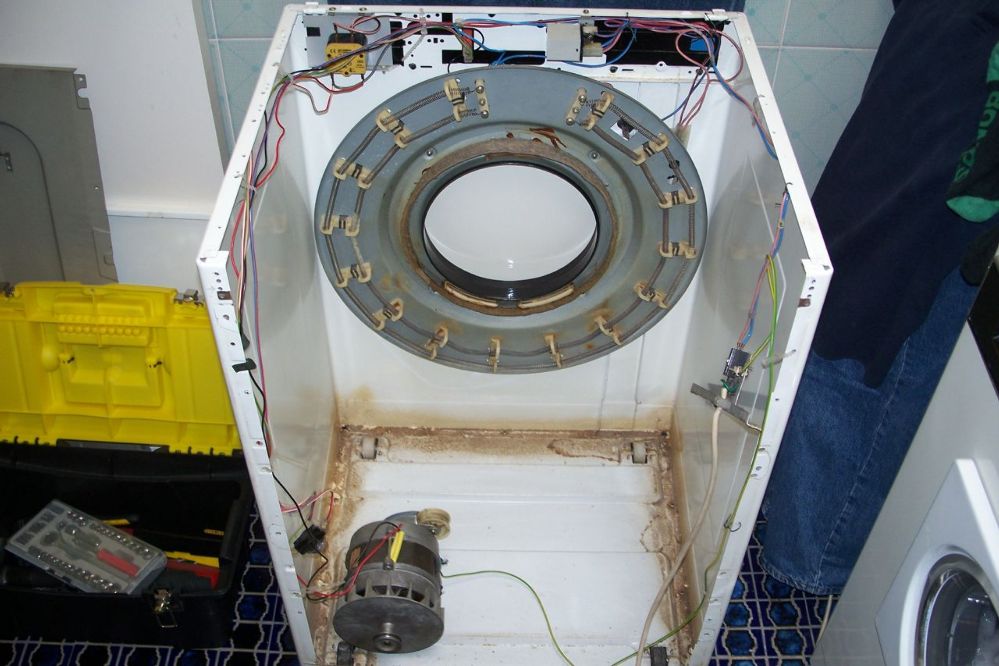
Ready for the fan housing. The rear drum bearing rotates at low speed so I used grease for lubrication. 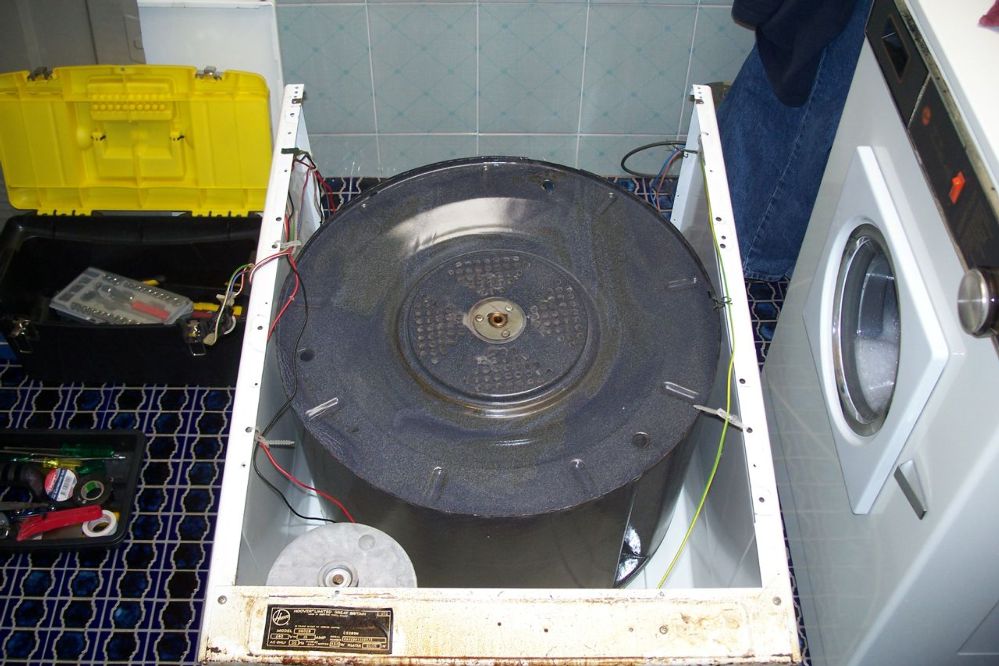
| ||
| Post# 717969 , Reply# 16 11/26/2013 at 22:58 (3,797 days old) by crouzet951 () | ||
|
The drum housing is retained by four screws with these large strengtheners. These screws need to be tight, and unfortunately the original screws strip very easily. They were replaced with ss screws as pictured. 
| ||
| Post# 717970 , Reply# 17 11/26/2013 at 23:00 (3,797 days old) by crouzet951 () | ||
|
The fan housing back in place. 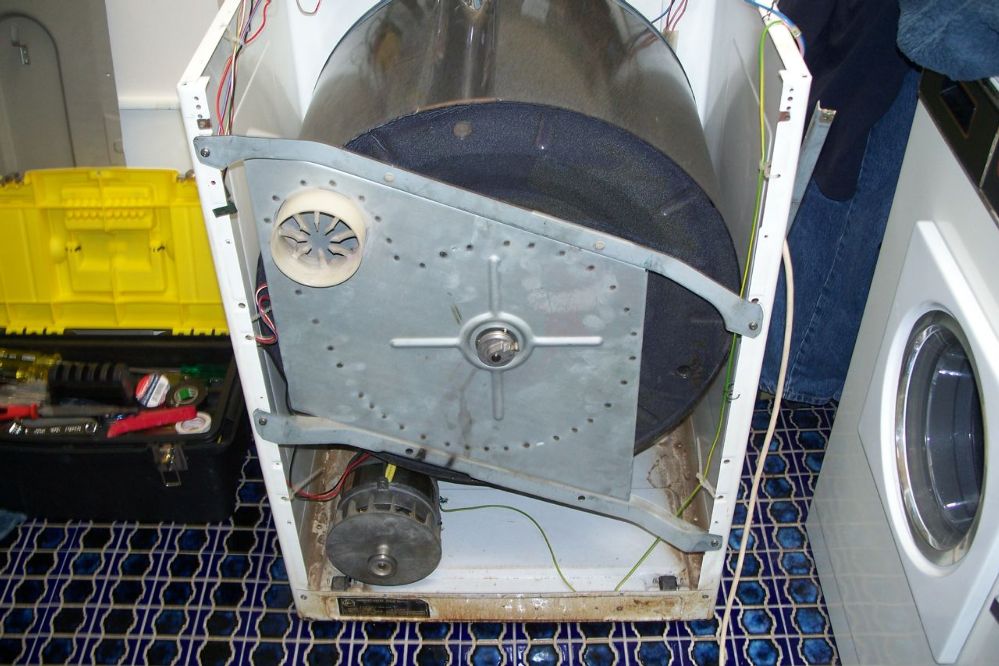
| ||
| Post# 717971 , Reply# 18 11/26/2013 at 23:02 (3,797 days old) by crouzet951 () | ||
|
These clever multiple holes allow the fan housing to be moved in and out slightly, to adjust the end float of the drum. 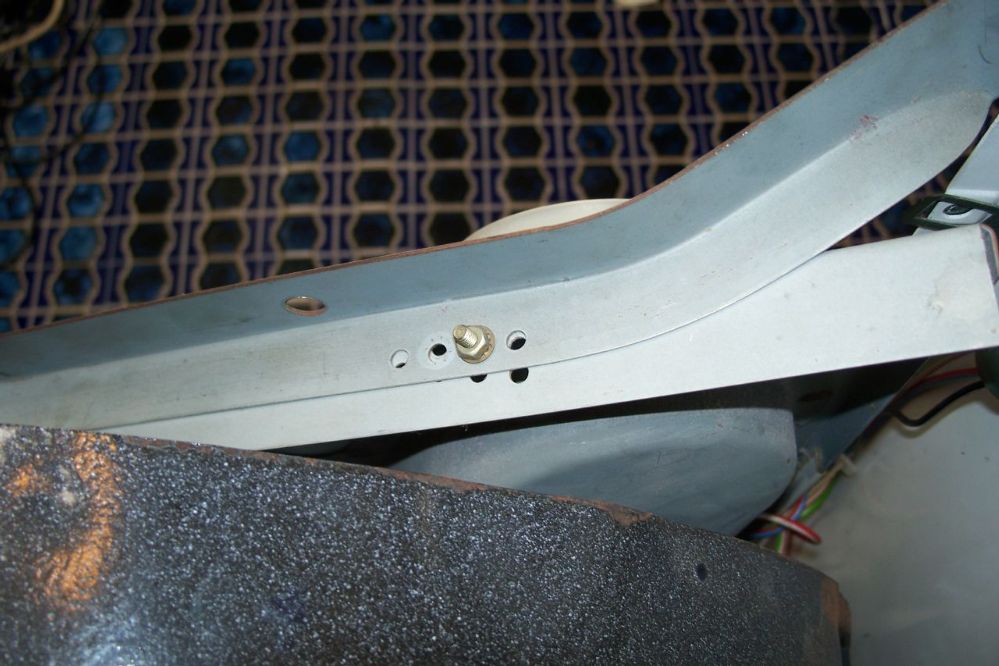
| ||
| Post# 717972 , Reply# 19 11/26/2013 at 23:02 (3,797 days old) by crouzet951 () | ||
|
Looking good. 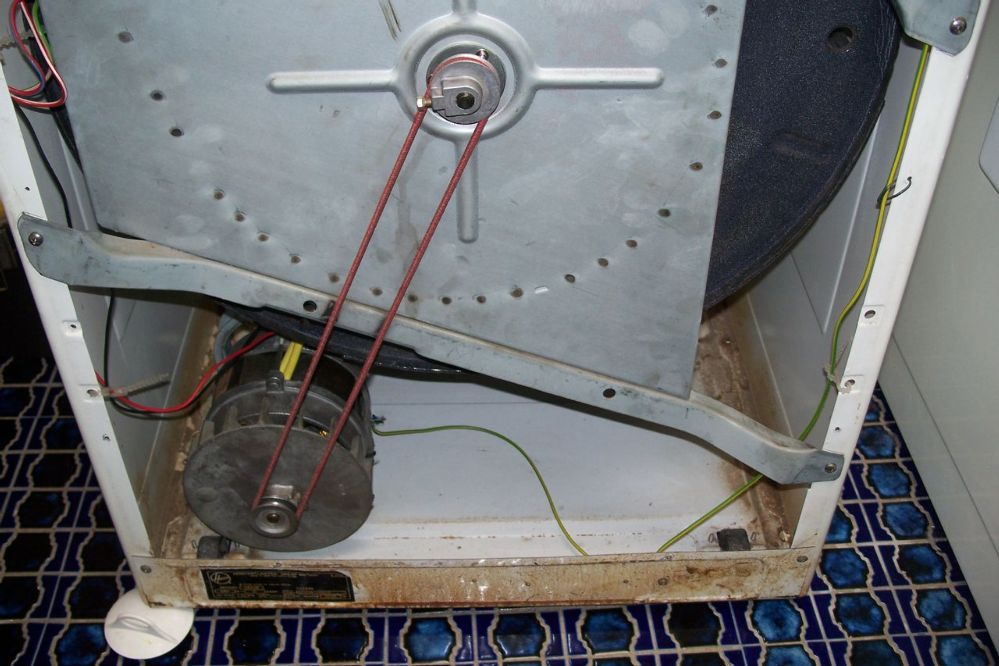
| ||
| Post# 717975 , Reply# 21 11/26/2013 at 23:07 (3,797 days old) by crouzet951 () | ||
|
The screws holding the fan bearing housing in place can be seen. 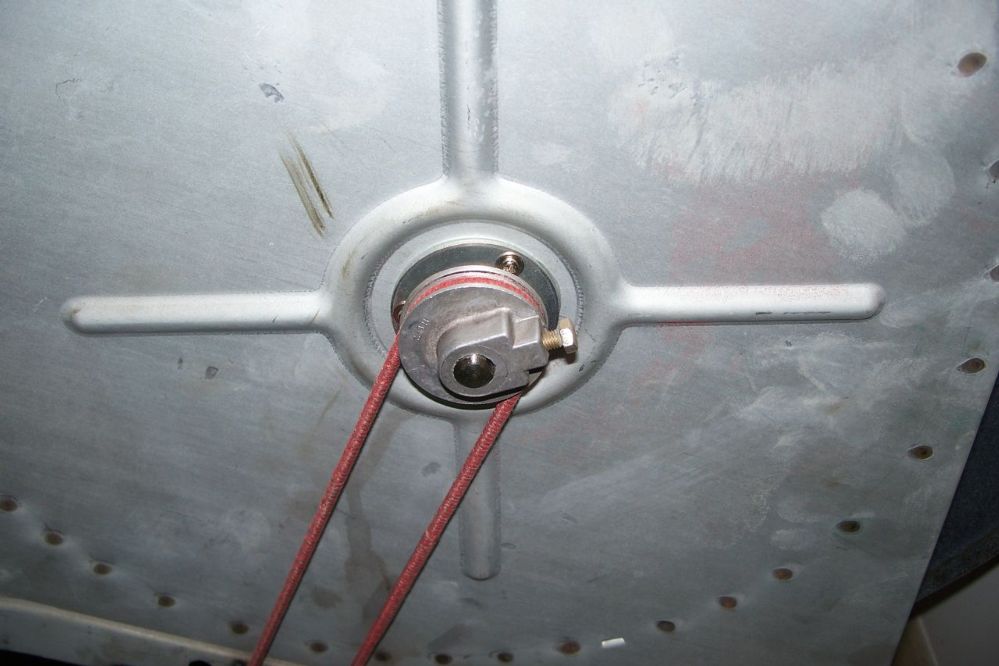
| ||
| Post# 717976 , Reply# 22 11/26/2013 at 23:09 (3,797 days old) by crouzet951 () | ||
|
The control panel cutouts can be seen for the various models of washers and dryers. 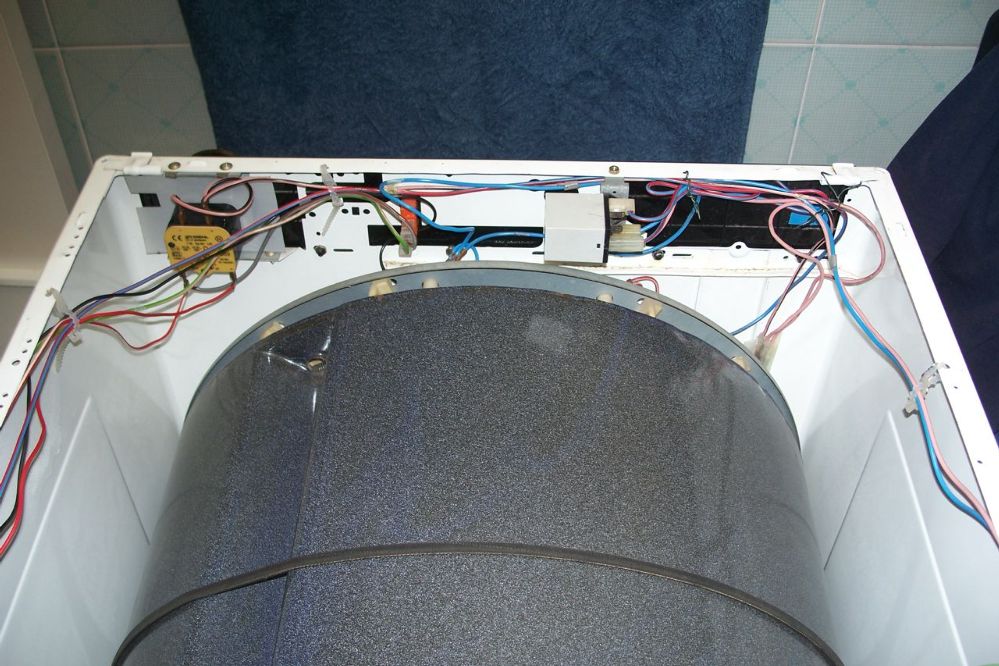
| ||
| Post# 717978 , Reply# 24 11/26/2013 at 23:16 (3,797 days old) by crouzet951 () | ||
|
Rear panel on. 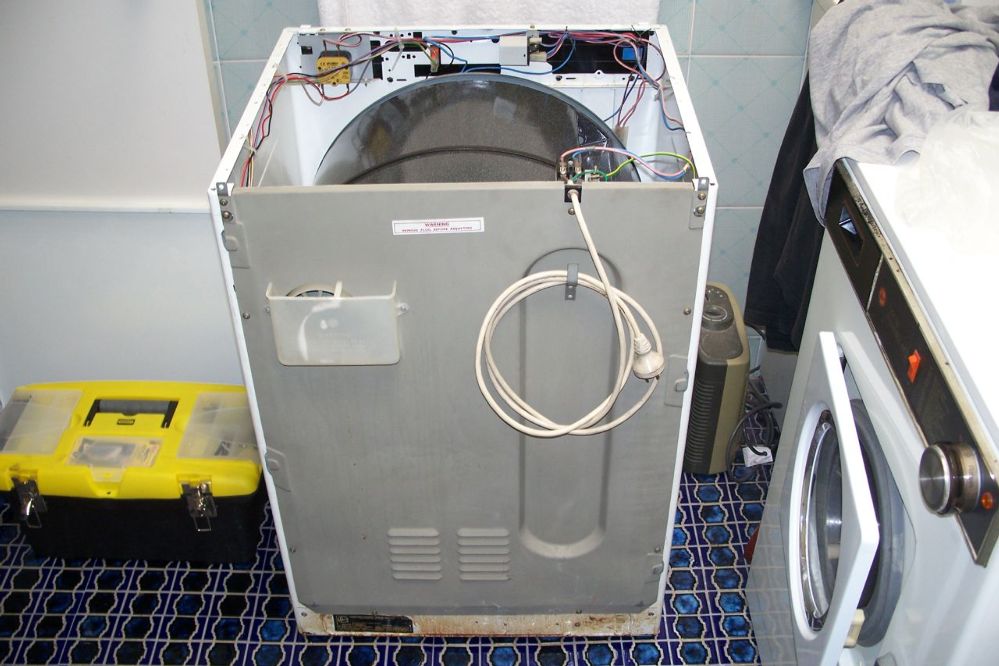
| ||
| Post# 717979 , Reply# 25 11/26/2013 at 23:17 (3,797 days old) by crouzet951 () | ||
|
A last look inside from the rear... 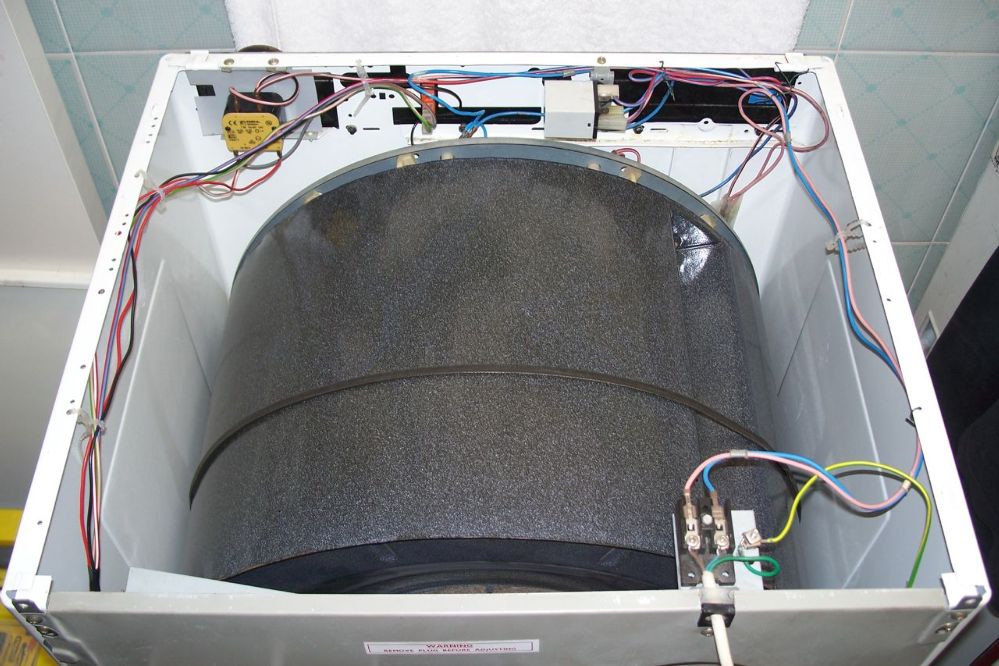
This post was last edited 11/27/2013 at 00:26 | ||
| Post# 717980 , Reply# 26 11/26/2013 at 23:17 (3,797 days old) by crouzet951 () | ||
|
�and the front. 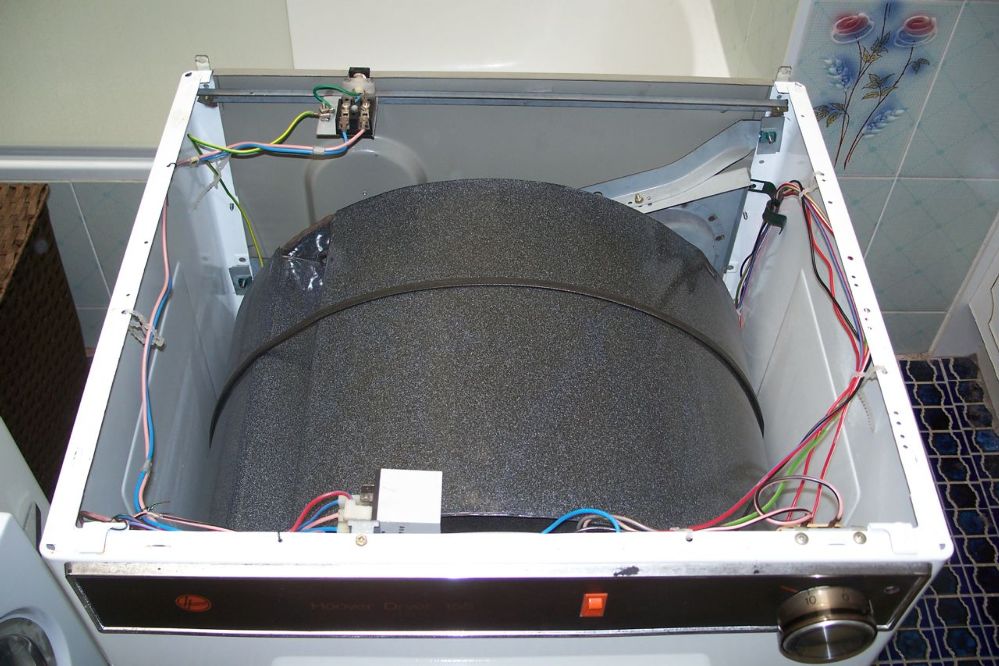
This post was last edited 11/27/2013 at 00:26 | ||
| Post# 717982 , Reply# 28 11/26/2013 at 23:21 (3,797 days old) by crouzet951 () | ||
|
It now runs very well, with none of the trace of fan rattle as before. 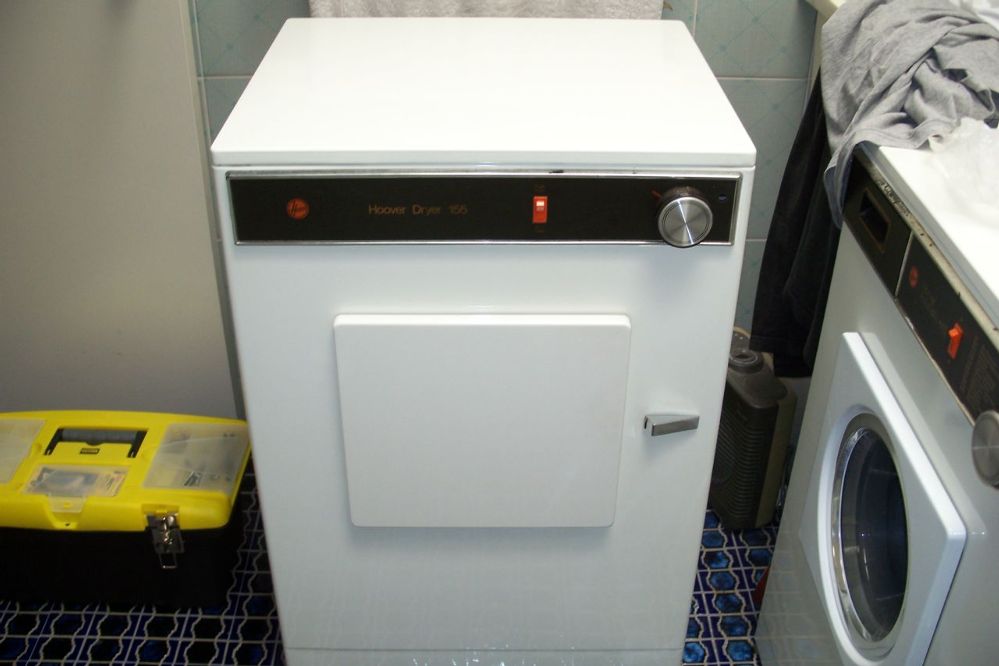
| ||
| Post# 717983 , Reply# 29 11/26/2013 at 23:23 (3,797 days old) by crouzet951 () | ||
|
Manufactured in December 1978. I guess the serial number of 73 means this was the 73rd 155 made that month. This batch probably fitted in between morning tea and lunch. Hehe. 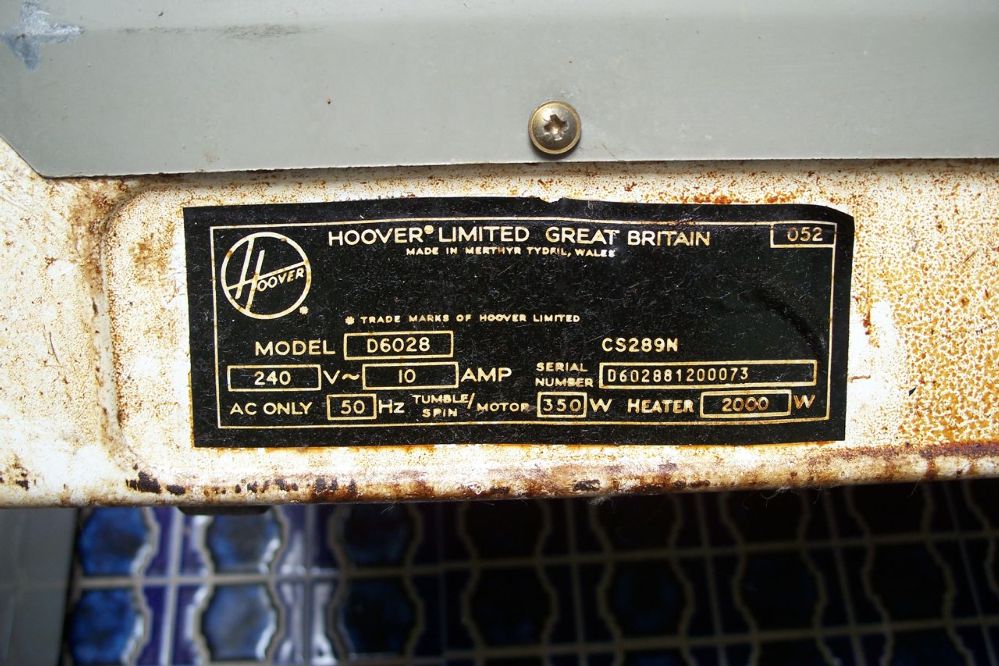
| ||
| Post# 717986 , Reply# 31 11/26/2013 at 23:33 (3,797 days old) by crouzet951 () | ||
|
When you try to undo them, they just keep rotating on the stripped section of the plastic post. The panel needs to be pulled outward when unscrewing them. 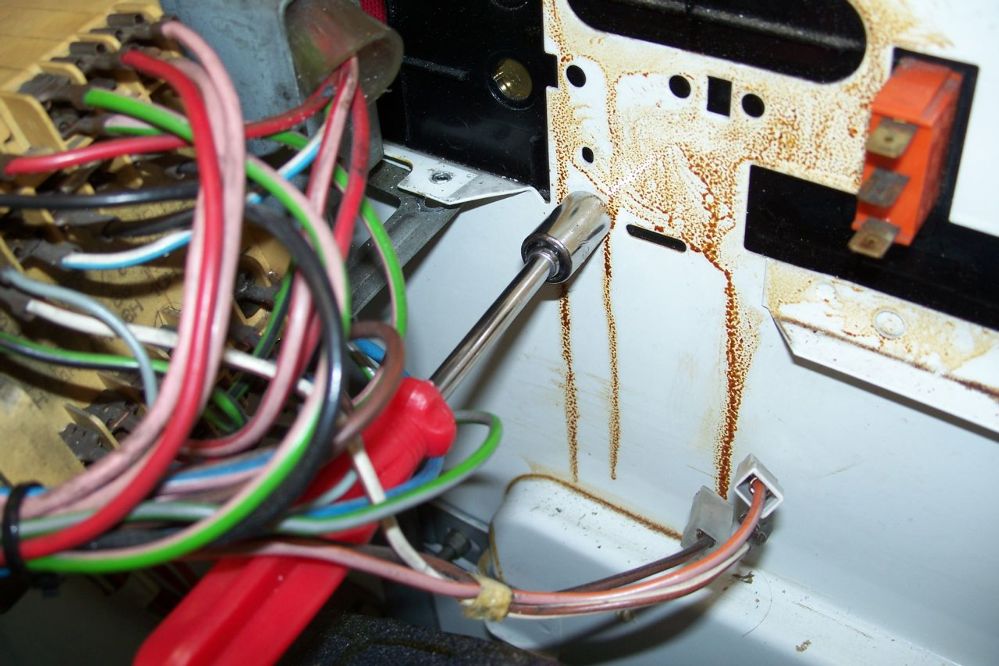
| ||
| Post# 717988 , Reply# 32 11/26/2013 at 23:36 (3,797 days old) by crouzet951 () | ||
|
The timer and detergent dispenser need to be out of the way to get to them all. 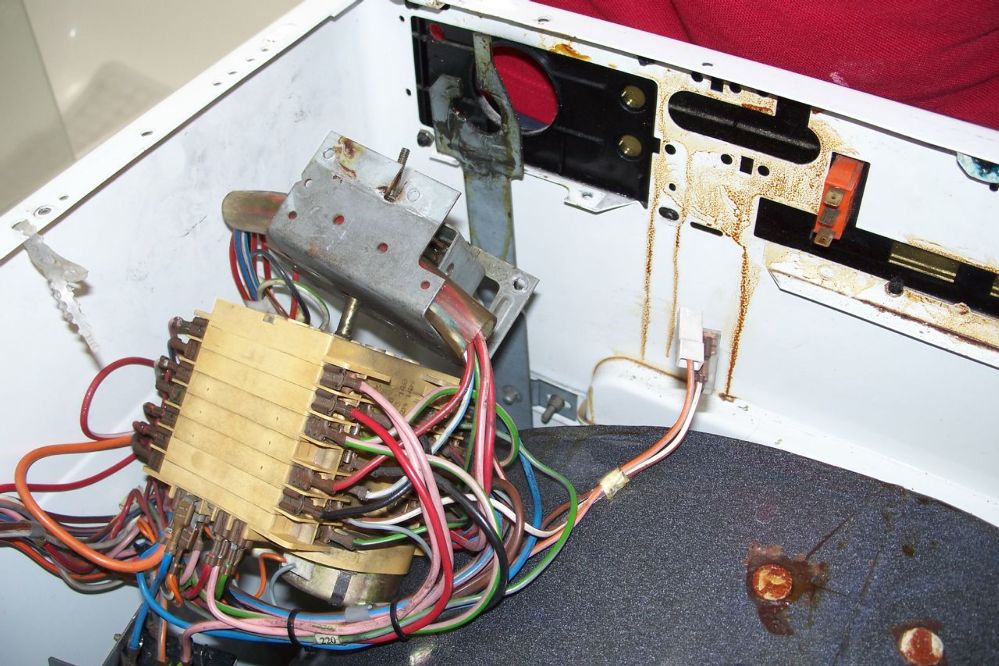
| ||
| Post# 717989 , Reply# 33 11/26/2013 at 23:39 (3,797 days old) by crouzet951 () | ||
|
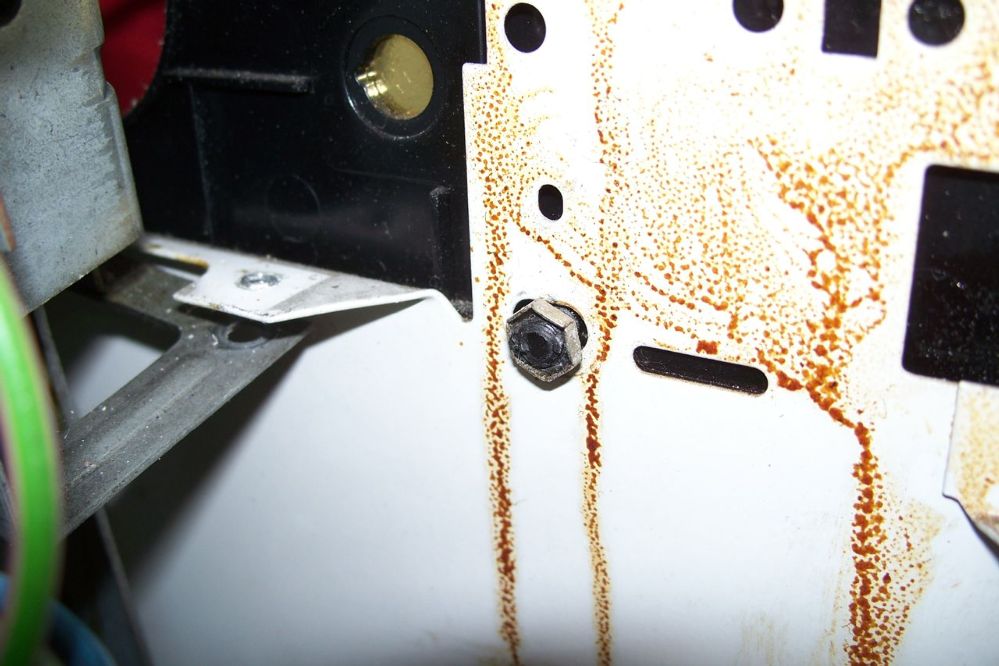
Once again, the mess is the fish oil paint I used on everything. The only slight bit of real rust is at the centre top of the detergent dispenser aperture. This was quickly cured with Kurust. 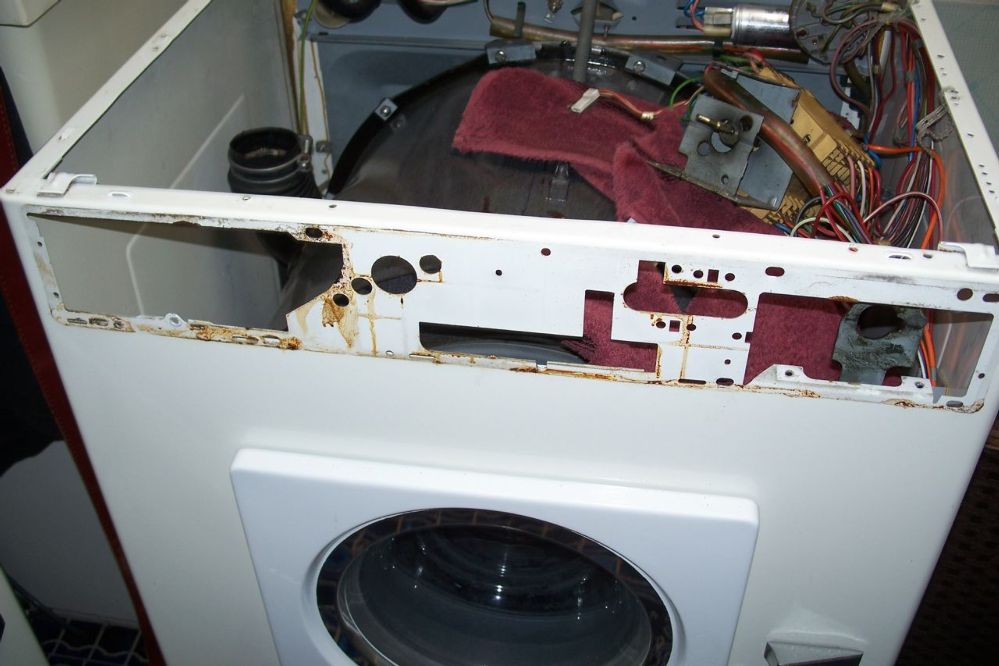
| ||
| Post# 717990 , Reply# 34 11/26/2013 at 23:40 (3,797 days old) by crouzet951 () | ||
|
New panel and sticker. 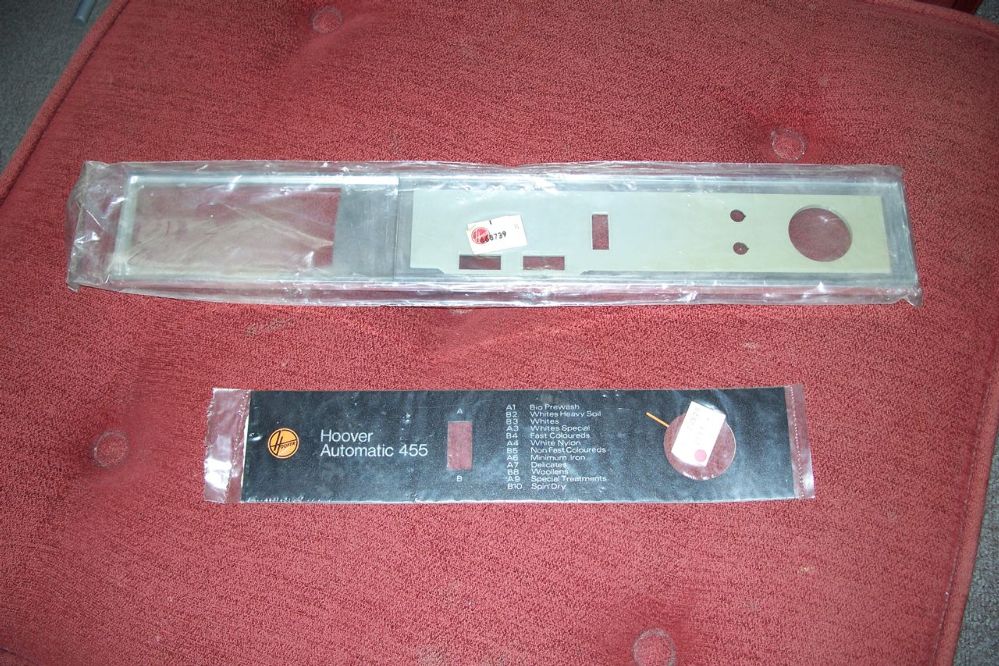
| ||
| Post# 717991 , Reply# 35 11/26/2013 at 23:41 (3,797 days old) by crouzet951 () | ||
|
Wow! 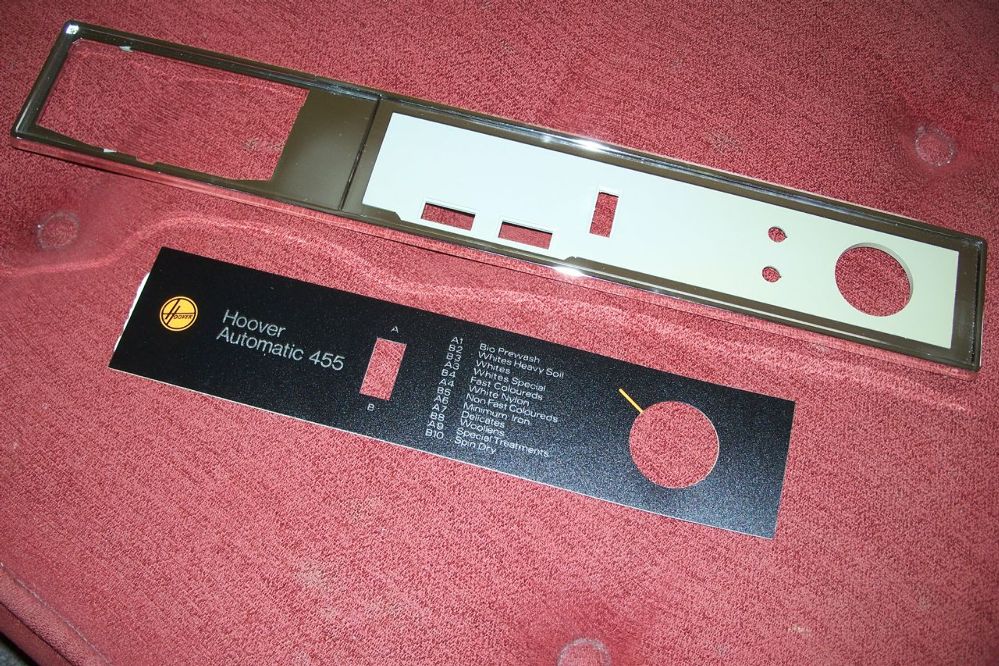
| ||
| Post# 717992 , Reply# 36 11/26/2013 at 23:43 (3,797 days old) by crouzet951 () | ||
|
Double wow! It's a shock to see that the "Hoover Automatic 455" is silver rather then gold. 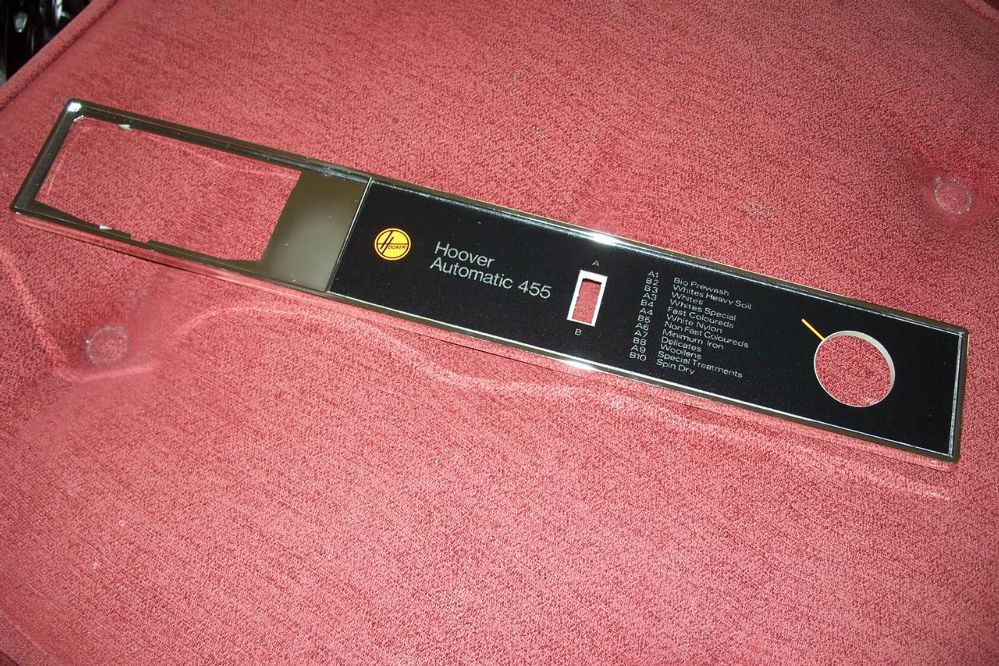
| ||
| Post# 717993 , Reply# 37 11/26/2013 at 23:44 (3,797 days old) by crouzet951 () | ||
|
A/B switch installed. The previous panel was black plastic. 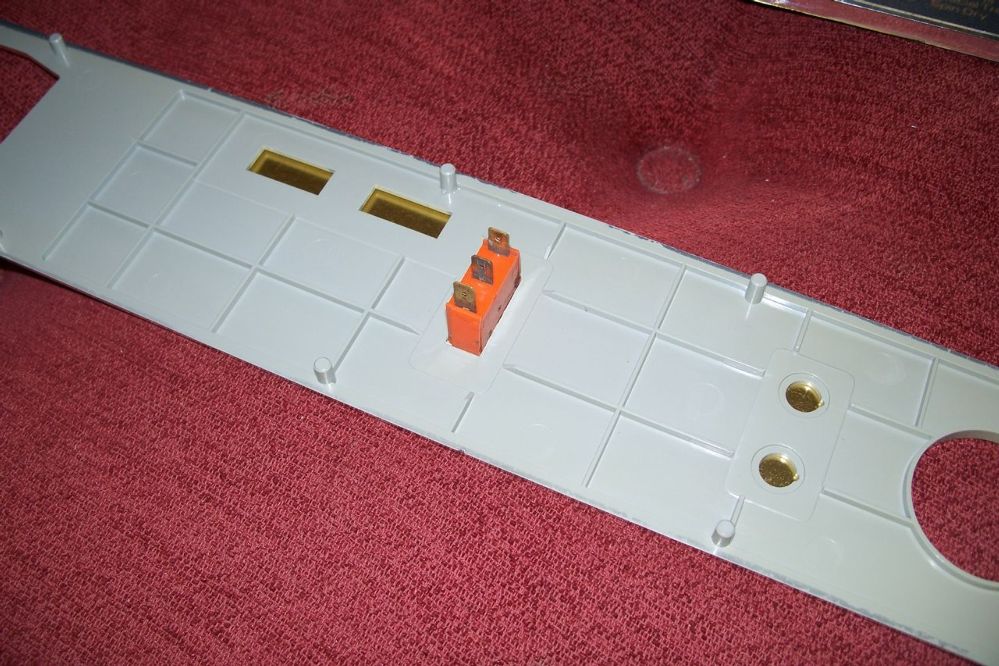
| ||
| Post# 717994 , Reply# 38 11/26/2013 at 23:44 (3,797 days old) by crouzet951 () | ||
|
Detail. 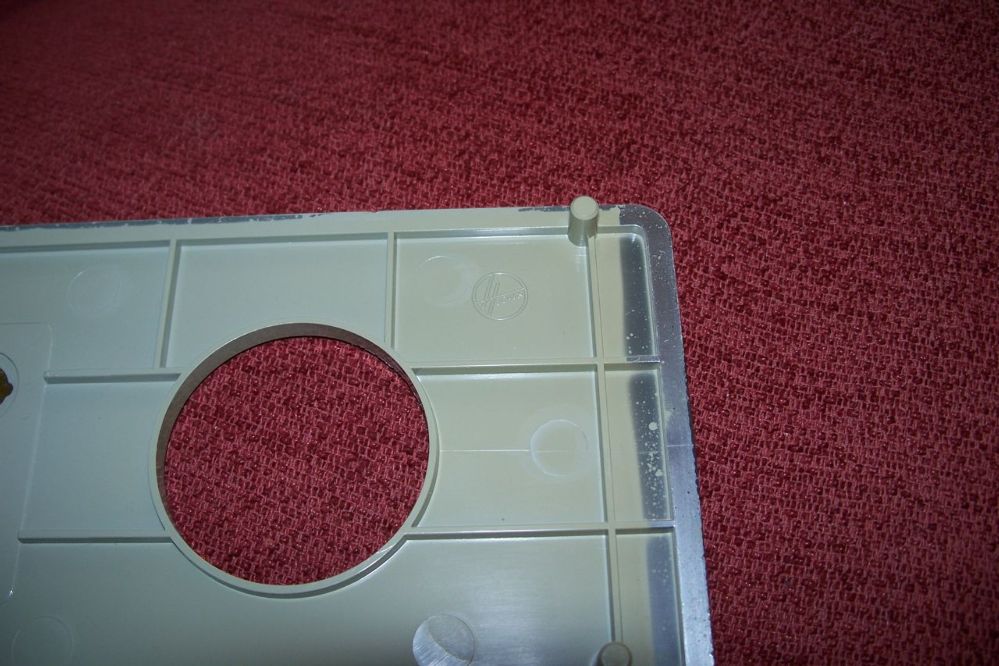
| ||
| Post# 717998 , Reply# 40 11/26/2013 at 23:51 (3,797 days old) by crouzet951 () | ||
|
Looks very nice. It's a shame I didn't have a new sticker for the dispenser drawer. 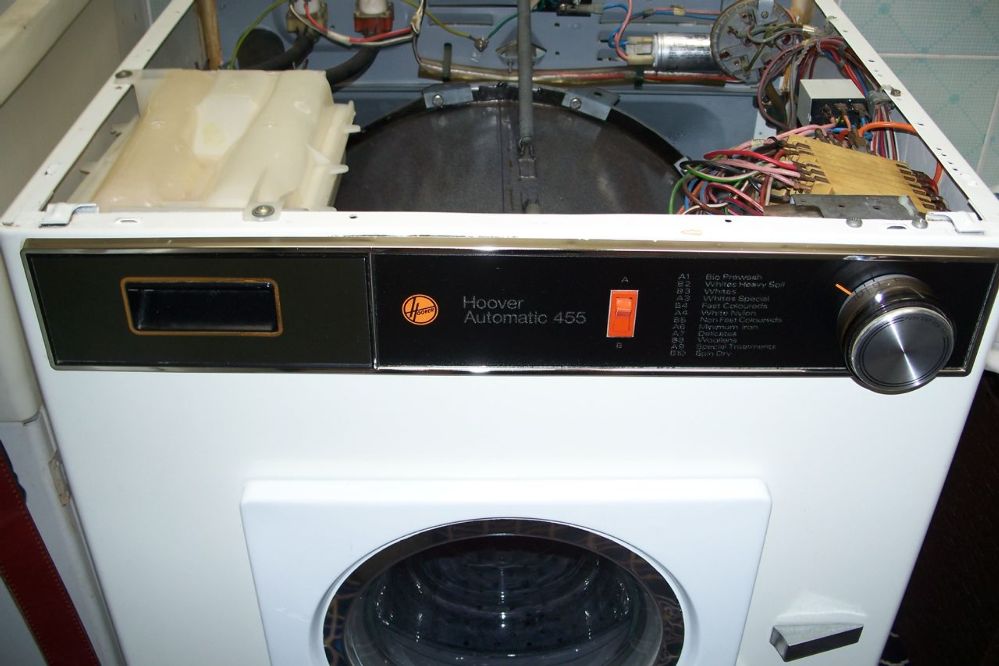
| ||
| Post# 718000 , Reply# 41 11/26/2013 at 23:54 (3,797 days old) by crouzet951 () | ||
|
The new control panel looks good. 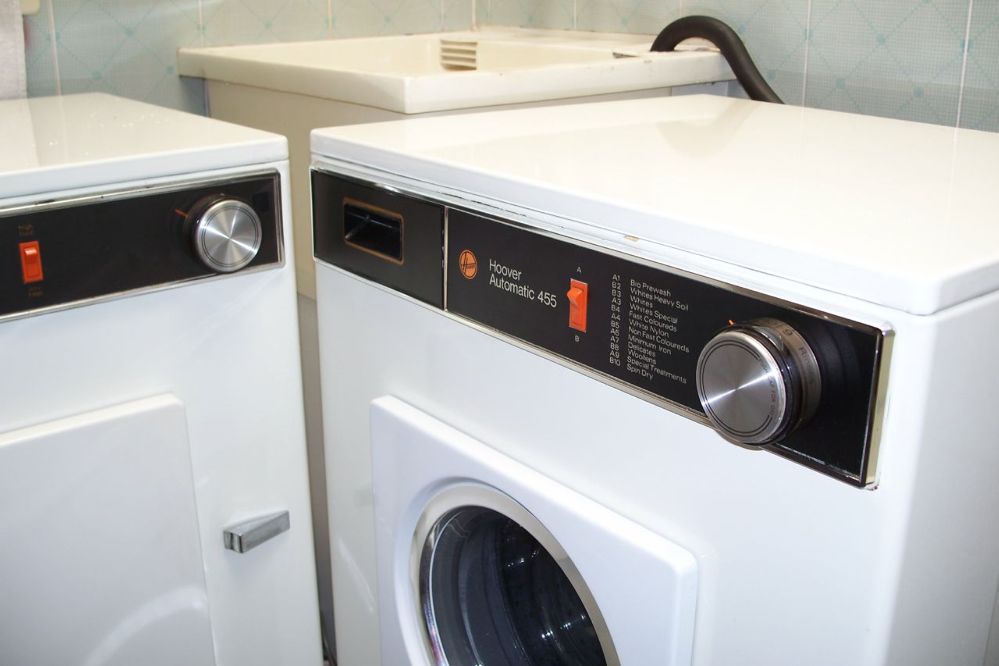
| ||
| Post# 718001 , Reply# 42 11/26/2013 at 23:55 (3,797 days old) by crouzet951 () | ||
|
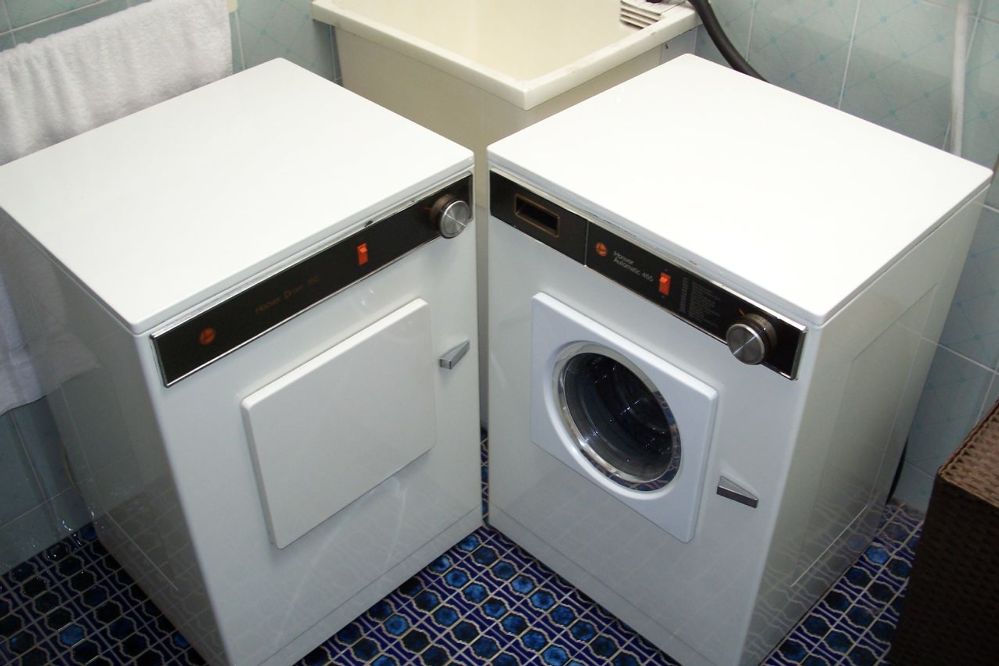
Images of both machines. 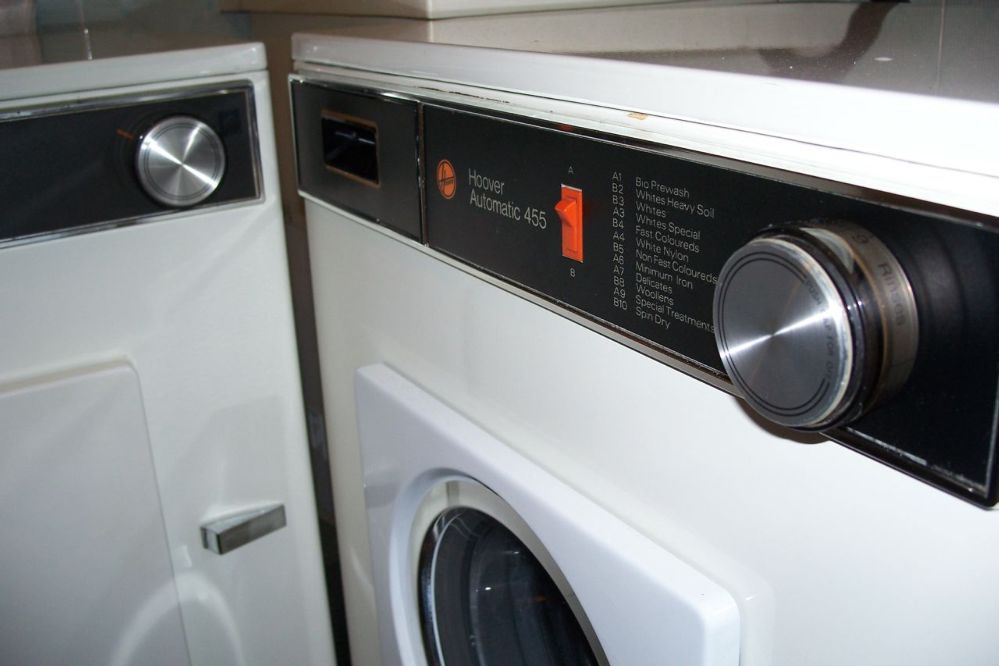
| ||
| Post# 718002 , Reply# 43 11/26/2013 at 23:56 (3,797 days old) by crouzet951 () | ||
|
Images of both machines. 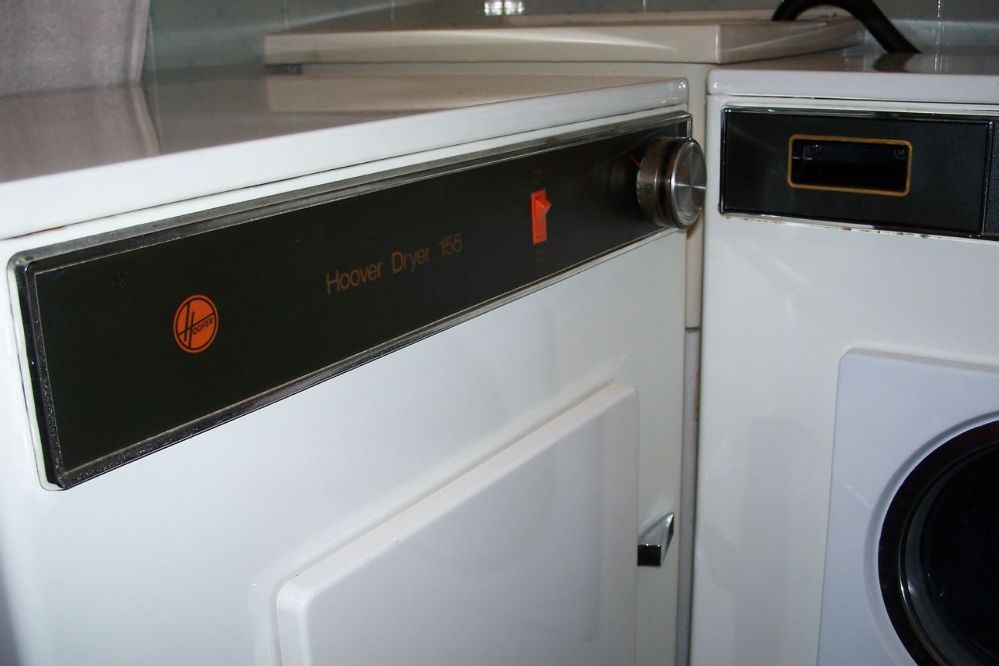
| ||
| Post# 718003 , Reply# 44 11/26/2013 at 23:57 (3,797 days old) by crouzet951 () | ||
|
Images of both machines. 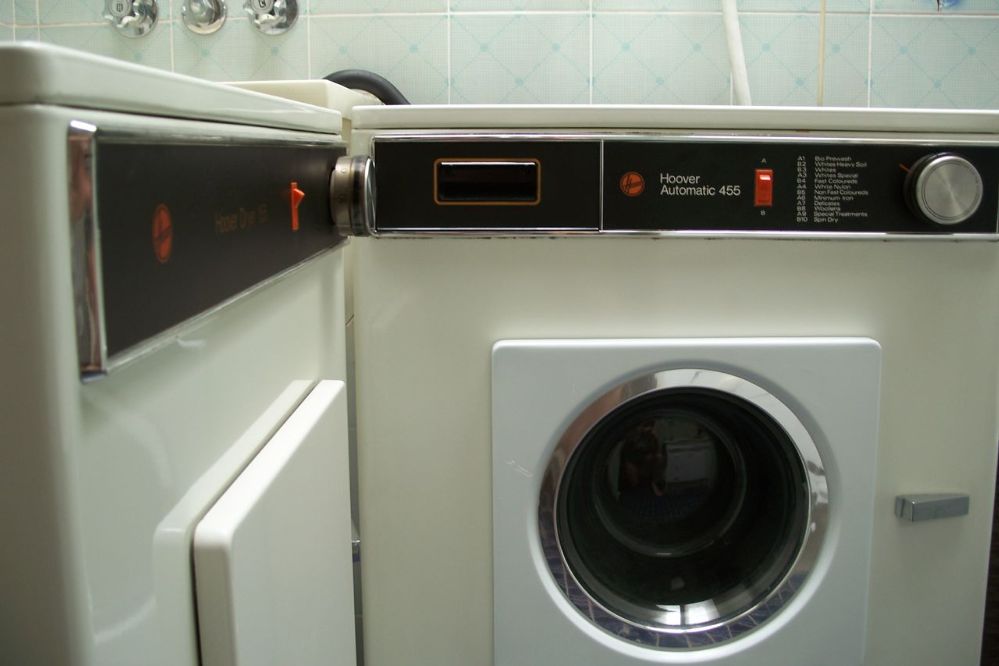
| ||
| Post# 718004 , Reply# 45 11/26/2013 at 23:58 (3,797 days old) by crouzet951 () | ||
|
Images of both machines. 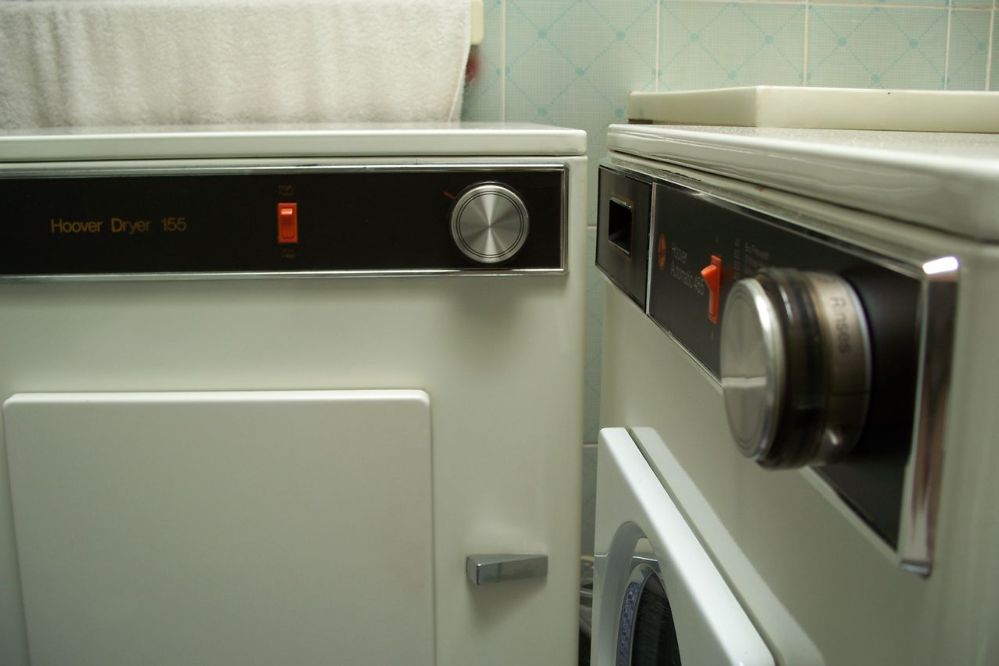
| ||
| Post# 718087 , Reply# 48 11/27/2013 at 13:54 (3,796 days old) by matchboxpaul (U.K) | ||
|
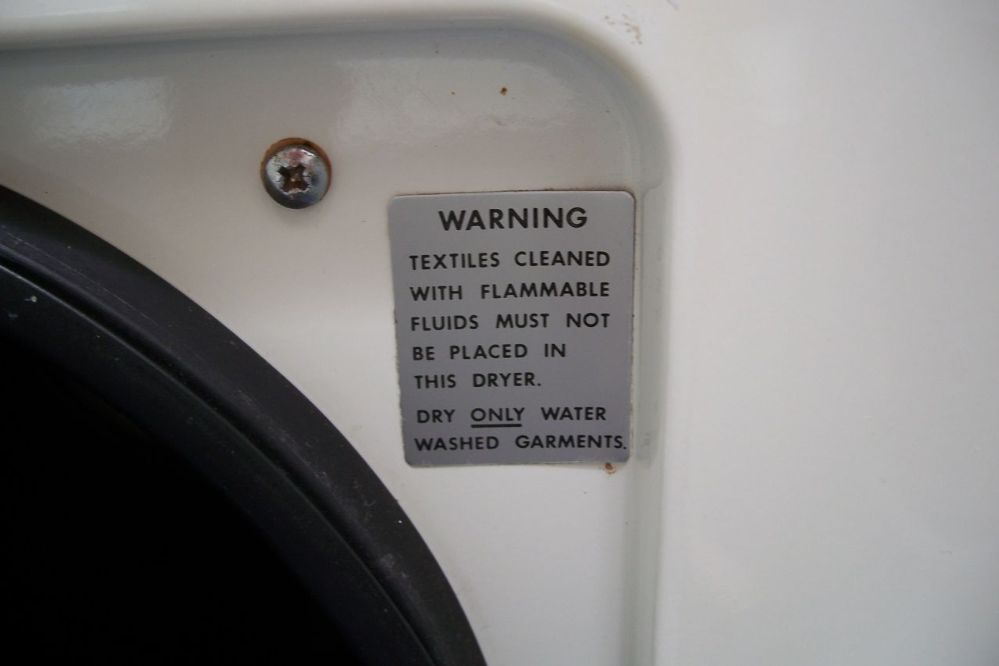
Just went back to check whether my first version 3022 had a warning label inside the door. Suffice to say that it doesn't, but in looking at the other photos I got a bit of a surprise. Do you see what surprised me ..... 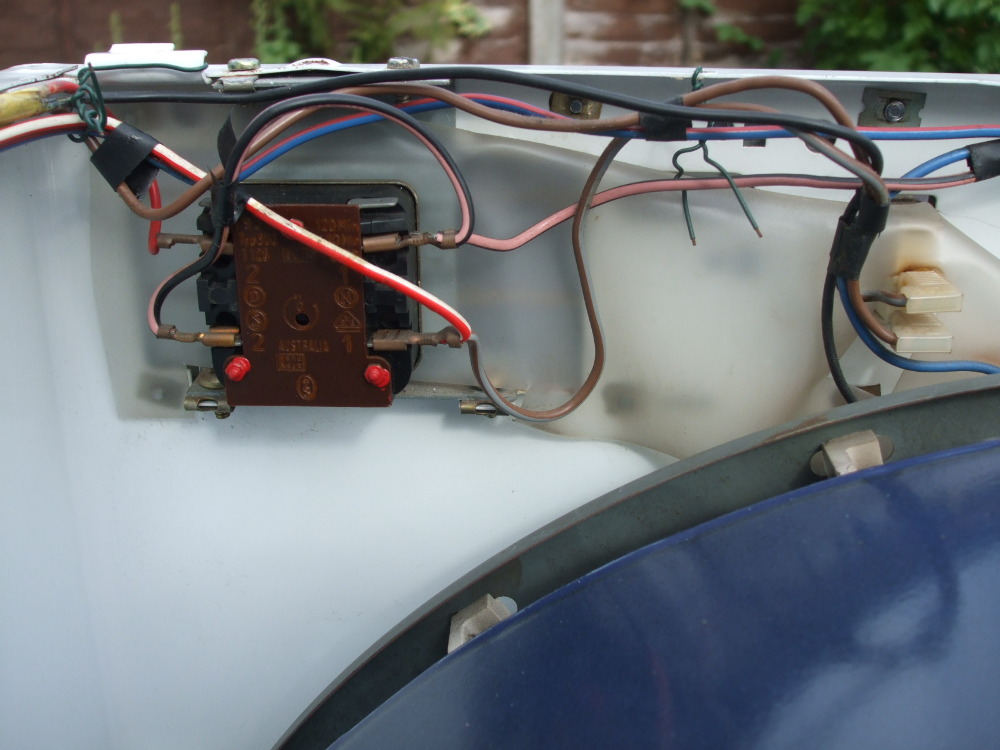
| ||
| Post# 718089 , Reply# 49 11/27/2013 at 13:55 (3,796 days old) by matchboxpaul (U.K) | ||
|
Bit closer. How strange! 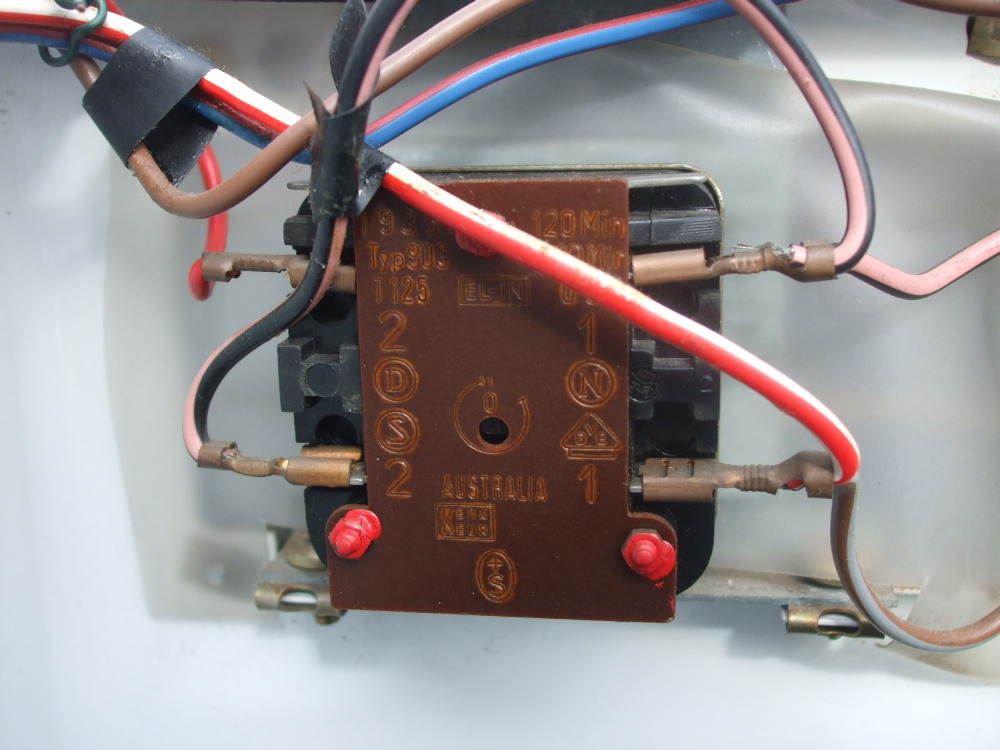
| ||
| Post# 718092 , Reply# 50 11/27/2013 at 13:59 (3,796 days old) by matchboxpaul (U.K) | ||
|
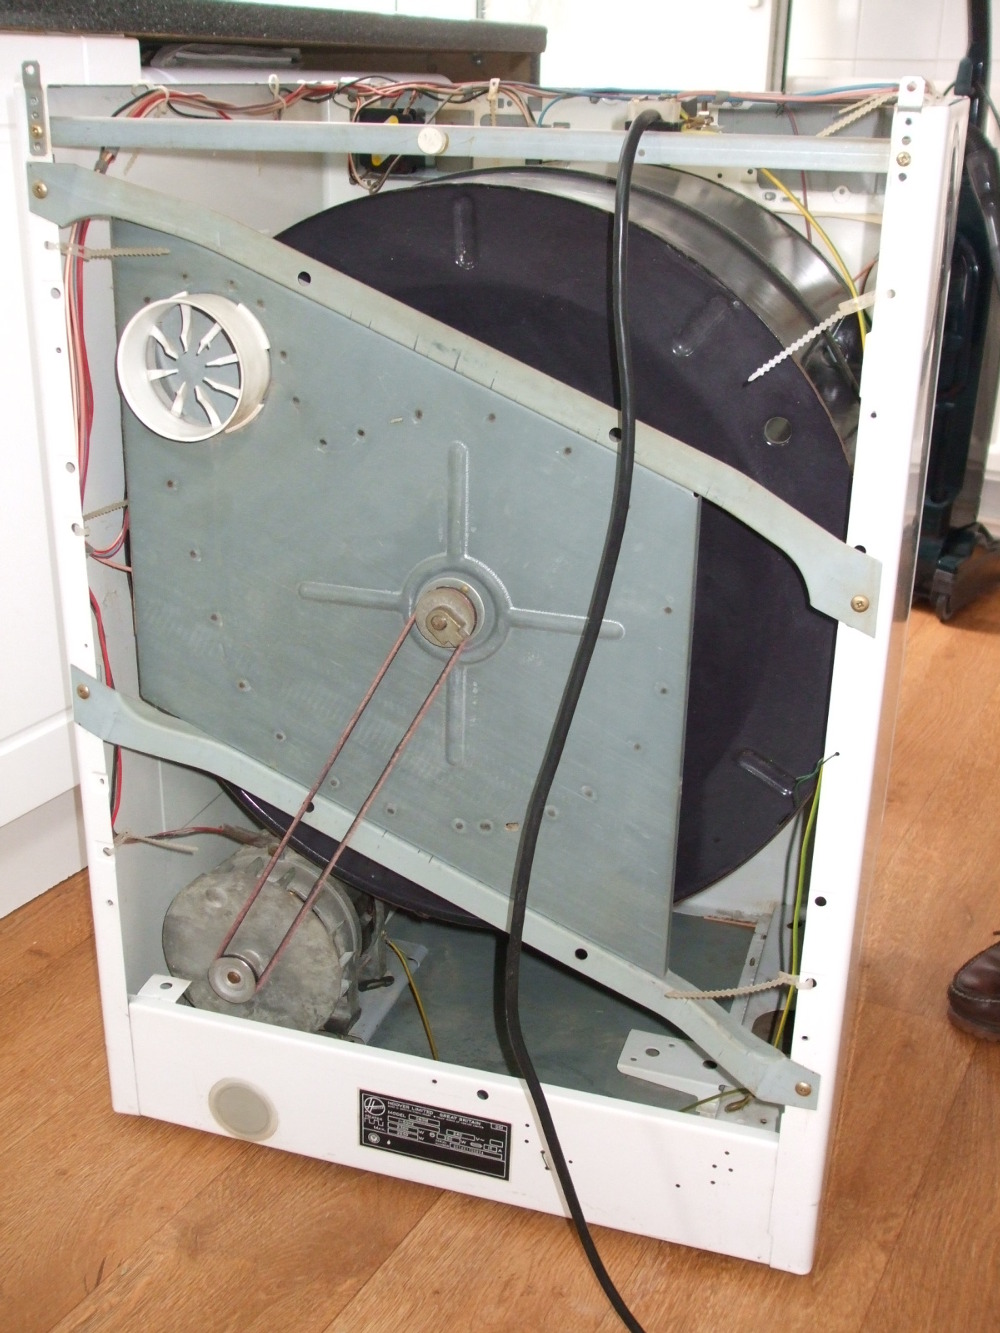
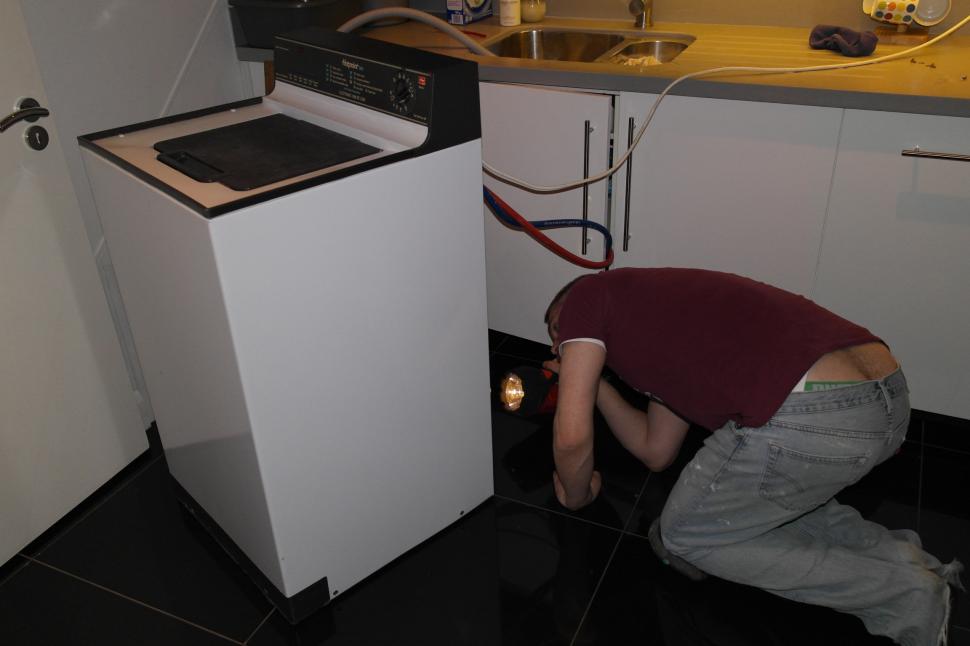
By way of a comparison.... Machines with the back off No1 Model 3022 version 1 Dryer De Luxe from March 1971 (without belts).... 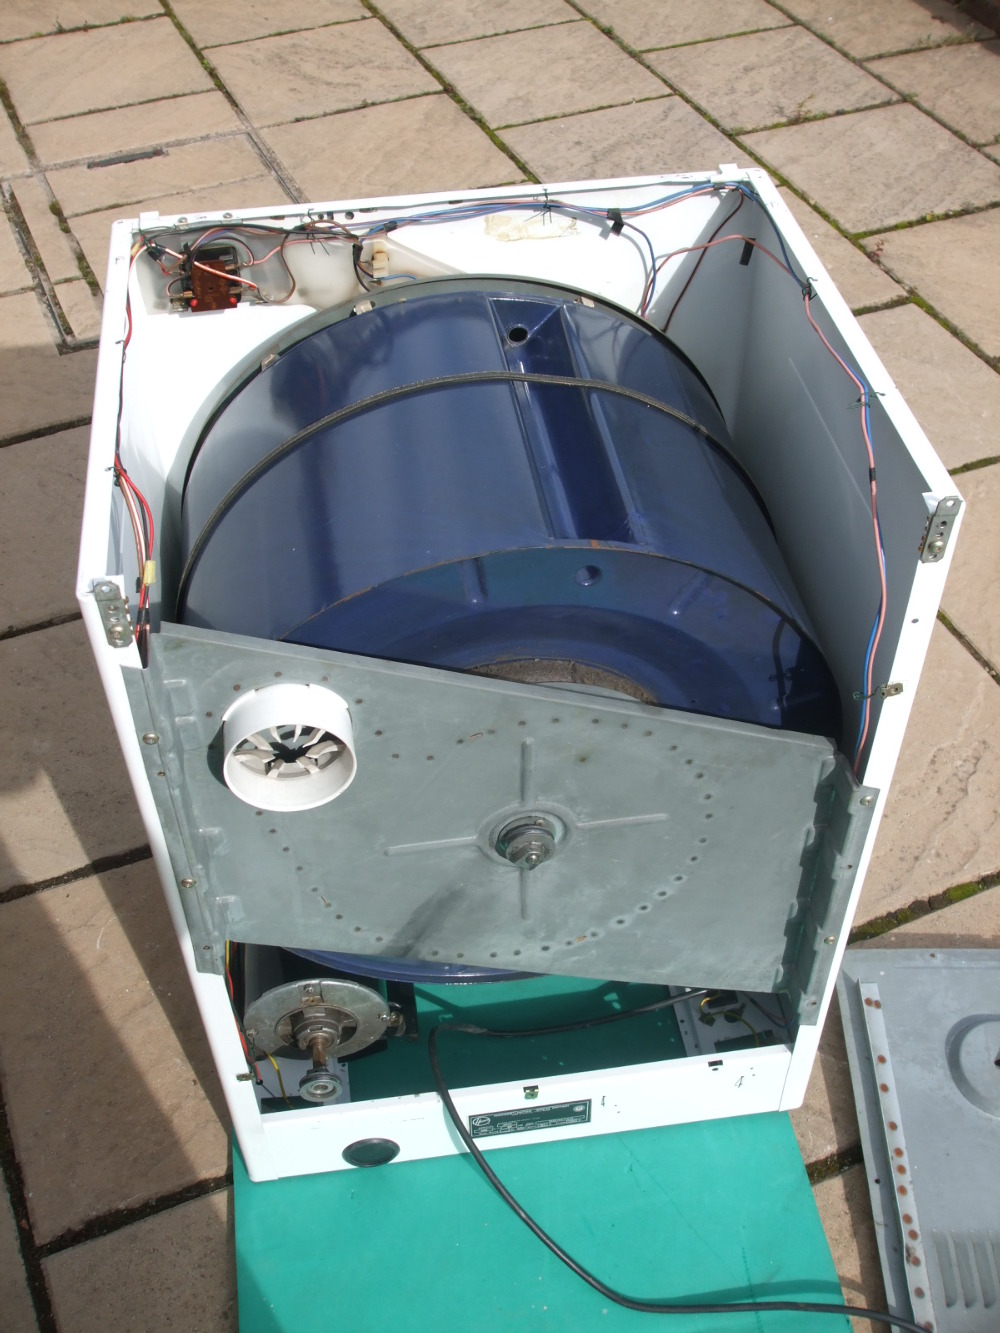
| ||
| Post# 718093 , Reply# 51 11/27/2013 at 13:59 (3,796 days old) by matchboxpaul (U.K) | ||
|
Machines with the back off No1 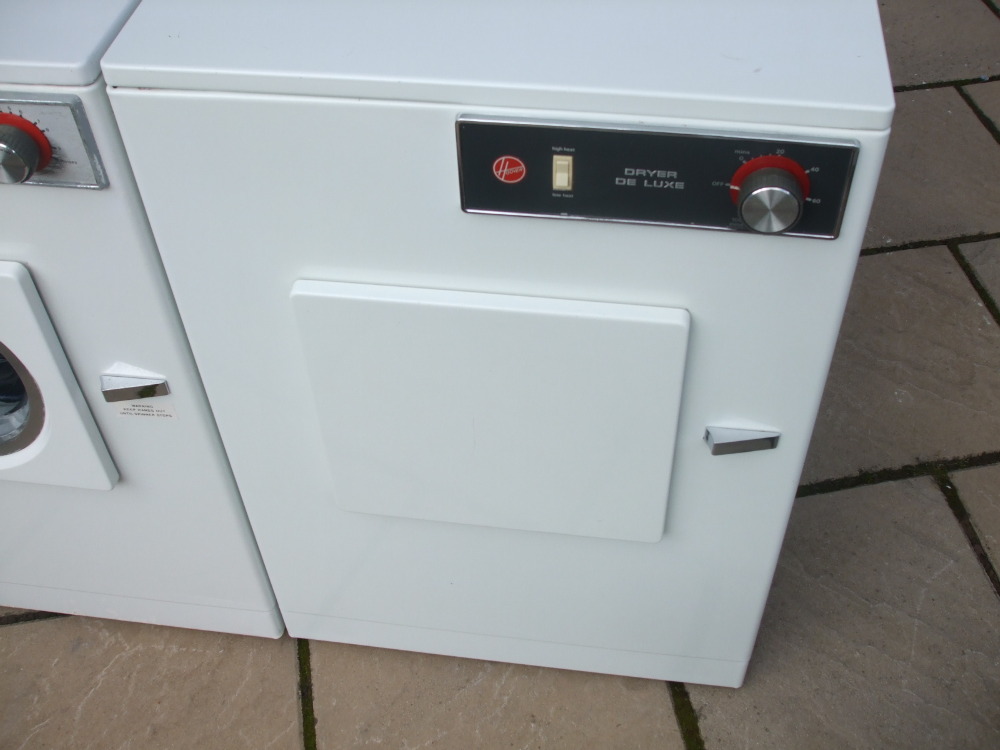
| ||
| Post# 718095 , Reply# 52 11/27/2013 at 14:03 (3,796 days old) by matchboxpaul (U.K) | ||
|
Machines with the back off No2 Model 3022 version 3 Dryer De Luxe from May 1974. The version 1 machine has a removable plastic base, whilst this version 3 machine has a removable metal base .... 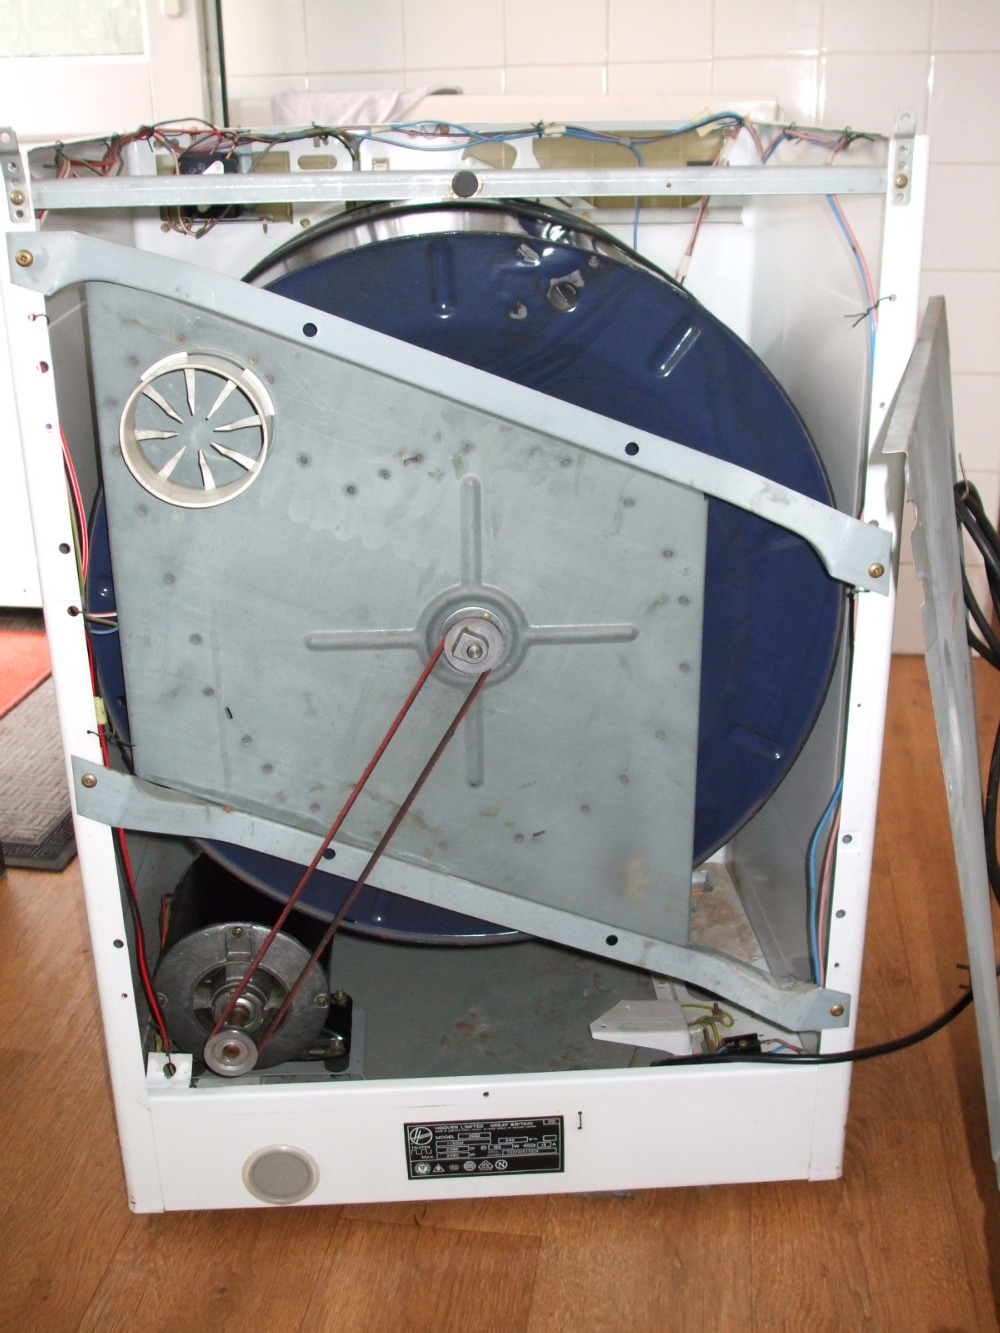
| ||
| Post# 718096 , Reply# 53 11/27/2013 at 14:04 (3,796 days old) by matchboxpaul (U.K) | ||
|
Machines with the back off No2 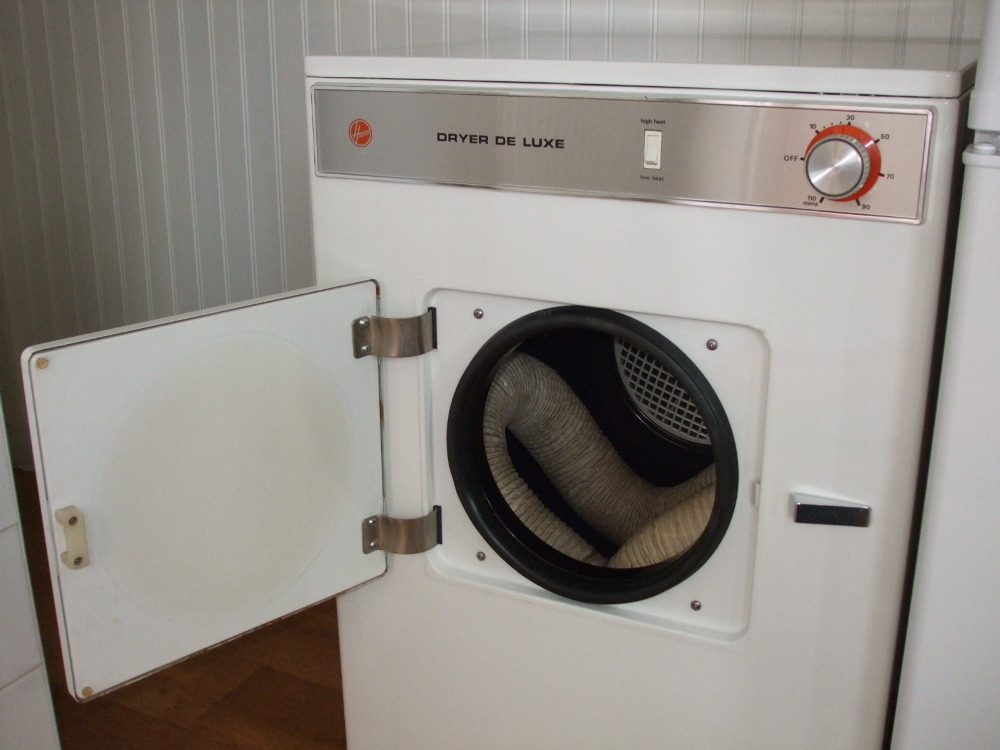
| ||
| Post# 718099 , Reply# 55 11/27/2013 at 14:11 (3,796 days old) by matchboxpaul (U.K) | ||
|
Machines with the back off No3 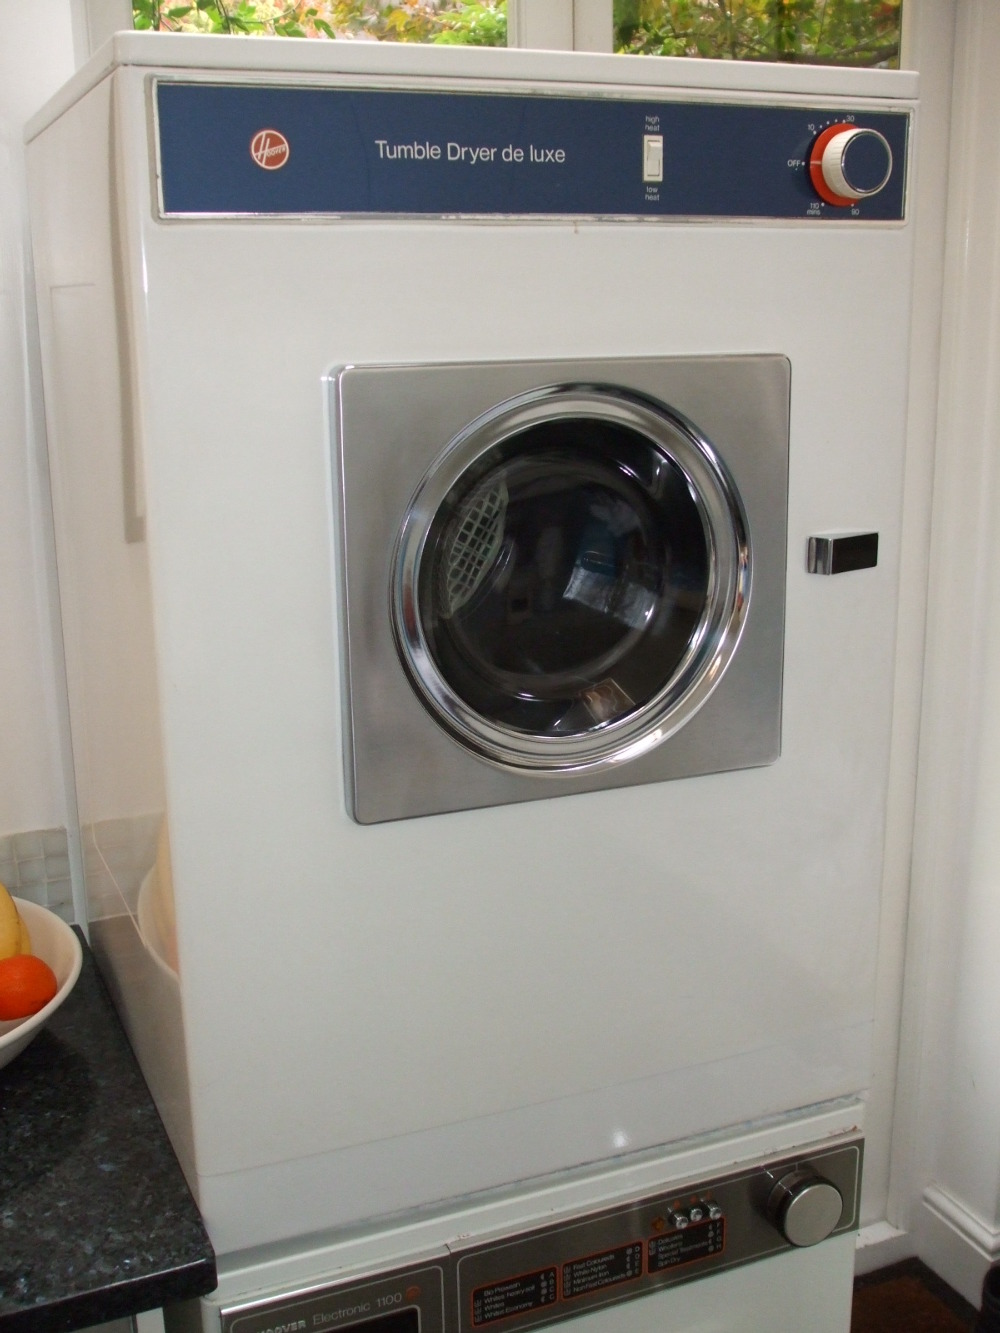
| ||
| Post# 718135 , Reply# 57 11/27/2013 at 16:56 (3,796 days old) by crouzet951 () | ||
|
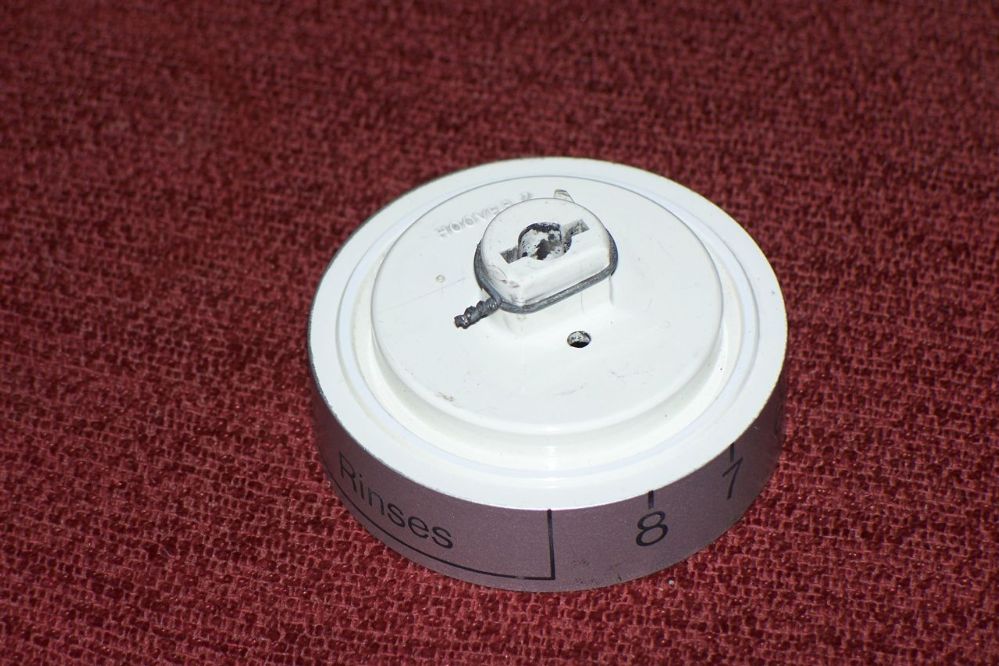
One last thing - a new 155 control knob. 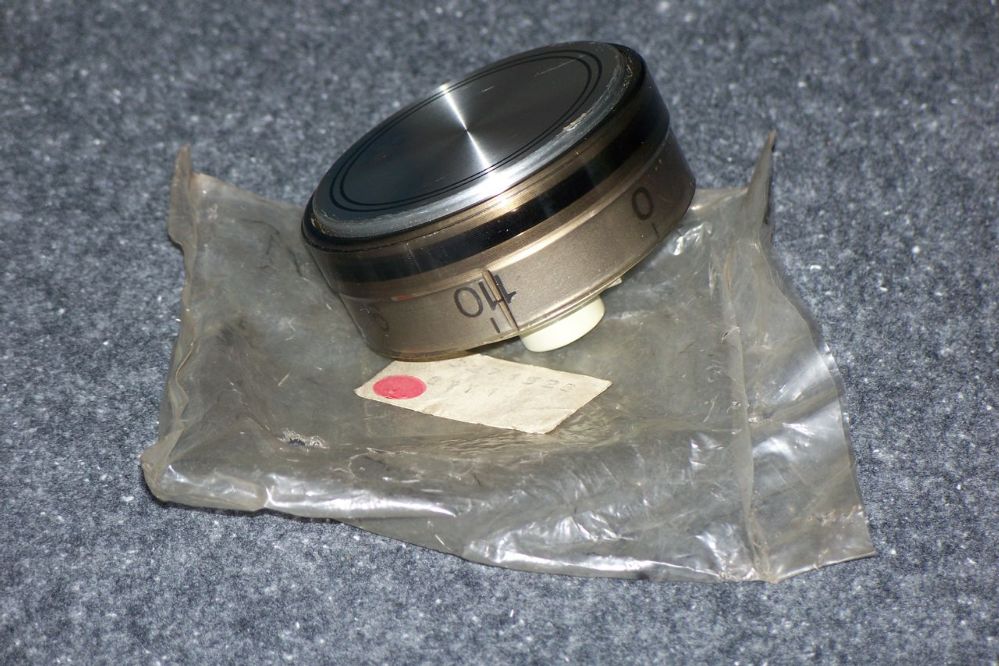
| ||
| Post# 718558 , Reply# 58 11/30/2013 at 11:12 (3,793 days old) by electron1100 (England) | ||
Hoover Who Better | ||
| Post# 718820 , Reply# 59 12/2/2013 at 14:41 (3,791 days old) by sesteve (London, UK) | ||
Wow John
Another fantastic restoration thread. Great how you capture the steps and I just wish I could work as methodically and logically as you appear to. The thread will help me when I get round to servicing my D6294 dryer which also has some squeaks and groans. Whilst it is newer, the basics seem very similar. Anyway well done and hope they both give you years more of good service S :) | ||
| Forum Index: | 
| Other Forums: |

|

|

|

|

|

 Comes to the Rescue!