|
Thread Number: 51021
Copy Cat Picture Window Dishwasher |
[Down to Last] |

|
Post# 733396 , Reply# 2 2/6/2014 at 16:11 (3,724 days old) by Unimatic1140  (Minneapolis) (Minneapolis) |
||
Hi Dave, wow I'm very impressed! Great job!
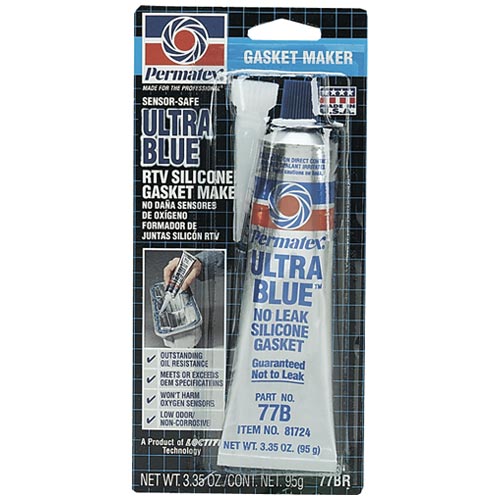
What I did for the light is I changed the door switch from a Single Pole/Single Throw switch to a Single Pole/Double Throw switch. That way when the door is opened the light comes on and when the door is closed and the machines starts the light comes on. I love having the light come on when I open the door as well. Our Picture Window Lady Kenmore has R-W-R-W-R-R so I had no choice but to install the dispenser on the side. Be sure to use good sensor safe silicone for sealing the glass to the inner door and the side window for the light. | ||
|
Post# 733400 , Reply# 3 2/6/2014 at 17:14 (3,724 days old) by jetcone (Schenectady-Home of Calrods,Monitor Tops,Toroid Transformers) |
||
Nice copy  | ||
|
Post# 733416 , Reply# 4 2/6/2014 at 19:12 (3,724 days old) by bigalsf (Salt Lake City) |
||
|
Silicone Robert what is "sensor safe" silicone? How can you determine which brands are formulated that way? | ||
|
Post# 733417 , Reply# 5 2/6/2014 at 19:13 (3,724 days old) by bigalsf (Salt Lake City) |
||
|
Cool dishwasher project! Congratulations, it looks great! Have fun with it! | ||
|
Post# 733427 , Reply# 6 2/6/2014 at 19:56 (3,724 days old) by Unimatic1140 (Minneapolis) |
||
|
| ||
|
Post# 733433 , Reply# 8 2/6/2014 at 20:34 (3,724 days old) by whirlykenmore78 (Prior Lake MN (GMT-0500 CDT.)) |
||
Wonderful dishwasher project
It will be so fun to use. Here is how Hobart does it.
WK78 CLICK HERE TO GO TO whirlykenmore78's LINK | ||
|
Post# 733440 , Reply# 9 2/6/2014 at 22:03 (3,724 days old) by gansky1 (Omaha, The Home of the TV Dinner!) |
||
 | ||
| Post# 733459 , Reply# 10 2/7/2014 at 04:29 (3,723 days old) by toploader55 (Massachusetts Sand Bar, Cape Cod) | ||
Extra Credit !!!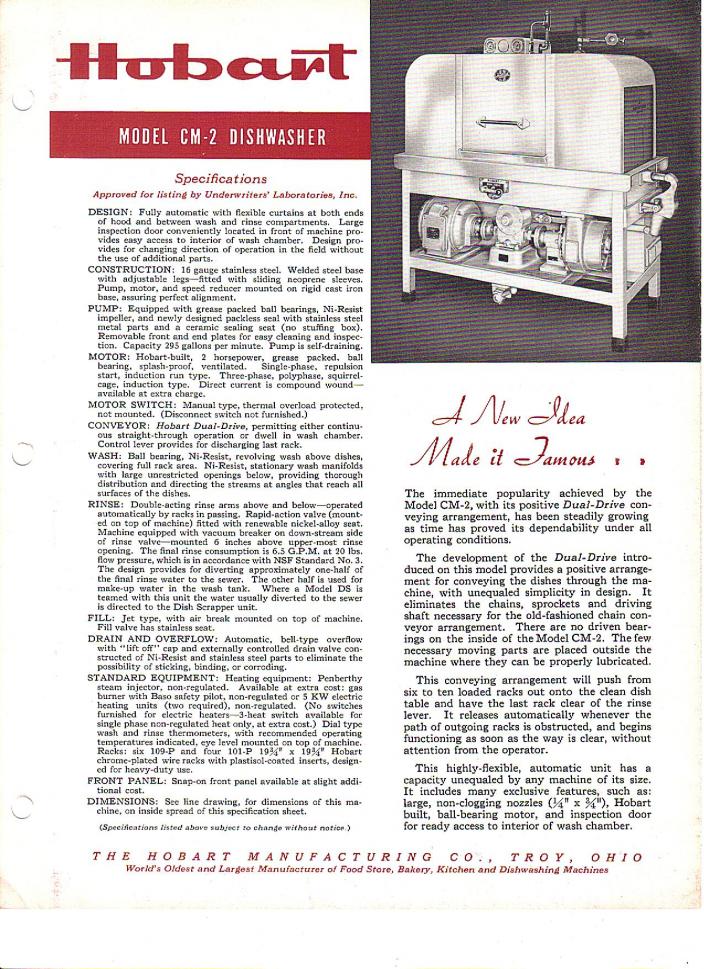 | ||
| Post# 733460 , Reply# 11 2/7/2014 at 04:29 (3,723 days old) by toploader55 (Massachusetts Sand Bar, Cape Cod) | ||
|
This post has been removed by the member who posted it. | ||
|
Post# 733478 , Reply# 12 2/7/2014 at 07:07 (3,723 days old) by turquoisedude (.) |
||
 | ||
|
Post# 733521 , Reply# 13 2/7/2014 at 13:19 (3,723 days old) by chachp (North Little Rock, AR) |
||
Nice! | ||
| Post# 733527 , Reply# 14 2/7/2014 at 13:48 (3,723 days old) by dosxxpapa (Oregon) | ||
Nice! | ||
| Post# 735169 , Reply# 15 2/14/2014 at 08:40 (3,716 days old) by dpritz (Atlanta) | ||
|
More pictures as promised First off I had to move and lenghten some of the wires so they could be run down the side of the window this is what it looked like before 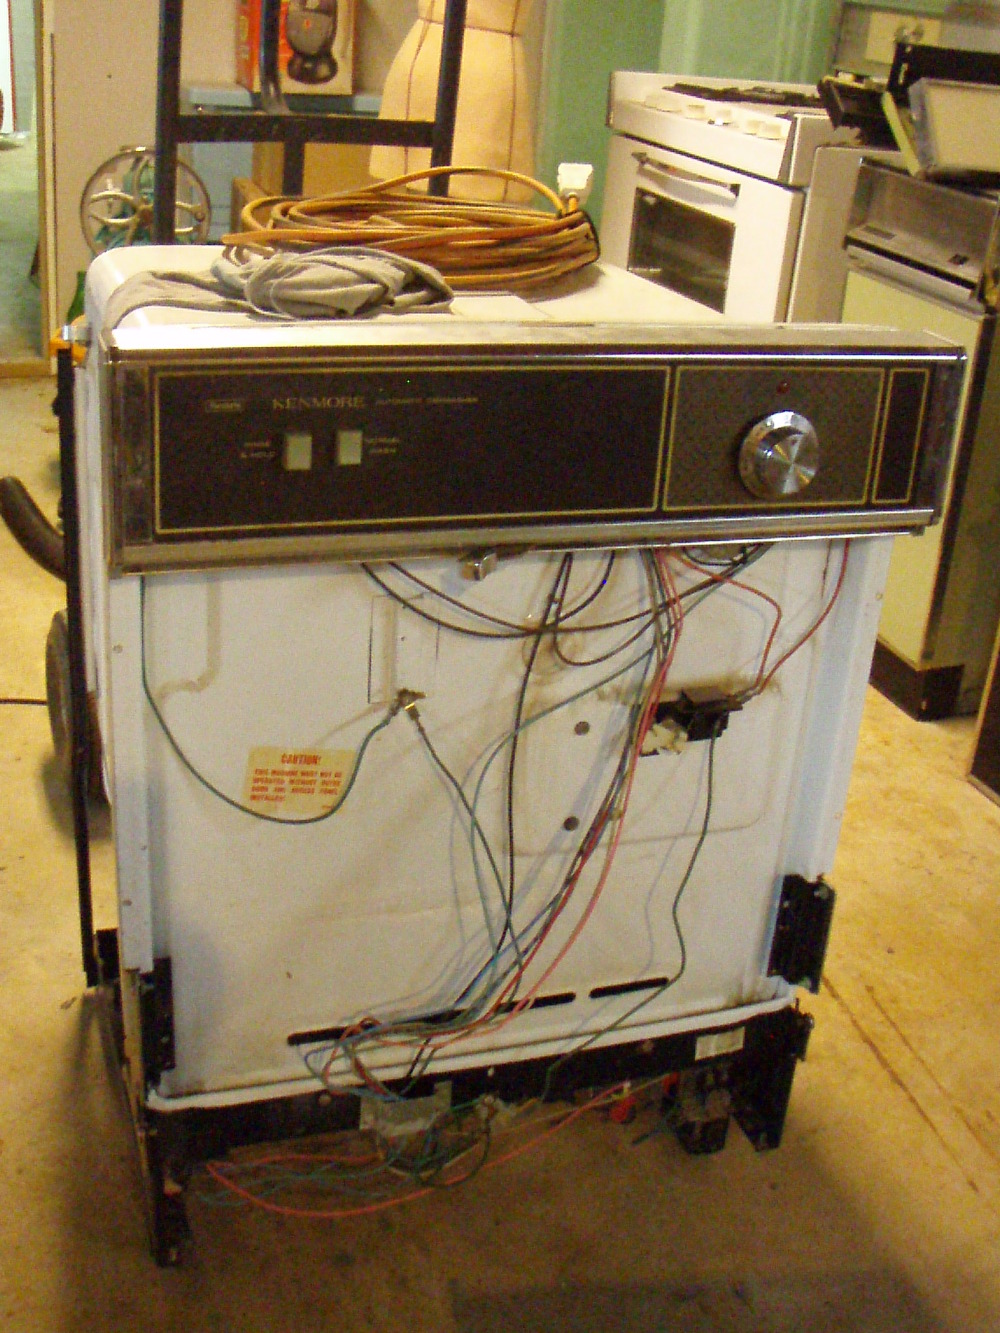
| ||
| Post# 735170 , Reply# 16 2/14/2014 at 08:41 (3,716 days old) by dpritz (Atlanta) | ||
|
Inside as you can see not too much to move! 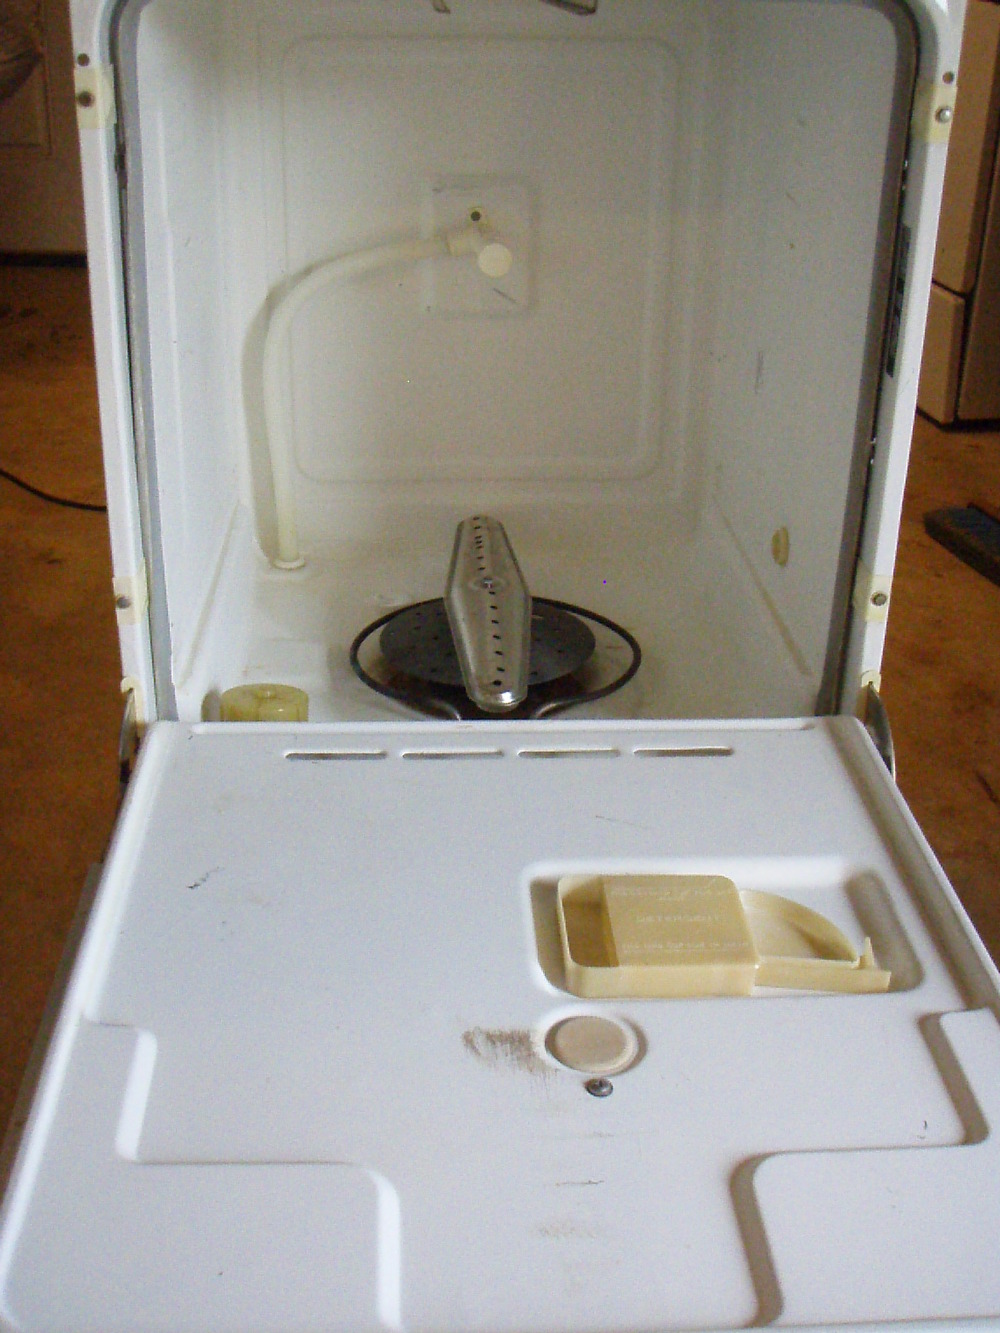
| ||
| Post# 735171 , Reply# 17 2/14/2014 at 08:44 (3,716 days old) by dpritz (Atlanta) | ||
|
Here is everything I used: 2 pieces of lamanated safty glass, stainless hardware, a light fixture, a tube of ultra blue, and an on off switch (for the light) that I didn't end up using. Total cost about $80 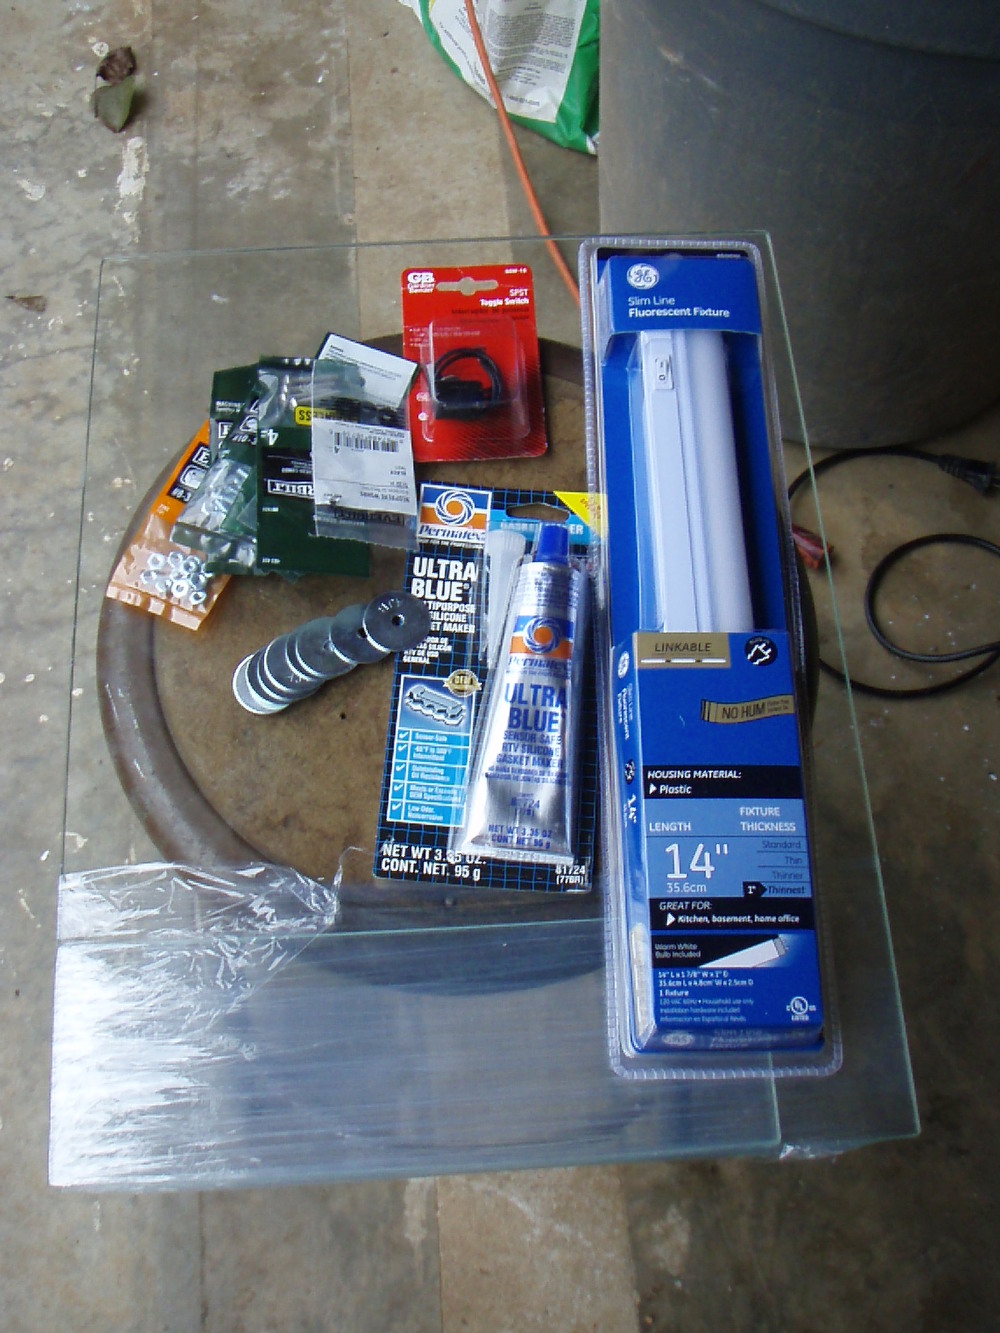
| ||
| Post# 735172 , Reply# 18 2/14/2014 at 08:47 (3,716 days old) by dpritz (Atlanta) | ||
|
I cut the side for the light first. Just traced the glass and made it a bit smaller. I chose to use and angle grinder then just filed the sharp edges. 
| ||
| Post# 735174 , Reply# 19 2/14/2014 at 08:50 (3,716 days old) by dpritz (Atlanta) | ||
|
No turning back now! 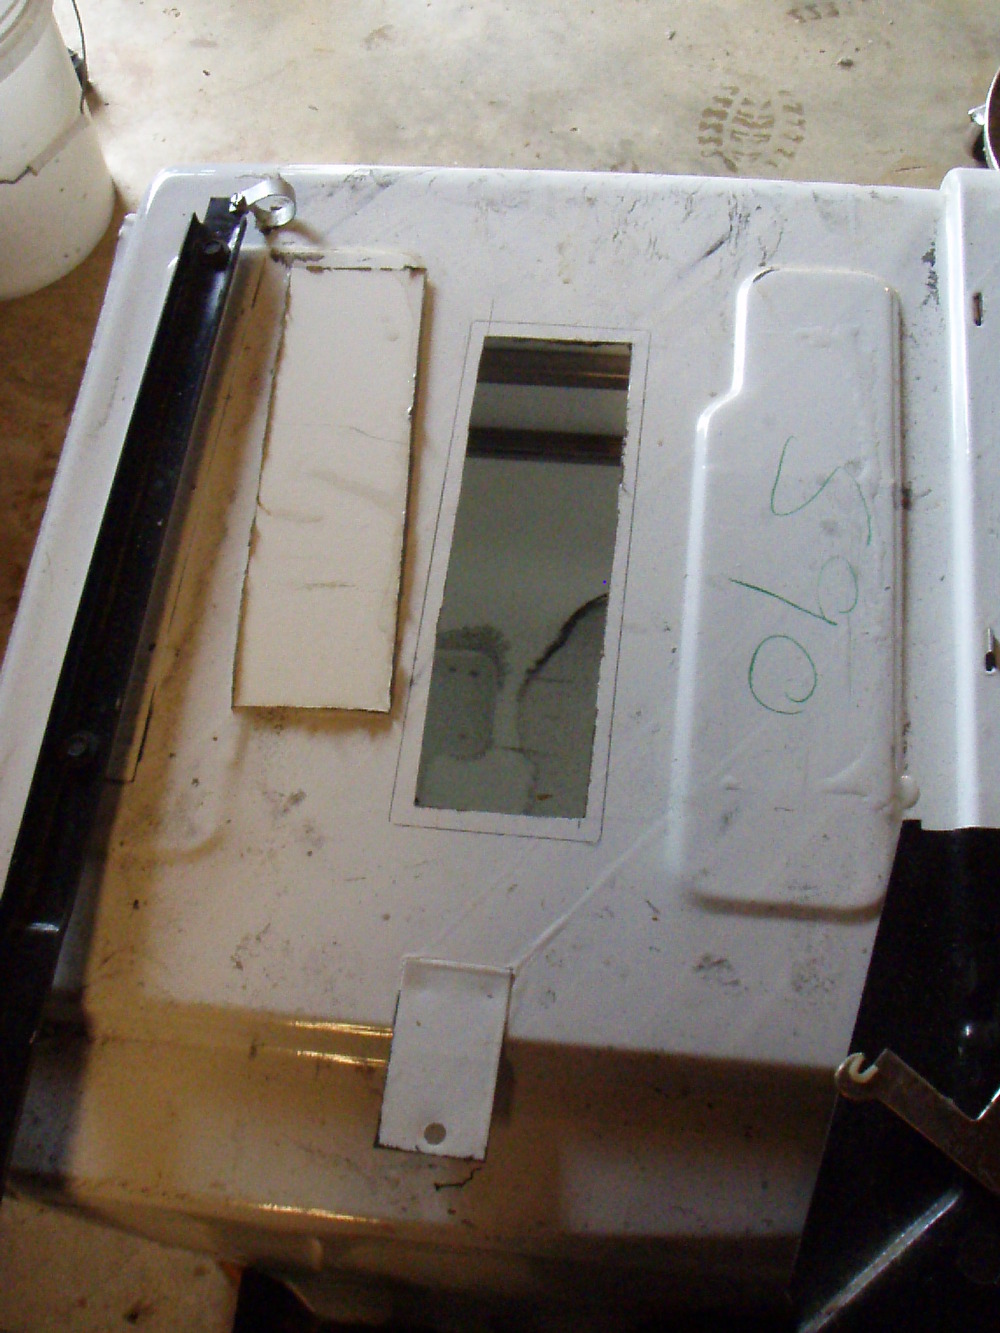
| ||
| Post# 735175 , Reply# 20 2/14/2014 at 08:52 (3,716 days old) by dpritz (Atlanta) | ||
|
Now the front door 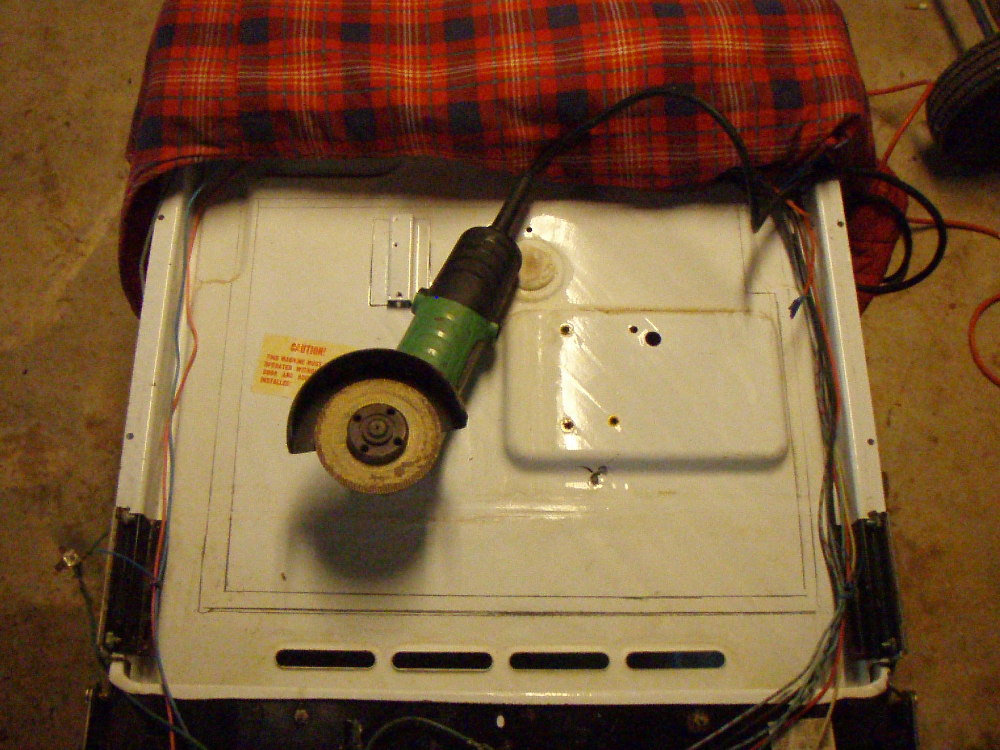
| ||
| Post# 735177 , Reply# 21 2/14/2014 at 08:54 (3,716 days old) by dpritz (Atlanta) | ||
|
I had to cut the notch so the glass would make a good seal due to a contour in the door, that's also why it off-center. I can fix all that with the trim 
| ||
| Post# 735178 , Reply# 22 2/14/2014 at 08:55 (3,716 days old) by dpritz (Atlanta) | ||
|
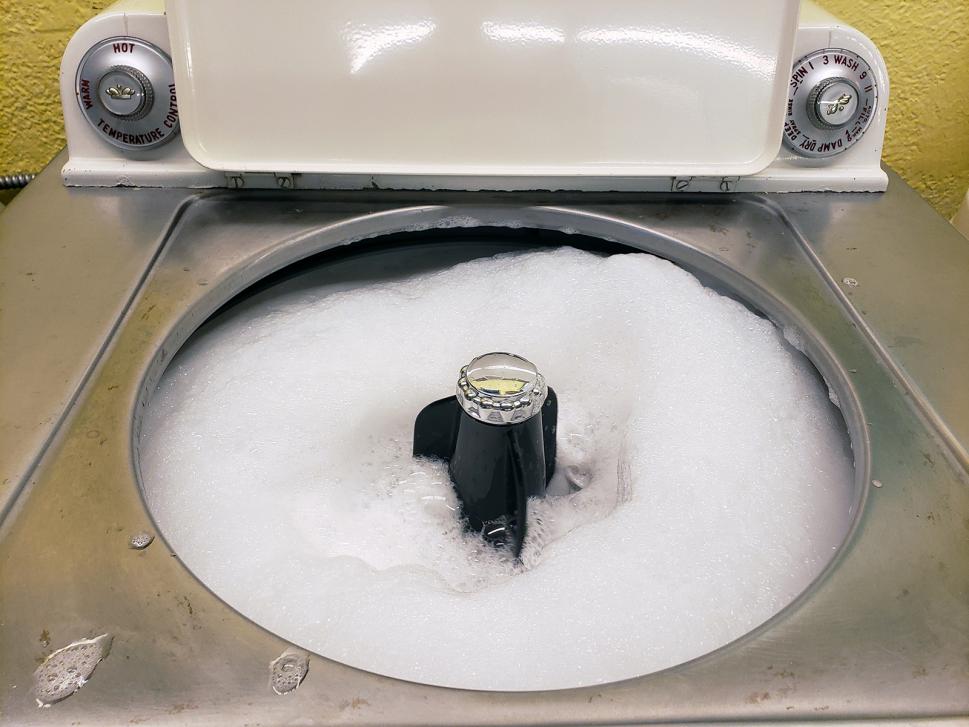
Action Shot!! 
| ||
| Post# 735179 , Reply# 23 2/14/2014 at 08:56 (3,716 days old) by dpritz (Atlanta) | ||
|
Front door Cover 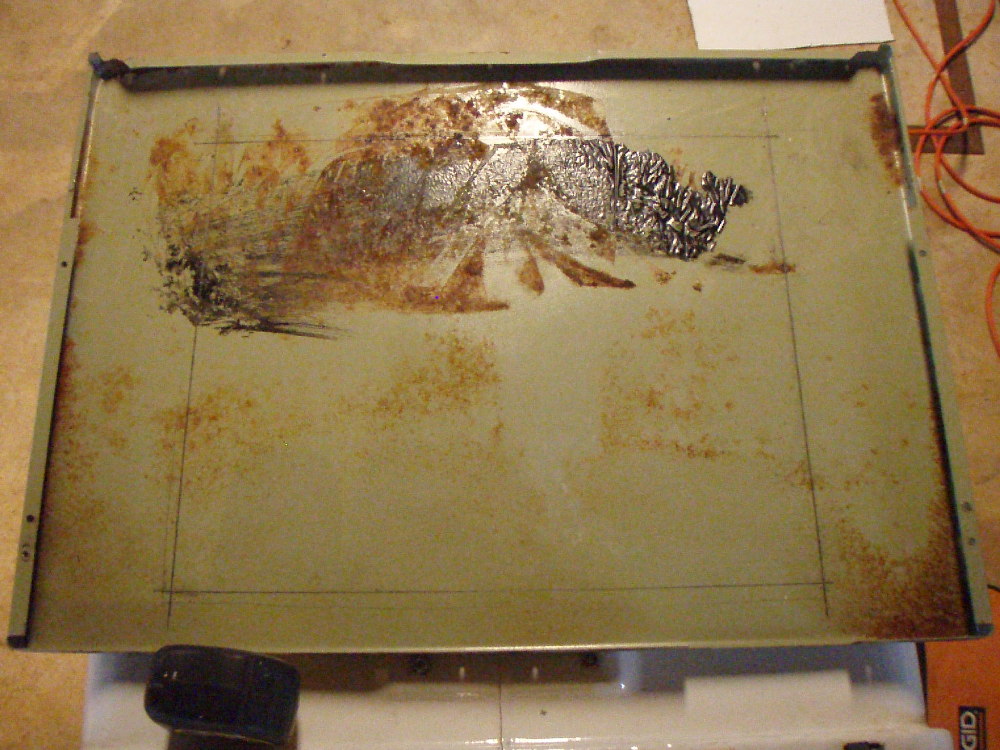
| ||
| Post# 735180 , Reply# 24 2/14/2014 at 08:58 (3,716 days old) by dpritz (Atlanta) | ||
|
2 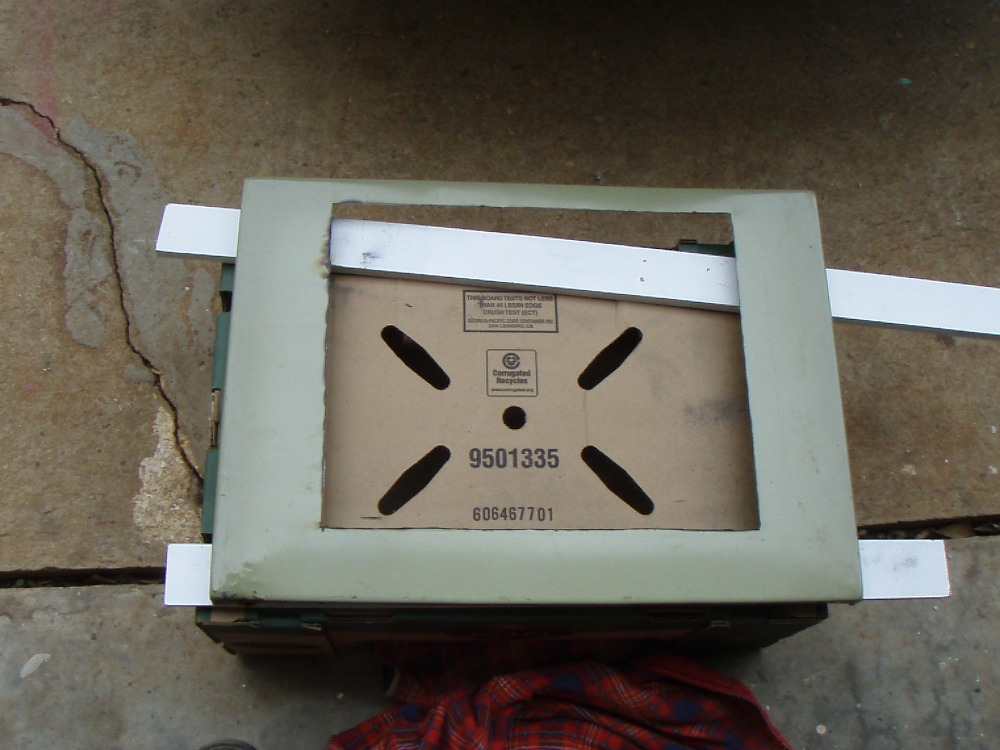
| ||
| Post# 735182 , Reply# 25 2/14/2014 at 08:59 (3,716 days old) by dpritz (Atlanta) | ||
|
This was my method for doing the trim, measure twice cut once! It worked well 
| ||
| Post# 735183 , Reply# 26 2/14/2014 at 09:01 (3,716 days old) by dpritz (Atlanta) | ||
|
Its a piece of aluminum 1 1/2" angle and a 1" aluminum flat stock. This is what it looks like from the inside 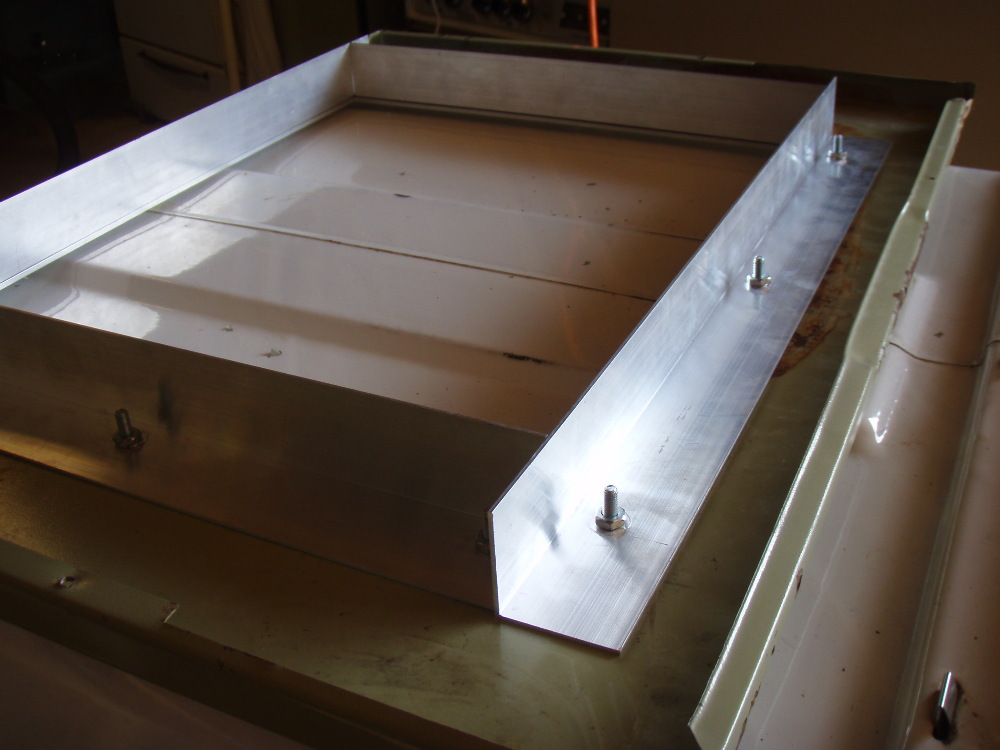
| ||
| Post# 735184 , Reply# 27 2/14/2014 at 09:01 (3,716 days old) by dpritz (Atlanta) | ||
|
Here's the outide 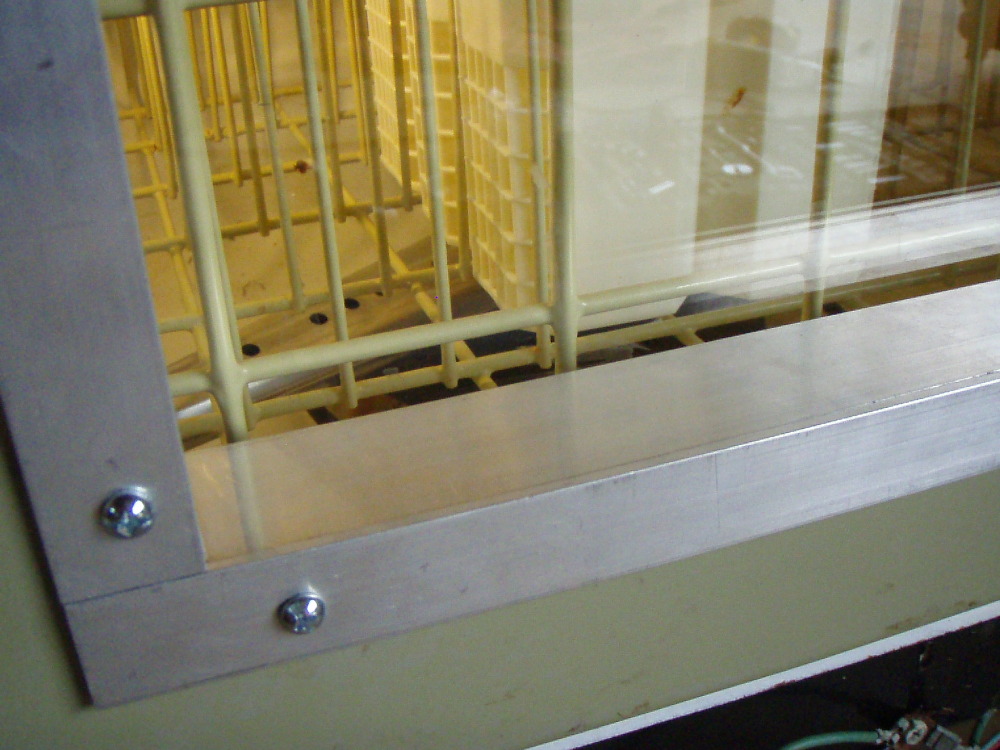
| ||
| Post# 735185 , Reply# 28 2/14/2014 at 09:02 (3,716 days old) by dpritz (Atlanta) | ||
|
I had to move the detergent dispenser to the side so I cut out the hole pattern to use as a template. 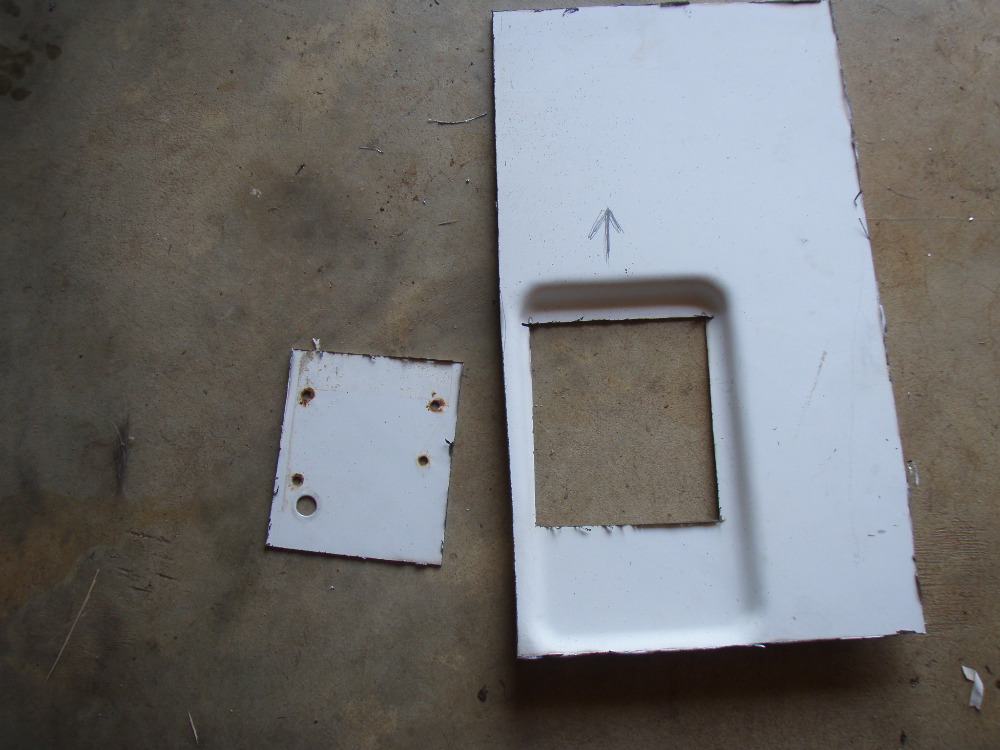
| ||
| Post# 735186 , Reply# 29 2/14/2014 at 09:03 (3,716 days old) by dpritz (Atlanta) | ||
|
Traced the holes 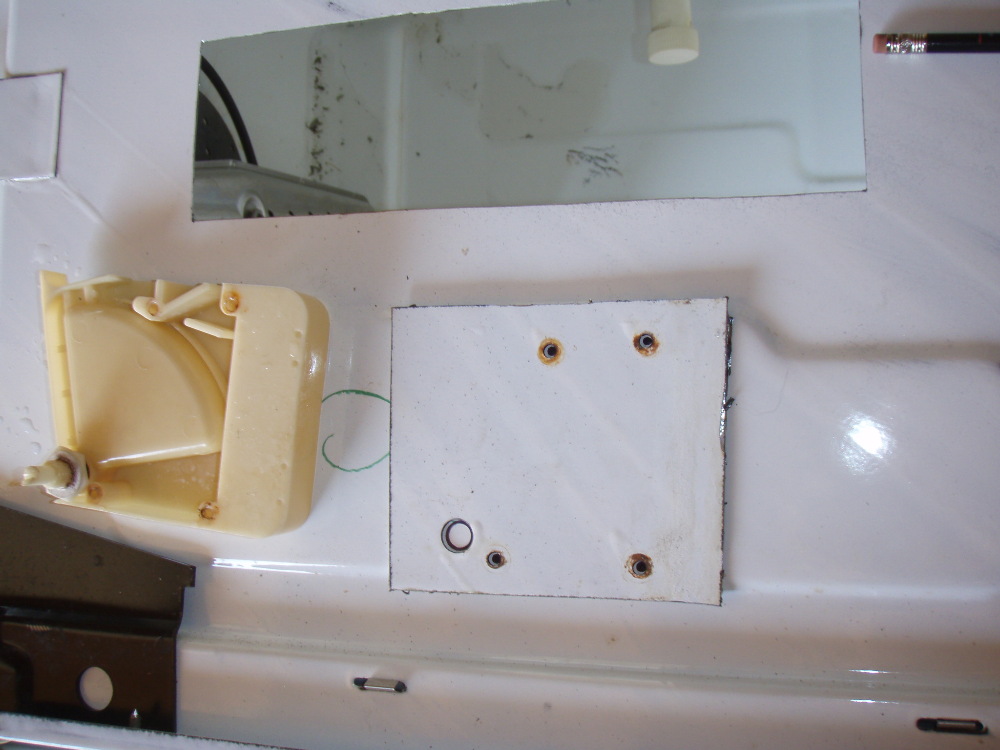
| ||
| Post# 735187 , Reply# 30 2/14/2014 at 09:04 (3,716 days old) by dpritz (Atlanta) | ||
|
drilled them out 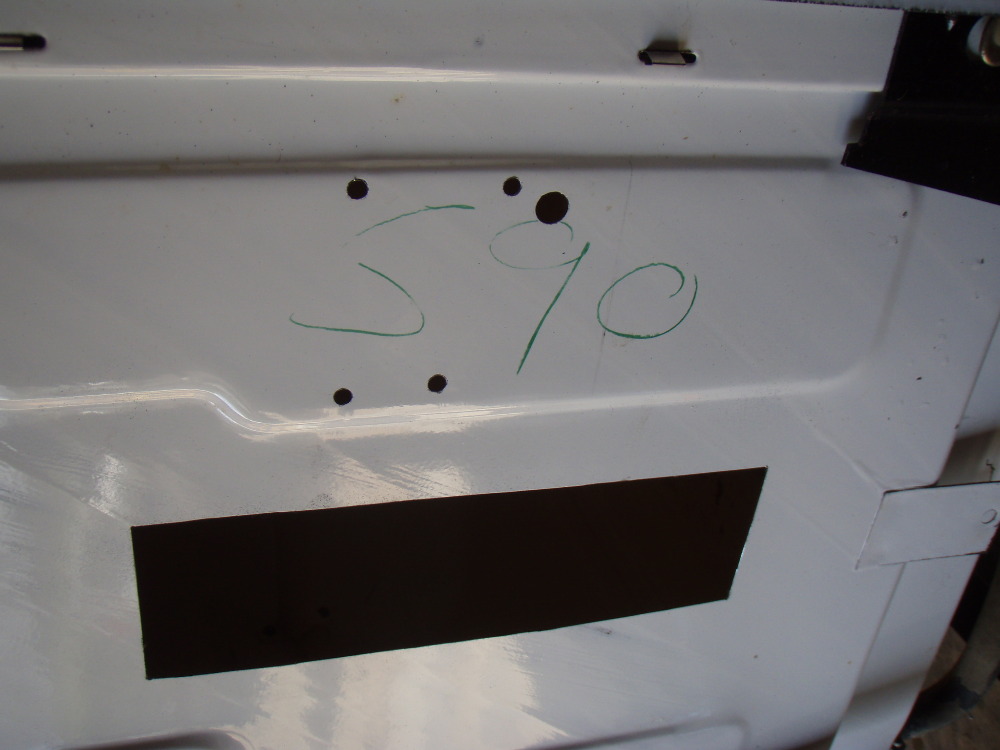
| ||
| Post# 735188 , Reply# 31 2/14/2014 at 09:05 (3,716 days old) by dpritz (Atlanta) | ||
|
Well this is a problem! The top rack hits what to do? 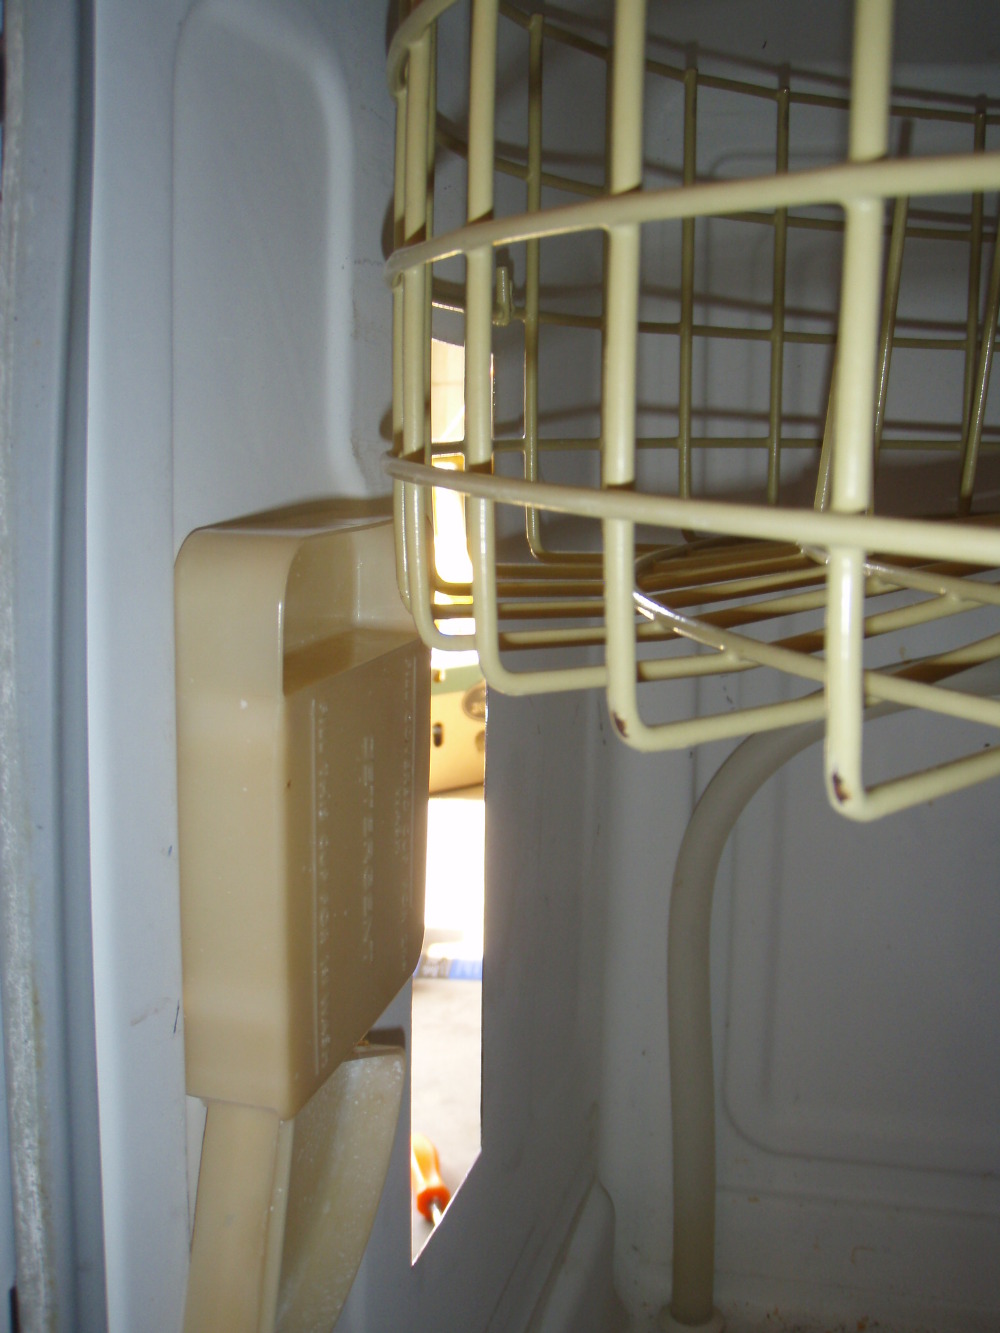
| ||
| Post# 735189 , Reply# 32 2/14/2014 at 09:05 (3,716 days old) by dpritz (Atlanta) | ||
|
Cut off the part I won't be using anyway! 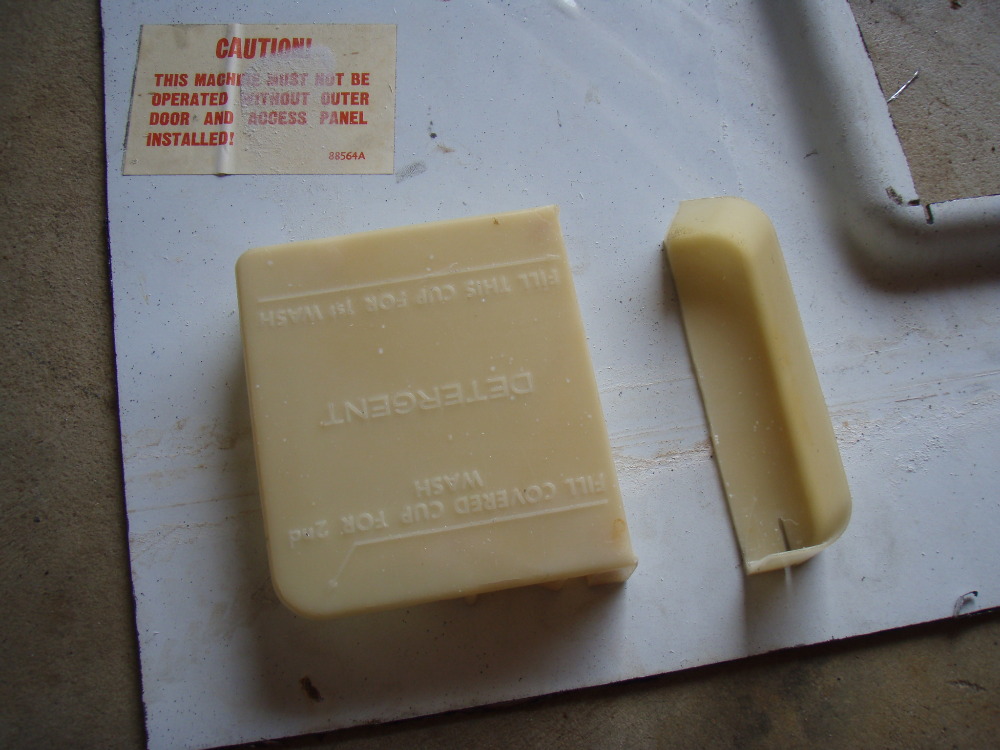
| ||
| Post# 735190 , Reply# 33 2/14/2014 at 09:06 (3,716 days old) by dpritz (Atlanta) | ||
|
Rack not installed but it slides out just fine now. 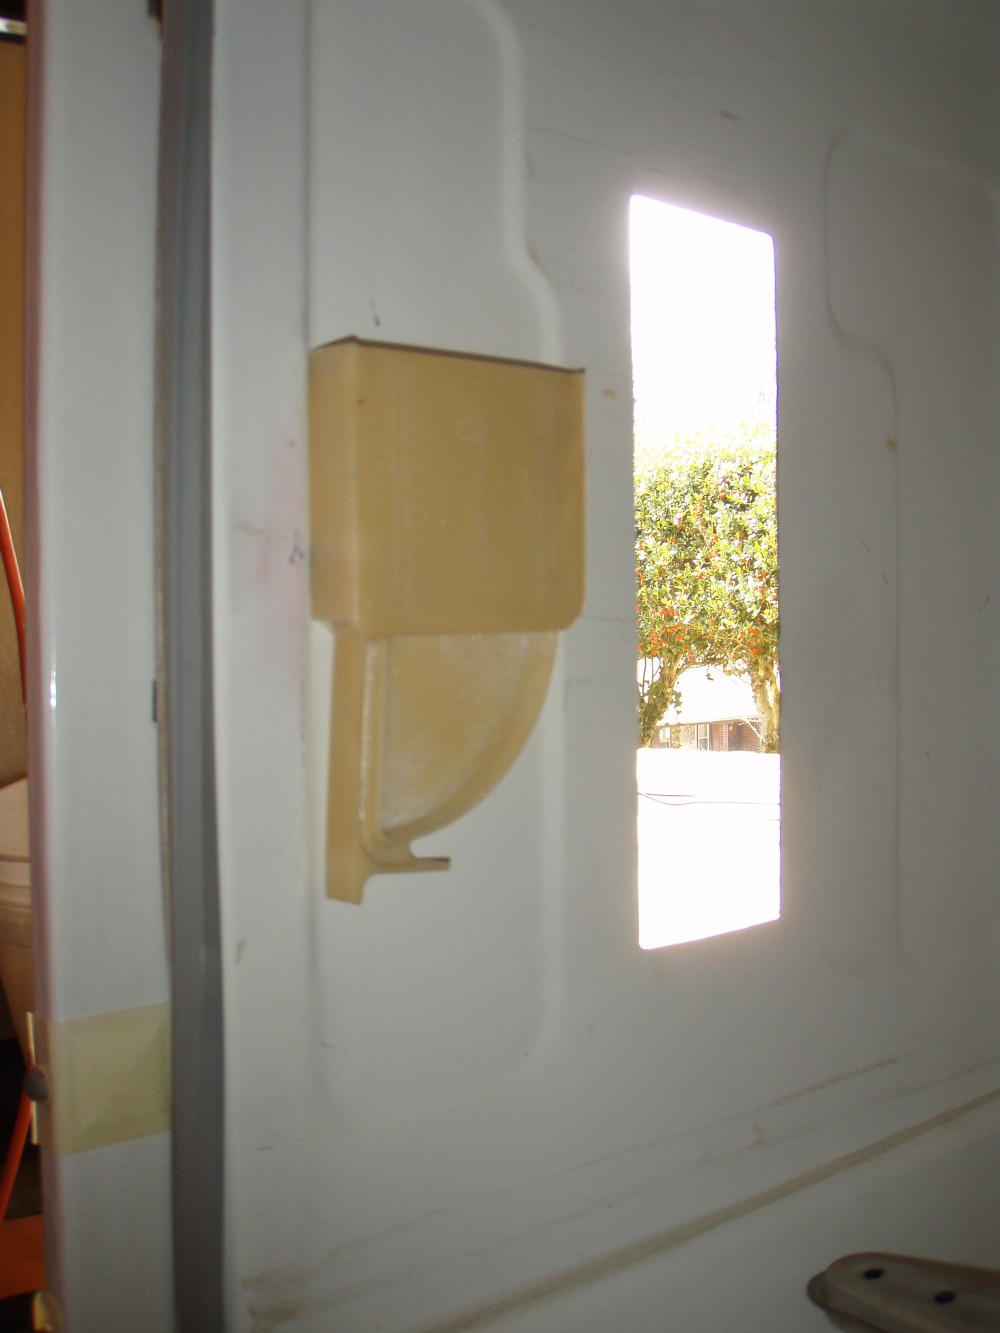
| ||
| Post# 735191 , Reply# 34 2/14/2014 at 09:09 (3,716 days old) by dpritz (Atlanta) | ||
|
Then I took it all back apart and ran a bead of ultra blue around the windows and tightened up all the bolts. 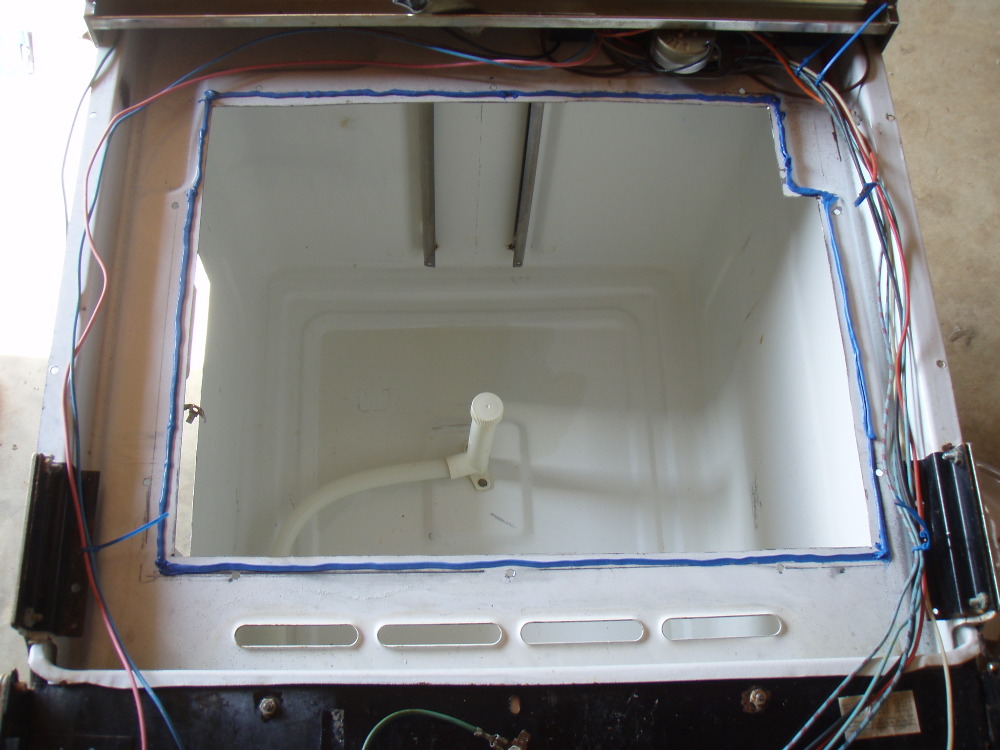
| ||
| Post# 735193 , Reply# 35 2/14/2014 at 09:11 (3,716 days old) by dpritz (Atlanta) | ||
|
This was the hardware I used. I bent the washer 1/4" so it would lay flat on the glass. 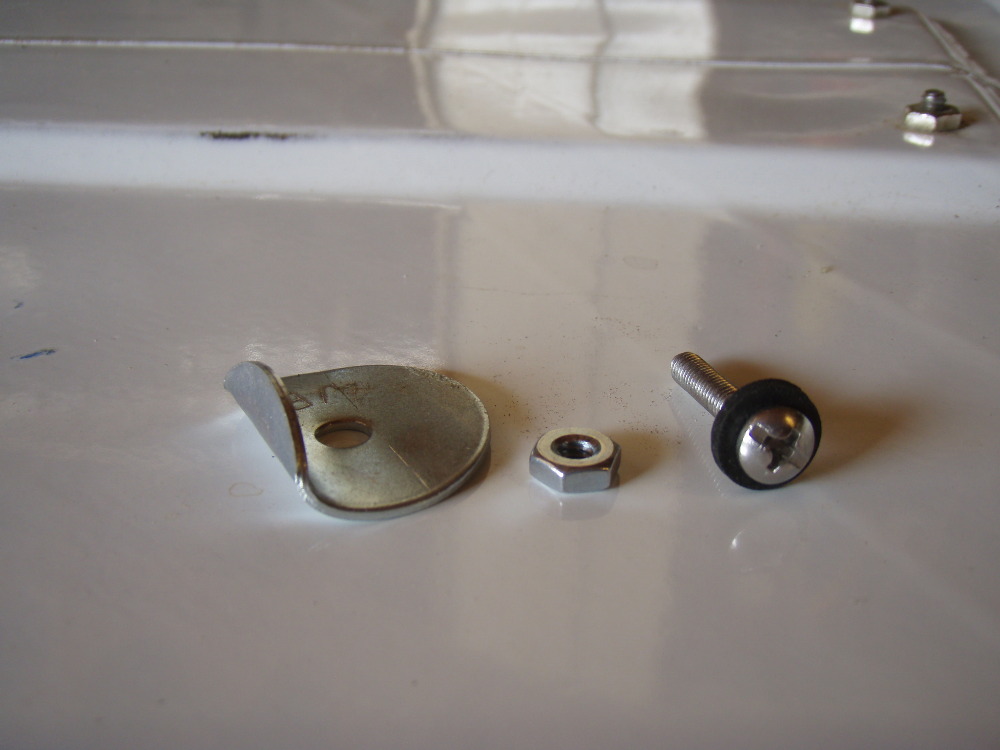
| ||
| Post# 735195 , Reply# 36 2/14/2014 at 09:12 (3,716 days old) by dpritz (Atlanta) | ||
|
Video coming soon! | ||
| Post# 735223 , Reply# 37 2/14/2014 at 12:38 (3,716 days old) by whitetub (Montreal, Canada) | ||
|
Can't wait to see the video. | ||
| Post# 735233 , Reply# 38 2/14/2014 at 13:57 (3,716 days old) by dpritz (Atlanta) | ||
|
Its a bit shakey Ill make another one of the a full WRWRD cycle soon! Enjoy CLICK HERE TO GO TO dpritz's LINK | ||
| Post# 735236 , Reply# 39 2/14/2014 at 14:35 (3,716 days old) by norgeway (mocksville n c ) | ||
|
Beautiful Work...Robert I think you started something!!! | ||
| Post# 735237 , Reply# 40 2/14/2014 at 14:36 (3,716 days old) by norgeway (mocksville n c ) | ||
|
Next time I come to Atlanta,, I would like to see that in person!Im getting a hunger for Mary Macs Tea Room!! | ||
|
Post# 735240 , Reply# 41 2/14/2014 at 15:12 (3,716 days old) by vacbear58 (Sutton In Ashfield, East Midlands, UK) |
||
Picture Window | ||
|
Post# 735248 , Reply# 42 2/14/2014 at 16:35 (3,716 days old) by gansky1 (Omaha, The Home of the TV Dinner!) |
||
|
| ||
|
Post# 735277 , Reply# 43 2/14/2014 at 20:00 (3,716 days old) by jetcone (Schenectady-Home of Calrods,Monitor Tops,Toroid Transformers) |
||
|
Cool Video | ||
|
Post# 735283 , Reply# 44 2/14/2014 at 20:31 (3,716 days old) by Unimatic1140 (Minneapolis) |
||
|
| ||
| Post# 735311 , Reply# 45 2/14/2014 at 22:25 (3,716 days old) by xpanam (Palm Springs California ) | ||
 | ||
| Post# 736276 , Reply# 47 2/19/2014 at 07:52 (3,711 days old) by dpritz (Atlanta) | ||
|
It is going to be installed in our new / old kitchen (all vintage appliances) soon, the only missing piece we need is a refrigerator which has been harder to find than expexted. | ||
|
Post# 736280 , Reply# 48 2/19/2014 at 07:58 (3,711 days old) by turquoisedude (.) |
||
|
| ||
| Post# 737111 , Reply# 49 2/23/2014 at 07:33 (3,707 days old) by jkbff (Happy Rock, ND) | ||

This looks AWESOME! Great work!
I kinda really wanna do this to one of my KD-58's. I just dunno if I could convince my self to cut the porcelain. My only thoughts were instead of remounting the dispensers, couldn't water from the constant rinse (in my case) be diverted with a valve into a bin like a washing machine so you could fill the soap sections, it would fill the bin and have that drain into the water fill gap or something as it is running? Basically a rigged detergent dispensing system? All tied into the timer output for the dispenser release? A few relays and a microcontroller would make it simple, just have it sense the dispenser output voltage. Anywho, this is an awesome project! Love the pics and video! | ||
|
Post# 737159 , Reply# 50 2/23/2014 at 11:19 (3,707 days old) by appnut (TX) |
||
|
| ||
| Forum Index: | 
| Other Forums: |

|

|

|

|

|

 Comes to the Rescue!