|
Thread Number: 67969
/ Tag: Vintage Automatic Washers
Maytag "Newton" Washer Whisperer Needed |
[Down to Last] |
| Post# 906800 11/13/2016 at 14:49 (2,714 days old) by leefree (Los Angeles) | ||

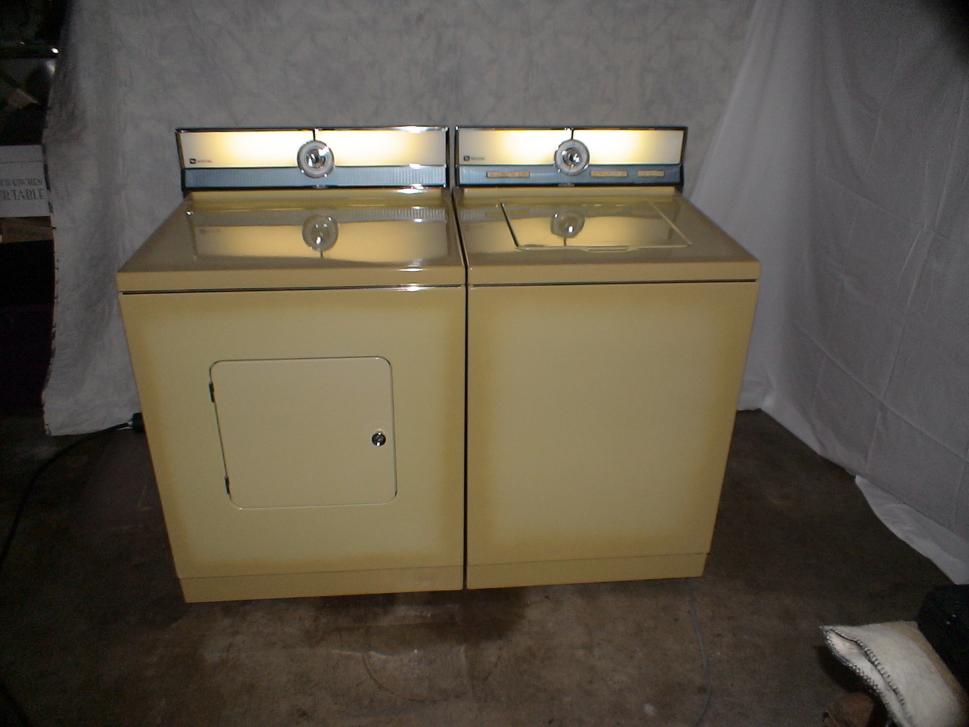
Hi folks, I picked up this set (LA512 Series 2 and LDG412 -both 1986) because they would "fit" my laundry room - newer machines are reversed to my 1983 hookups. I nearly died and contemplated just moving :) when I started taking the washer apart to clean and replace what components I could. (Lint filter soaked in a cup of vinegar and Dawn for a week.) I've prepared myself emotionally to remove the basket so I can replace the rotted bleach nozzle. I bought the spanner wrench and have been beating on the nut clockwise. It just laughs at me. Clearly, it's never been removed. It's petrified on there. It's been soaked with wd-40 everyday for a week and laundry is piling up. Any ideas? I also have some vibration on spin when it's max full. I replaced the dampers and that helped a little and it's not as bad if I just do large or smaller loads. Did I buy an end-of-life lemon? Thanks! Leon
View Full Size
| ||

|
Post# 906803 , Reply# 1 11/13/2016 at 15:23 (2,714 days old) by goatfarmer  (South Bend, home of Champions) (South Bend, home of Champions) |
||
 | ||
| Post# 906807 , Reply# 2 11/13/2016 at 15:41 (2,714 days old) by mayken4now (Panama City, Florida) | ||
 | ||
| Post# 906818 , Reply# 3 11/13/2016 at 16:51 (2,714 days old) by leefree (Los Angeles) | ||
|
Thanks, I was hoping I wouldn't have to destroy it so I'll try the hammer trick first. Some diagrams reference a set screw so i took a wire brush to the whole thing. I found and removed the retaining ring (sitting on there in the pic) but that's about all that did. I see nothing that looks like a set screw so does that mean I don't have one? If so I'll bash away. If I have to chisel, I'll put it back together and order replacement parts before proceeding.
View Full Size
| ||
| Post# 906830 , Reply# 5 11/13/2016 at 18:08 (2,714 days old) by leefree (Los Angeles) | ||
|
| ||
| Post# 906873 , Reply# 6 11/14/2016 at 02:33 (2,713 days old) by BigTerKC (Kansas City) | ||
Don't forget YouTube | ||
| Post# 906883 , Reply# 7 11/14/2016 at 04:21 (2,713 days old) by beekeyknee (Columbia, MO) | ||
Clockwise is the right direction. It's reverse threads. Are you using a mini-sledge or a rubber covered mallet? The first time I did it I used a rubber covered mallet. I didn't know what I was doing. I went out and got a mini-sledge and banged it and it came loose. Just be careful not to hit the side of the basket with the sledge while you're banging or you will break the porcelain and it will snag the clothes and rust.
Another thing you can try. Go get some PB Blaster and give that drive shaft and mounting stem nut a good spray down, let set for a few hours or over night, come back and bang on it again. I bet it will come loose. Beware though. PB Blaster has a powerful smell. It will stink up the whole house. If the machine is in a room away from your living area it would be best. Or a room that can be closed off that doesn't have an air return in it to pick up the smell and blow it all around the house. Don't know what kind of HVAC you have or where you're doing this job. When you get the tub nut off the mounting stem cover will come off. Then when you pull the basket out you'll be down to the mounting stem and set screw. Spray the set screw and the mounting stem threads with the PB Blaster, let it set awhile, loosen the set screw, bang out the mounting stem in the same direction and then you will be down to the boot seal (under the mounting stem). Then the outer tub is exposed. You can keep going as far as you want or need to go. You can take the whole machine apart, restore it and rebuild it from the ground up if you want to. It's up to you. At the top of the page you can use Google to search through the archives or you can become a donating member and you will have use of the Super Searchalator. That's up to you. Hope that helps. Good luck. | ||
| Post# 906941 , Reply# 8 11/14/2016 at 13:50 (2,713 days old) by cadman (Cedar Falls, IA) | ||
Having done something similar recently, I resorted to pulling out the propane torch and evenly heating that nut, keeping the torch head moving for a minute or two all around it, then smacked it with the mini-sledge and wrench. That did the trick and after working it back and forth after feeling it 'give', it eventually came off. -C
| ||
|
Post# 907049 , Reply# 9 11/15/2016 at 07:47 (2,712 days old) by combo52 (50 Year Repair Tech Beltsville,Md) |
||
Just Crack It Off  | ||
| Post# 907543 , Reply# 10 11/18/2016 at 16:19 (2,709 days old) by leefree (Los Angeles) | ||
|
Ahhhhh, I think I even remember reading on here somewhere to use a sledge and not a rubber mallet! I'm sure thats what it was. I ended up putting it back together and will order new parts before I try again. If I'm going to take it that far apart I may as well replace what I can while I'm there. Thanks again for the tips, I'll update the thread when I get it done.
| ||
|
Post# 907567 , Reply# 11 11/18/2016 at 20:17 (2,709 days old) by Gyrafoam (Wytheville, VA) |
||
|
All the Maytag guru's I have known just break the damned thing off and put a new one on. Just 'sayin. | ||
| Post# 907668 , Reply# 12 11/19/2016 at 19:19 (2,708 days old) by leefree (Los Angeles) | ||
|
The old bleach hose had hardened and wouldn't even reach the bottom of the dispenser. I ordered a new one and when I replaced it, i found the old one was full of gunk like plumbing on an old house. It connects to the bottom of the outer tub and inside that connection is a plastic nozzle that is rotted and plugged too. It's discontinued but I found one online. It has to be put in from the inside of the outter tub.
| ||
|
Post# 907671 , Reply# 13 11/19/2016 at 19:32 (2,708 days old) by combo52 (50 Year Repair Tech Beltsville,Md) |
||
|
Blocked Bleach Dispenser Inlet | ||
| Forum Index: | 
| Other Forums: |

|

|

|

|

|

 Comes to the Rescue!


