|
Thread Number: 88981
/ Tag: Vintage Automatic Washers
Kenmore dryer heater |
[Down to Last] |
| Post# 1135495 12/6/2021 at 22:08 (865 days old) by Laundryboy (Orlando Florida & Moravia NY. ) | ||
Is it possible to get a heater for this dryer still?
CLICK HERE TO GO TO Laundryboy's LINK
View Full Size
| ||

|
| Post# 1135496 , Reply# 1 12/6/2021 at 22:33 (865 days old) by Maytag85 (Sean A806) | ||
 | ||
Post# 1135497 , Reply# 2 12/6/2021 at 22:46 (865 days old) by DADoES  (TX,�U.S. of A.) (TX,�U.S. of A.) |
||
|
| ||
| Post# 1135498 , Reply# 3 12/6/2021 at 22:49 (865 days old) by Repairguy (Danbury, Texas) | ||
Part number is WP4391960. I recommend genuine OEM parts.
CLICK HERE TO GO TO Repairguy's LINK on eBay | ||
| Post# 1135517 , Reply# 4 12/7/2021 at 09:12 (864 days old) by Laundryboy (Orlando Florida & Moravia NY. ) | ||
|
Thank you 😊 | ||
| Post# 1136623 , Reply# 5 12/19/2021 at 21:11 (852 days old) by Laundryboy (Orlando Florida & Moravia NY. ) | ||
|
I ordered the part. | ||
|
Post# 1136625 , Reply# 6 12/19/2021 at 21:40 (852 days old) by bradfordwhite (central U.S.) |
||
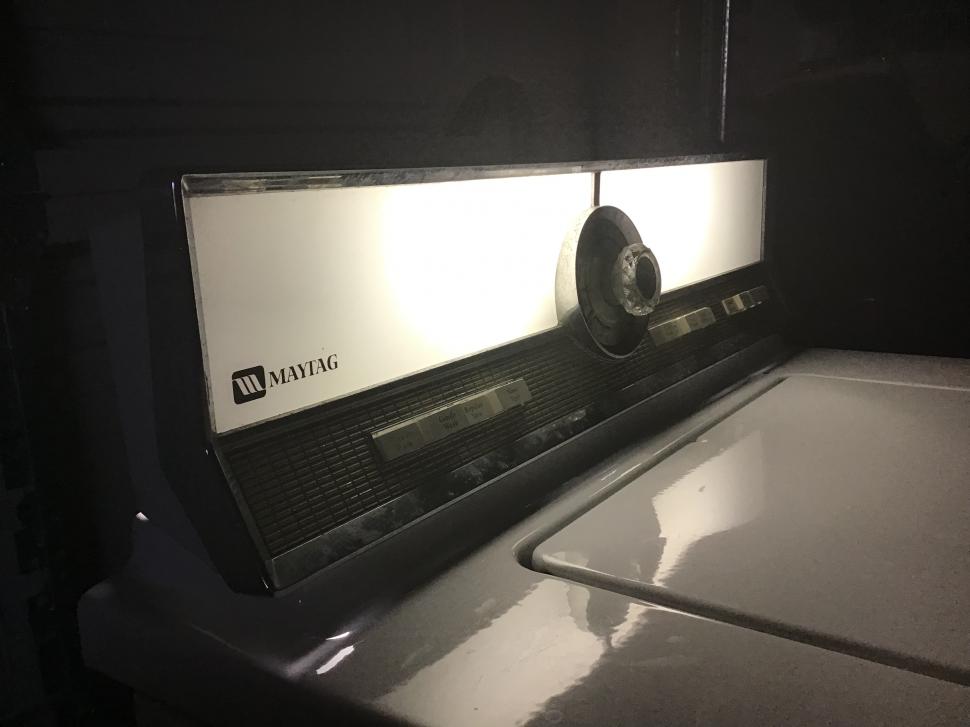
If this is it. You have good taste.
This is very mol Kenmore and probably one of Sears best selling models. Finding a matching belt-drive washer is getting more and more difficult as time goes on but they are still out there.
View Full Size
| ||
| Post# 1136652 , Reply# 7 12/20/2021 at 09:02 (851 days old) by Laundryboy (Orlando Florida & Moravia NY. ) | ||
|
Paint. | ||
| Post# 1136662 , Reply# 9 12/20/2021 at 11:16 (851 days old) by Laundryboy (Orlando Florida & Moravia NY. ) | ||
|
Ohh. Great idea.
I�m picking it up tonight. I ordered a new element. How do you tell if the thermostat is bad ? Are they all in the element box. I�m still new to working on machines. But I�m definitely gonna try it all out and see I love this big door design. There is another one near me with the smaller drop down door for $50 they said jf works great. I like the look of the larger door. Just not the almond colour.
| ||
| Post# 1136663 , Reply# 10 12/20/2021 at 11:17 (851 days old) by Laundryboy (Orlando Florida & Moravia NY. ) | ||
|
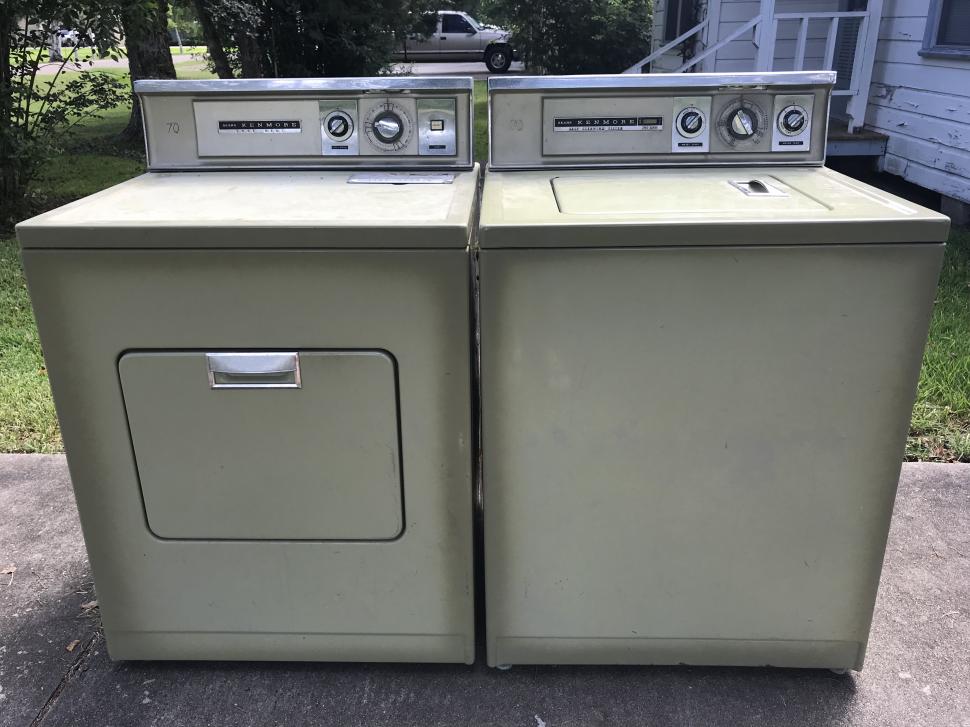
Second one for sale.
View Full Size
| ||
| Post# 1136699 , Reply# 12 12/20/2021 at 18:17 (851 days old) by laundryboy (Orlando Florida & Moravia NY. ) | ||
|
I picked it up | ||
| Post# 1136705 , Reply# 13 12/20/2021 at 19:08 (851 days old) by laundryboy (Orlando Florida & Moravia NY. ) | ||
|
age, | ||
| Post# 1136706 , Reply# 14 12/20/2021 at 19:15 (851 days old) by Repairguy (Danbury, Texas) | ||
|
| ||
| Post# 1136708 , Reply# 15 12/20/2021 at 19:24 (851 days old) by stevet (West Melbourne, FL) | ||
|
Maybe! I am working at the office in south Orlando for the next few weeks. Maybe I can help you out if you get stuck. | ||
| Post# 1136719 , Reply# 16 12/20/2021 at 21:19 (851 days old) by laundryboy (Orlando Florida & Moravia NY. ) | ||
|
Last question I promise | ||
| Post# 1136726 , Reply# 17 12/20/2021 at 22:05 (851 days old) by Repairguy (Danbury, Texas) | ||
|
| ||
| Post# 1136728 , Reply# 18 12/20/2021 at 22:21 (851 days old) by Laundryboy (Orlando Florida & Moravia NY. ) | ||
|
Steve
If you have time one day that would be amazing. I�m going to attempt to paint it. I wish for Avocado green. But may just go with black
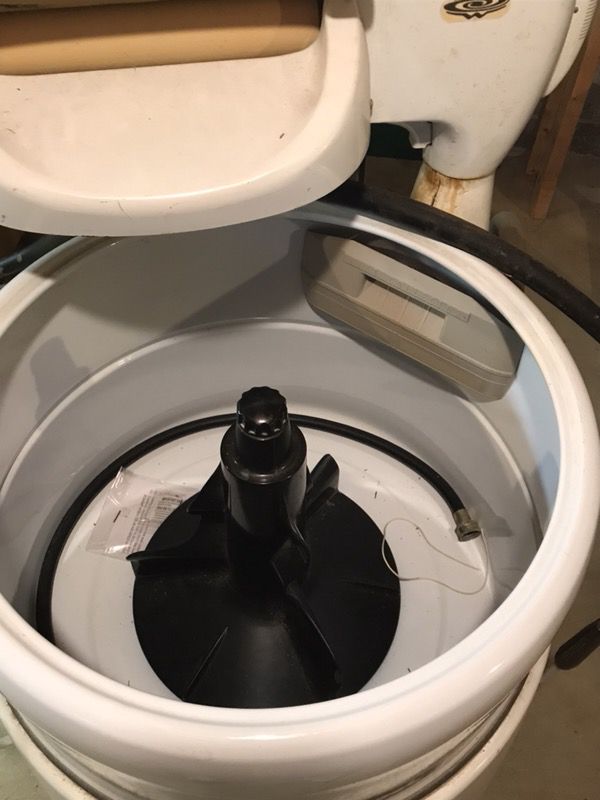
This was inside the lint filter box.
View Full Size
| ||
| Post# 1136740 , Reply# 19 12/21/2021 at 01:52 (851 days old) by Stan (Napa CA) | ||
I�ve seen
worse than that amount of lint with a dryer that was still heating.
But still nice to get all that out. Best to use a multimeter to test things out before replacing parts or even plugging into your outlet. If you take the cabinet apart and take out the drum, your app to find lots of lint. You want to get that out and off the electric motor (old toothbrush) vacuum. I used a leaf blower once to really clean it good! Let us know of your progress. HTH | ||
| Post# 1136747 , Reply# 20 12/21/2021 at 05:30 (850 days old) by Laundryboy (Orlando Florida & Moravia NY. ) | ||
|
So much to learn. | ||
|
Post# 1136757 , Reply# 22 12/21/2021 at 11:42 (850 days old) by bradfordwhite (central U.S.) |
||
|
Good idea to take double pictures BEFORE removing parts so you'll have something to look back on later when putting it back together.
Especially helpful for electric wiring and small detail parts. It's not usual to mix up a black wire with a dk. brown wire, for example, and ...ewww, the results. Plus if you have questions along the way, with pictures we here can most likely help. | ||
| Post# 1136762 , Reply# 23 12/21/2021 at 12:09 (850 days old) by Repairguy (Danbury, Texas) | ||
|
| ||
|
Post# 1136764 , Reply# 24 12/21/2021 at 12:35 (850 days old) by bradfordwhite (central U.S.) |
||
|
Hopefully yours doesn't have a mouse nest in it.
I bought a relatively new Estate (Whirlpool made) dryer from Menards a couple years back, for $19. It looked good and worked good, but thought I'm going to check the inside JUST IN CASE.... It's a good thing I did as right near the middle, a busy mouse had built a towering nest that, oddly, was all stuck together. With all the moving of the appliance it didn't distort. Apparently the humidity from the basement the dryer had been in glued the mess together. It wasn't quite as bad as the picture but.... Fortunately I opened it up outside, removed the control panel, the top, the front, the back, and pulled out the drum. When disconnecting the belt I could see there was a mess. There was no indication that the mouse had been in any other part of the machine. I propped the dryer up so it slanted to the front, got a hose, and protected the motor with a plastic bag. Then took the hose, some soap, and a scrub brush and cleaned all the crap out. Also bleached it. Good as new after letting it dry a few days and putting it back together.
View Full Size
| ||
| Post# 1136767 , Reply# 25 12/21/2021 at 12:54 (850 days old) by Laundryboy (Orlando Florida & Moravia NY. ) | ||
|
Wow. No mice here phew
I took off the back and removed the heating element box. It was packed with lint. I vacuumed it all out. The bottom of the dryer had about 2� of lint. I thought it was insulation at first. I�ll take some pics today. I ordered a meter to check the voltages on the spots you Guys told me to check.
I did order a new heating element. I�m going to attempt to paint the dryer black to match my washer. | ||
|
Post# 1136770 , Reply# 26 12/21/2021 at 14:09 (850 days old) by bradfordwhite (central U.S.) |
||
|
It sounds like they used the dryer in tight confines with NO vent attached. As a result, all the loose lint became airborne and was sucked back inside the dryer. That's a significant fire risk. If the heater box was filled that could have easily caught on fire.
The smell you were referring to was the partial incineration of lint particles. I wouldn't be surprised if the drum was discolored from that. How do you intend to try and paint this? For what it's worth; these did not originally come in black or avocado as avocado was no longer being used for most appliances by 1985. If you're thinking canned spray paint...I wouldn't. It rarely turns out good and looks crappy. Large areas like an appliance need to be professionally done with a paint sprayer. A simpler solution: could do black panels in certain areas such as the door front and the inset part of the top. You could wrap it or use a black gloss or black wood contact paper. Carefully cut the paper corners to match the top corners before applying. The door you can easily remove, disassemble and wrap the door folding the paper over the edges. Then reassemble and put the handle back in. Wouldn't take long or cost much and worse case, if you don't like it, it's easy to remove. The almond color would be a good combination for the black vs. a stark white paint. CLICK HERE TO GO TO bradfordwhite's LINK | ||
| Post# 1136776 , Reply# 27 12/21/2021 at 14:47 (850 days old) by Laundryboy (Orlando Florida & Moravia NY. ) | ||
|
Ohh a wrap might be nice.
I never thought of wrapping it. Hmmm
View Full Size
| ||
| Post# 1136837 , Reply# 28 12/22/2021 at 05:22 (849 days old) by Laundryboy (Orlando Florida & Moravia NY. ) | ||
|
| ||
|
Post# 1136843 , Reply# 29 12/22/2021 at 08:21 (849 days old) by DADoES (TX,�U.S. of A.) |
||
|
| ||
|
Post# 1136849 , Reply# 30 12/22/2021 at 09:18 (849 days old) by bradfordwhite (central U.S.) |
||
|
| ||
| Post# 1136916 , Reply# 31 12/22/2021 at 18:01 (849 days old) by laundryboy (Orlando Florida & Moravia NY. ) | ||
|
Model | ||
|
Post# 1136917 , Reply# 32 12/22/2021 at 18:20 (849 days old) by bradfordwhite (central U.S.) |
||
|
I take it the 2nd dryer is standard capacity. In other words it has a flat back?
If not, it's possible the drum is interchangeable. With the drum you have it should come reasonably clean with a good cleaning...scrubbing with backing soda and a sponge. Rinse it with water outside. The same goes for the back of the dryer drum and the inside of the door. They all should be thoroughly cleaned. As for painting them... that's tricky because the paint job needs to resist wear or the paint will just come off on your clothing. If it were me, I'd search craigslist and get a cheap(perhaps not working) newer whirlpool made dryer to use for the innards: the back wall, the drum, and possibly the inner door. They are often plentiful, white and clean, and parts are compatible.
View Full Size
| ||
| Post# 1136944 , Reply# 33 12/23/2021 at 00:45 (849 days old) by Laundryboy (Orlando Florida & Moravia NY. ) | ||
|
Co trips
Can I swap the control panel on the newer on with the control panel on the vintage -ish one.
| ||
|
Post# 1136954 , Reply# 34 12/23/2021 at 07:24 (848 days old) by bradfordwhite (central U.S.) |
||
|
| ||
| Post# 1136975 , Reply# 35 12/23/2021 at 10:53 (848 days old) by Laundryboy (Orlando Florida & Moravia NY. ) | ||
|
Very nice. | ||
|
Post# 1137025 , Reply# 36 12/23/2021 at 17:15 (848 days old) by bradfordwhite (central U.S.) |
||
|
Wiring.
It will be easiest if you look at the console and the entire wiring as all one piece. There's no need to worry about making splices.
Just fish the wiring out of the older model. remove the wires from the motor, the door switch, the incoming wire block, remove the sensor screws and just leave them attached to the wiring, and you've already got the wires off the heater. Then just pull them up through the top and move them over to the newer machine. Don't forget to snag the original model # tag off the almond dryer. | ||
| Forum Index: | 
| Other Forums: |

|

|

|

|

|

 Comes to the Rescue!


;)
;)
;)
;)
;)
;)