|
Thread Number: 90559
/ Tag: Vintage Automatic Washers
Kingston timer housing repair - suggestions? |
[Down to Last] |
Post# 1150920 6/12/2022 at 13:07 (683 days old) by swestoyz  (Cedar Falls, IA) (Cedar Falls, IA) |
||

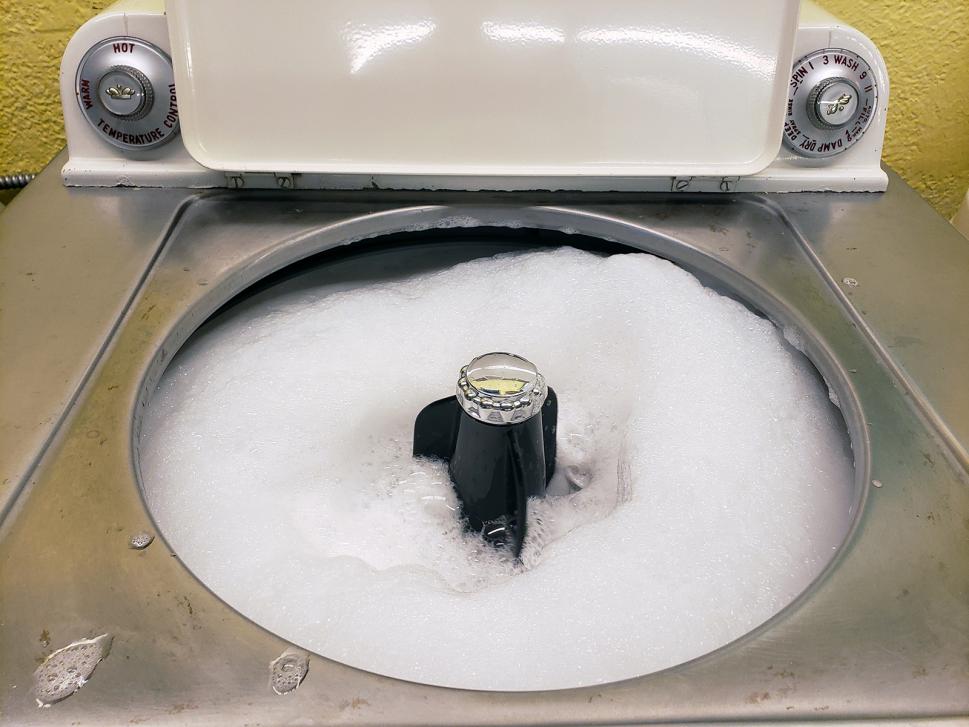
Hi everyone, I�m knee deep in an early automatic washer restoration, and one hurdle I need to solve is repairing this timer housing. It�s an early Kingston timer (made by Cramer), where two stand offs mount the timer to the panel.
Sadly, one of the two stand off mounts on this rare-as-hens-teeth timer are broken. I�ve had thoughts of trying to replace the one side with a later model Kingston timer that has the same contact points and update the harness to 1/4 spade, or seeing if some sort of epoxy could be used to fill in tue cracked area and tap it out one dried. Any thoughts suggestions folks here may have? Ben
View Full Size
| ||

|
|
Post# 1150921 , Reply# 1 6/12/2022 at 13:25 (683 days old) by wiskybill (Canton, Ohio) |
||
|
Hi Ben, I like the idea of using epoxy of some sort to rebuild the post. I would also consider adding a layer or two of shrink tube to it to reinforce it before tapping. Also, I would use the shrink tube on the other post as well. My 2 cents. Bill | ||
|
Post# 1150934 , Reply# 2 6/12/2022 at 15:07 (683 days old) by Jetcone (Schenectady-Home of Calrods,Monitor Tops,Toroid Transformers) |
||
Or
Before applying epoxy, coat the original screw with teflon lube in paste form not spray and kind of screw it down against the old post. As the epoxy hardens it should mold threads and you should be able to screw out the bolt.
But I would definitely go the epoxy route and keep the Douglas connectors. | ||
|
Post# 1150948 , Reply# 3 6/12/2022 at 19:00 (682 days old) by goatfarmer (South Bend, home of Champions) |
||
 | ||
|
Post# 1150950 , Reply# 4 6/12/2022 at 20:51 (682 days old) by RP2813 (Sannazay) |
||
 | ||
|
Post# 1150956 , Reply# 5 6/12/2022 at 21:37 (682 days old) by swestoyz (Cedar Falls, IA) |
||
|
Bill and Jon, thanks for your suggestions. Bill's idea of using shrink tubing got me to thinking about using some vinyl tubing and finding some that fits snug around the outer diameter of the post, and coupling that with Jon's idea of coating the screw with teflon lube and allowing the epoxy to flow naturally between the screw/cracked housing/vinyl tubing. That may just work!
I'd love to actually thread a stud into the post and cast it permanently in the post/mount, and install it to the panel with a nut on what was the screw head side, with a jam nut in place between the panel and the post/mount. This way there isn't a potential for an increased amount of torque against the plastic fix as all the pressure would be applied between the jam nut and the panel.
Ralph, that is a good question. A little reading just now on "epoxy vs JB Weld" has lead me to consider using JB Weld over epoxy. I'll give this a bit more thought and will report back on the success/failure of the repair once I'm done with the washer.
welderquery.com/gorilla-epoxy-vs...
Ben | ||
|
Post# 1150957 , Reply# 6 6/12/2022 at 21:46 (682 days old) by Unimatic1140 (Minneapolis) |
||
What about PlasticWeld Ben, I've used it, it dries and hardens relatively fast. It is a putty that you can mold into the shape of the broken side of that post. Then you can easily tap it once it is dried.
View Full Size
| ||
|
Post# 1150958 , Reply# 7 6/12/2022 at 21:52 (682 days old) by LowEfficiency (Iowa) |
||
 | ||
|
Post# 1150967 , Reply# 8 6/13/2022 at 02:01 (682 days old) by robbinsandmyers (Conn) |
||

Clean that surface really well with a stainless brush and some elect contact cleaner then apply some mil spec type of JB Weld and let it sit a few days. Then drill and tap the hole. You could slide a snug fitting piece of heat shrink tubing over it and cut it flush to get the basic shape of the stud. Then heat it after its cured and apply a second layer of tubing before drilling and tapping.
| ||
|
Post# 1151011 , Reply# 9 6/13/2022 at 18:31 (681 days old) by goatfarmer (South Bend, home of Champions) |
||
|
| ||
|
Post# 1151019 , Reply# 10 6/13/2022 at 19:37 (681 days old) by d-jones (Western Pennsylvania (Pittsburgh Area)) |
||

If you really want to go all out there's always the approach documented below. Kingston timer bodies are fairly easy to come by.
CLICK HERE TO GO TO d-jones's LINK | ||
| Forum Index: | 
| Other Forums: |

|

|

|

|

|

 Comes to the Rescue!


