|
Thread Number: 34283
RCA Whirlpool bearing job |
[Down to Last] |
Post# 514640 4/29/2011 at 18:08 (4,745 days old) by akronman  (Akron/Cleveland Ohio) (Akron/Cleveland Ohio) |
||
 | ||

|
|
Post# 514641 , Reply# 1 4/29/2011 at 18:09 (4,745 days old) by akronman (Akron/Cleveland Ohio) |
||
|
more paint | ||
|
Post# 514642 , Reply# 2 4/29/2011 at 18:10 (4,745 days old) by akronman (Akron/Cleveland Ohio) |
||
|
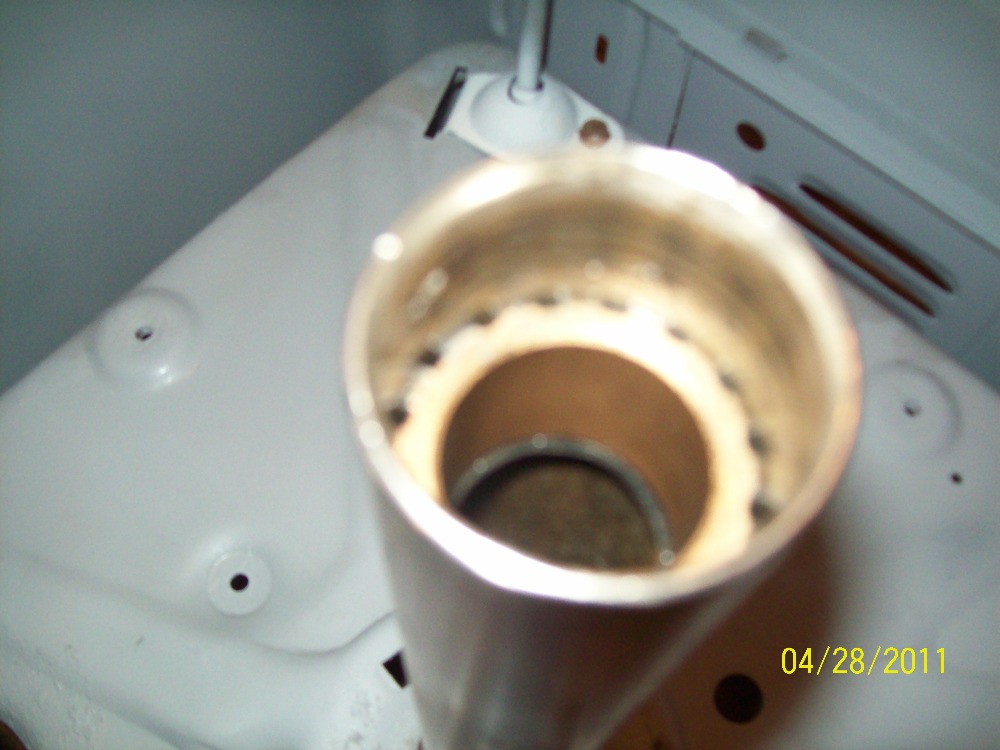
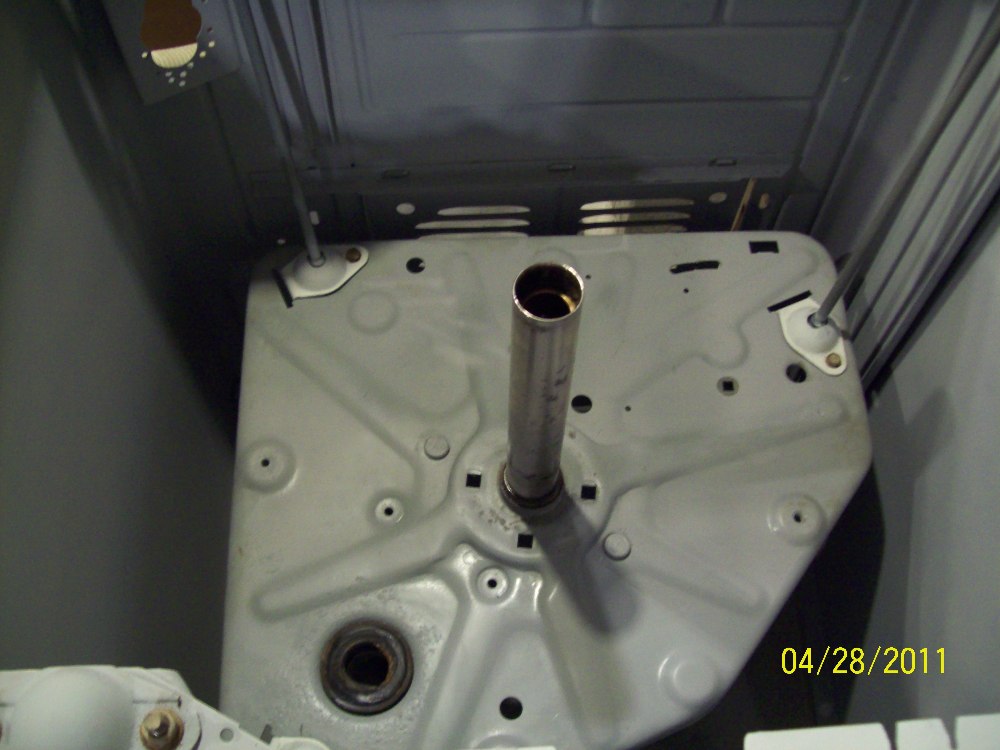
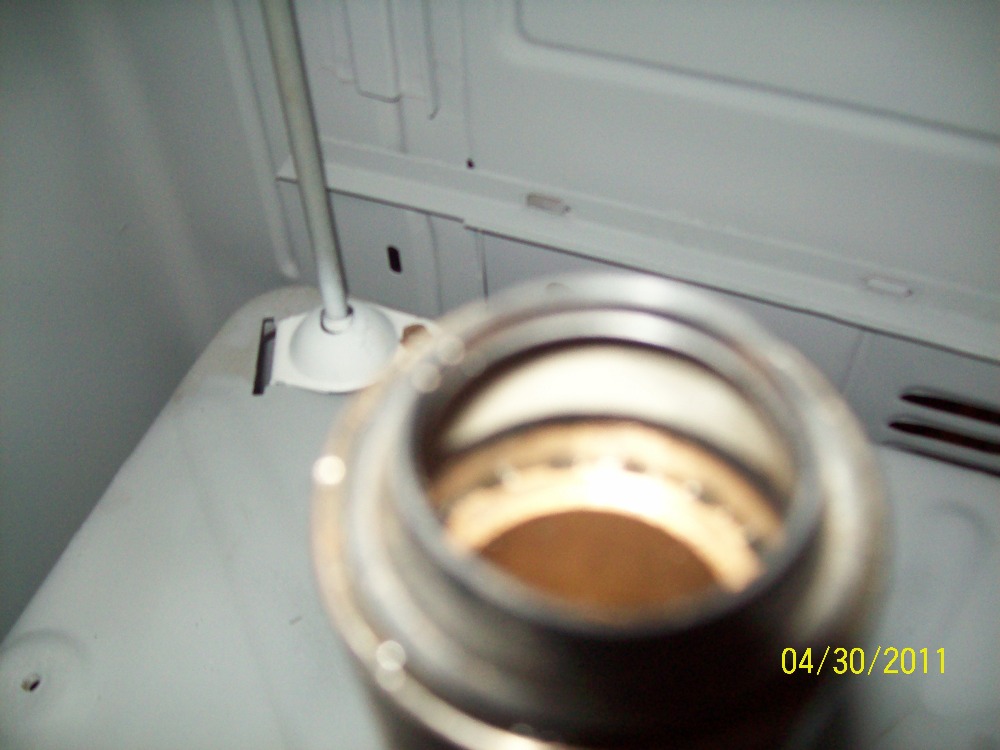
spin tube and center post bearings/seals | ||
|
Post# 514643 , Reply# 3 4/29/2011 at 18:11 (4,745 days old) by akronman (Akron/Cleveland Ohio) |
||
|
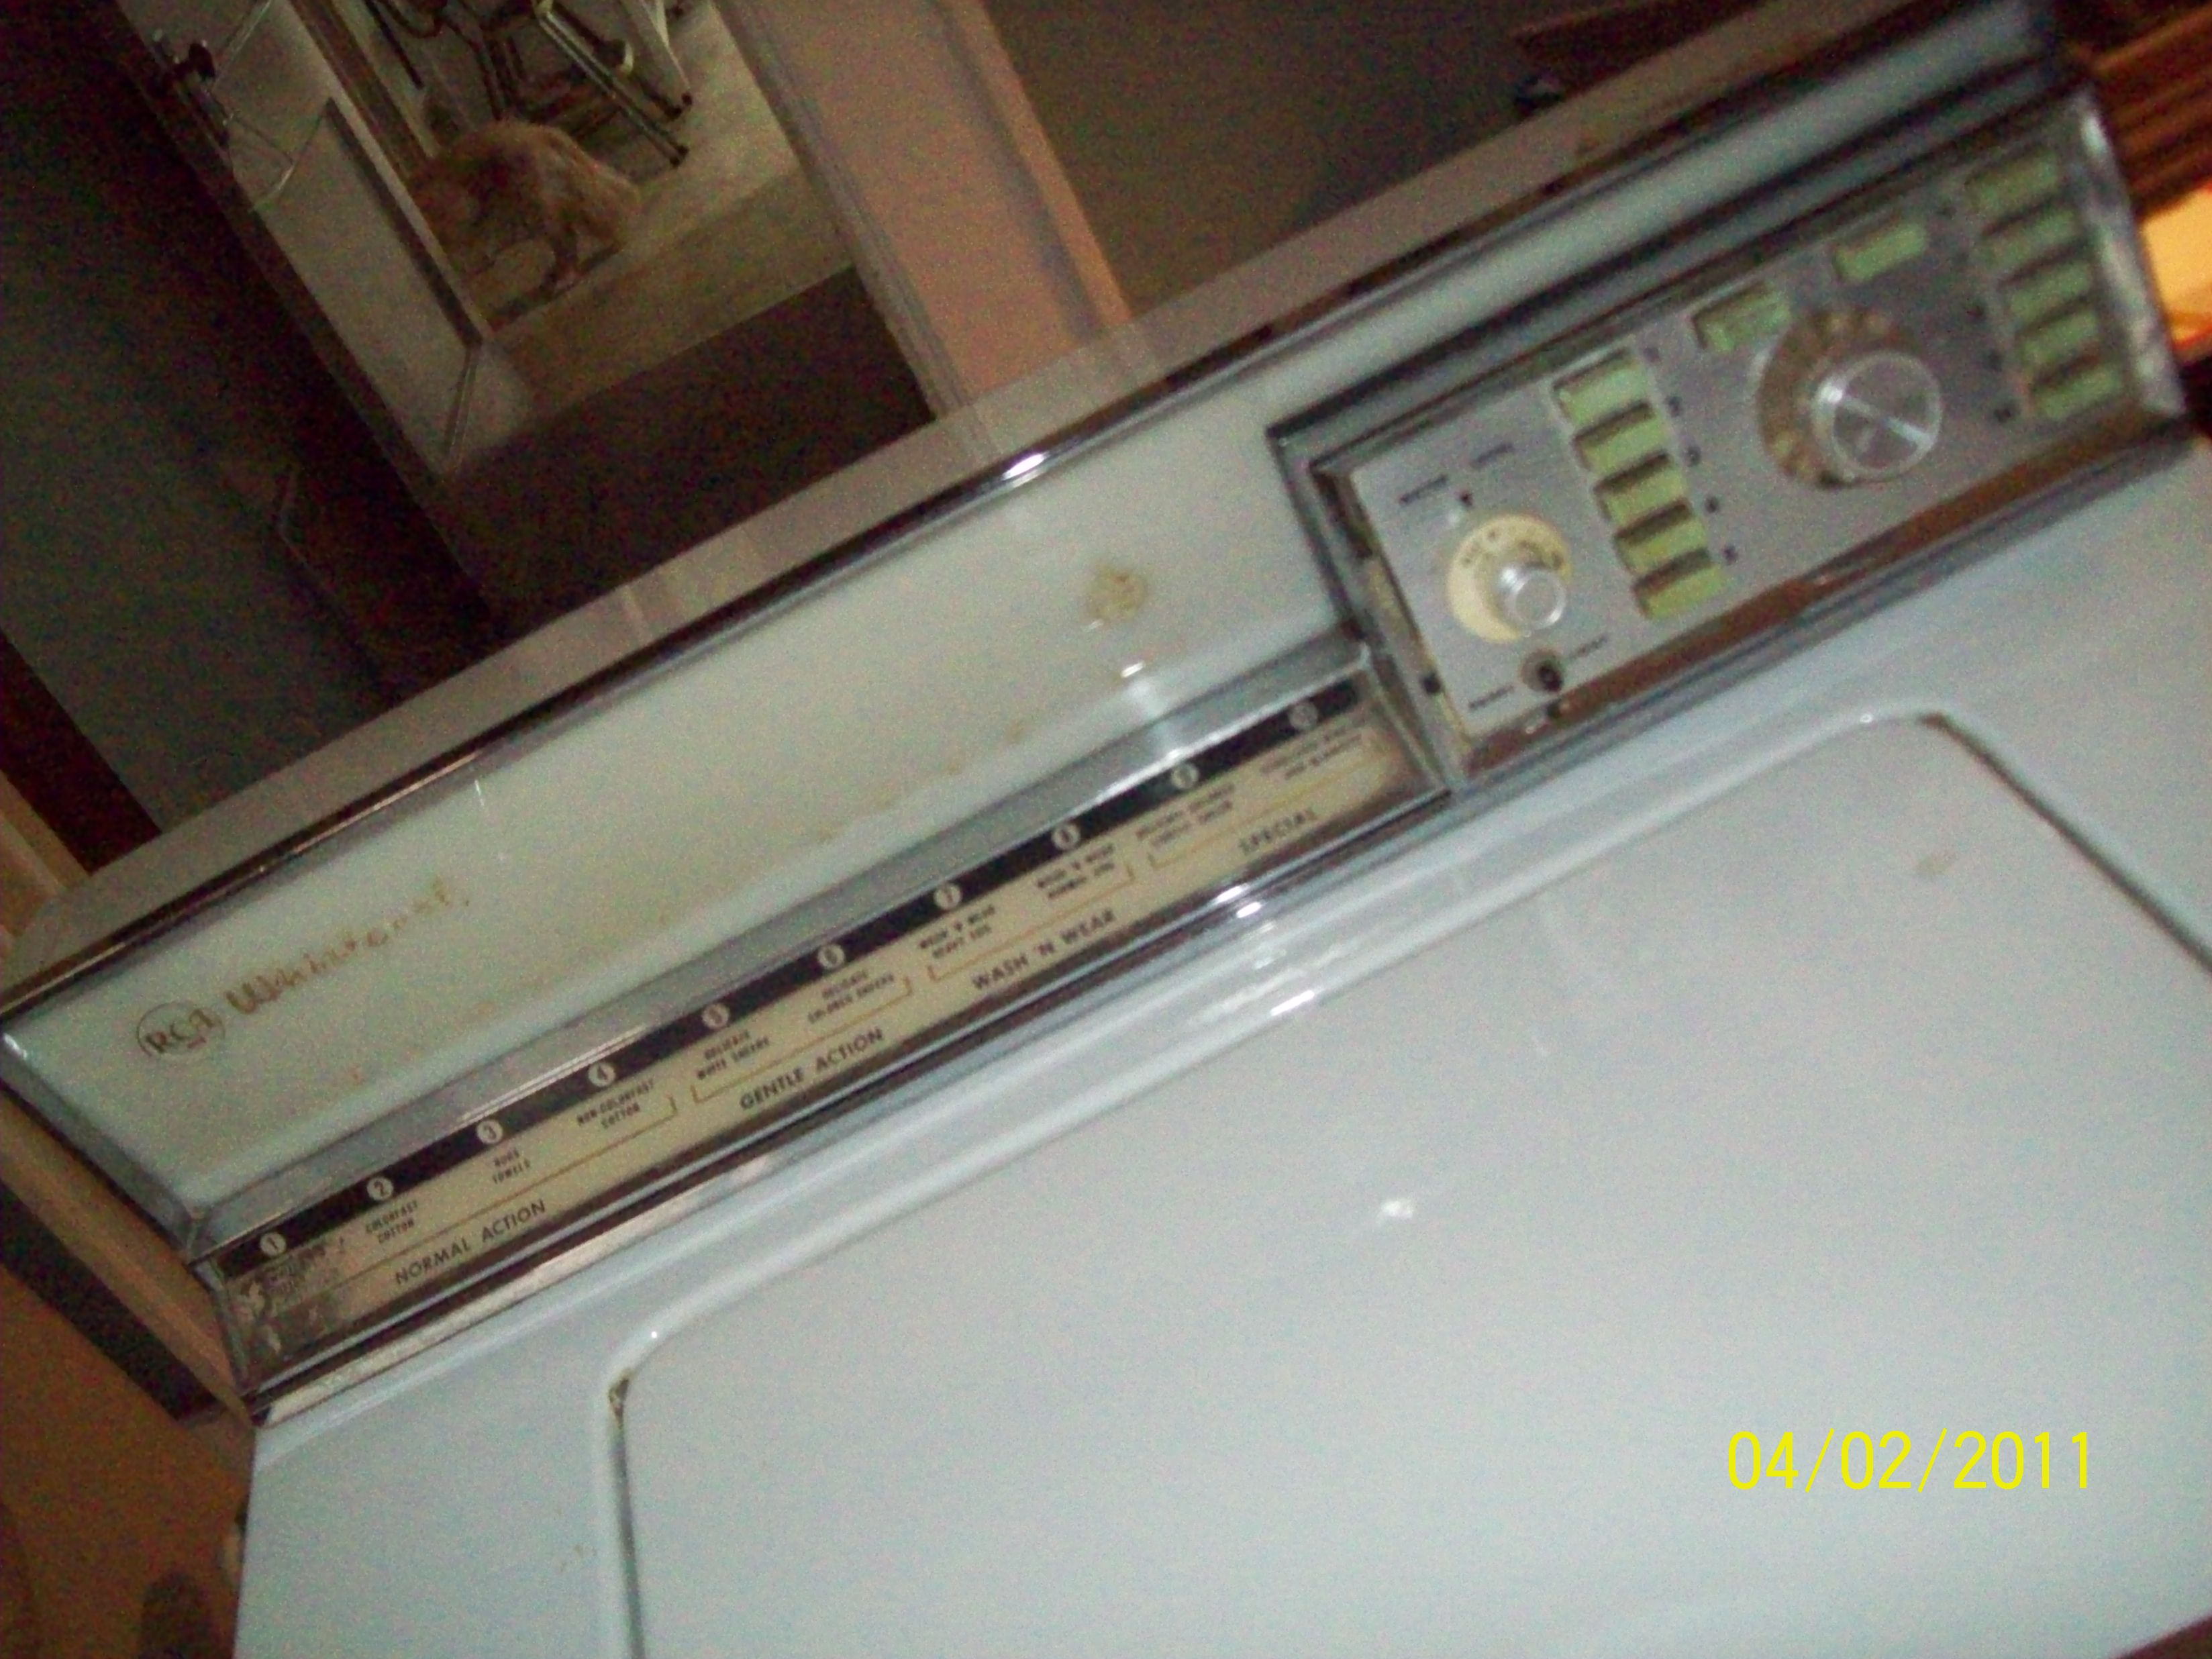
Whirlpool 1959-1960 bearings | ||
|
Post# 514644 , Reply# 4 4/29/2011 at 18:12 (4,745 days old) by akronman (Akron/Cleveland Ohio) |
||
|
more again | ||
|
Post# 514645 , Reply# 5 4/29/2011 at 18:17 (4,745 days old) by akronman (Akron/Cleveland Ohio) |
||
|
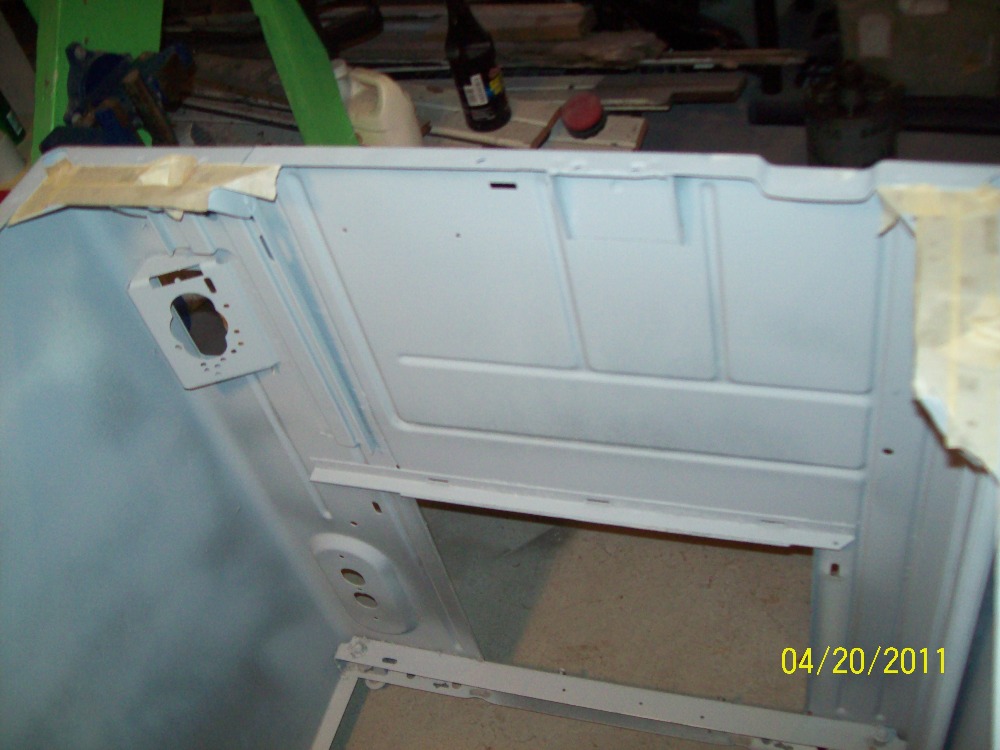
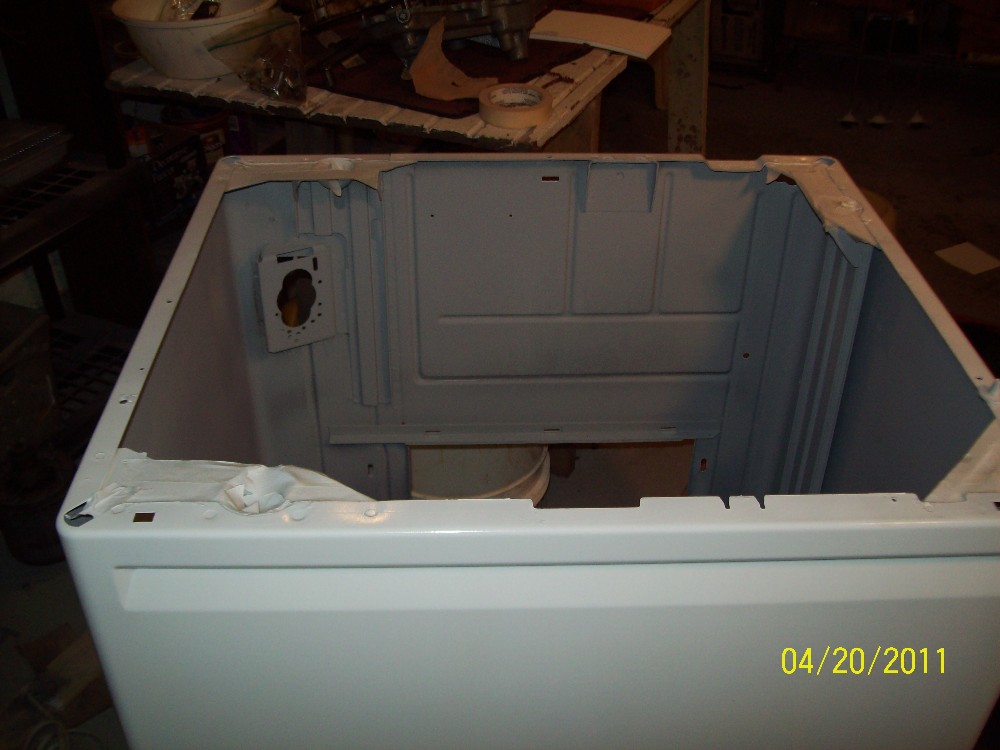
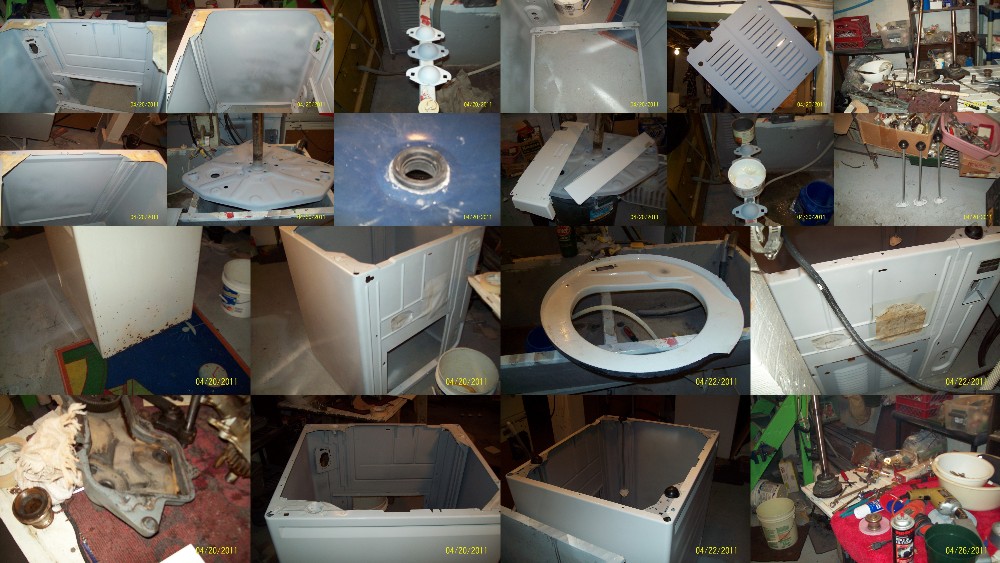
various pics as I went along
hopefully I'm not boring anyone with the pics. I had EVERYTHING removed, like never before, and plenty of scrubbing, washing in mineral spirits, sanding , priming, painting, plenty of fun work.
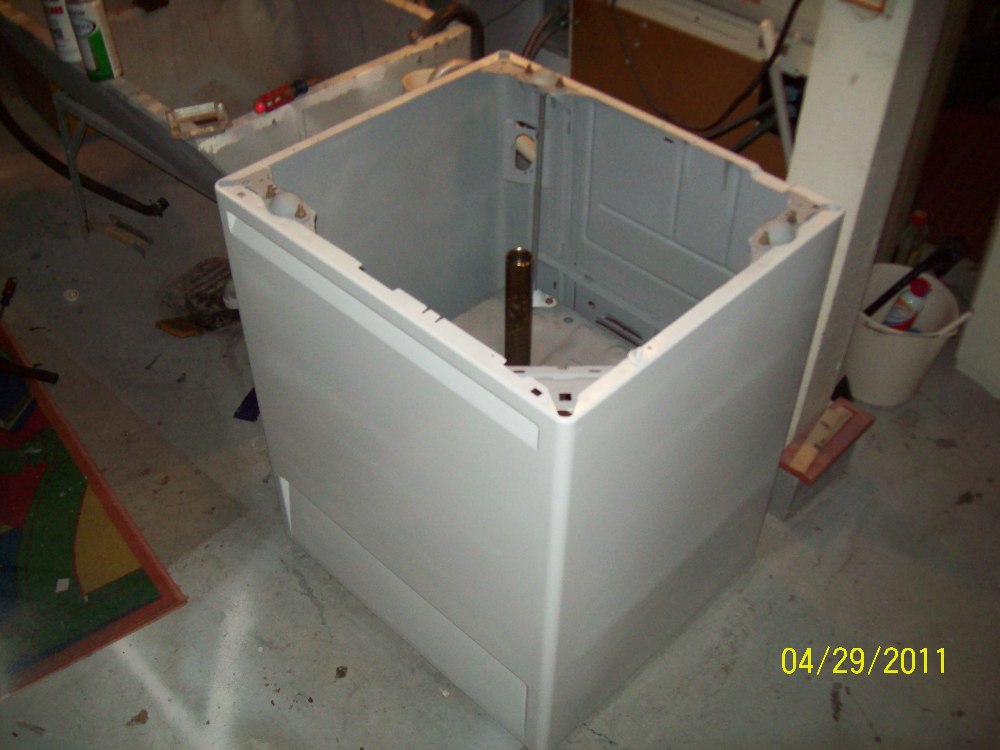
You're looking at my basement floor, nothing inside this old Whirlpool cabinet. And another coat of primer yet to go 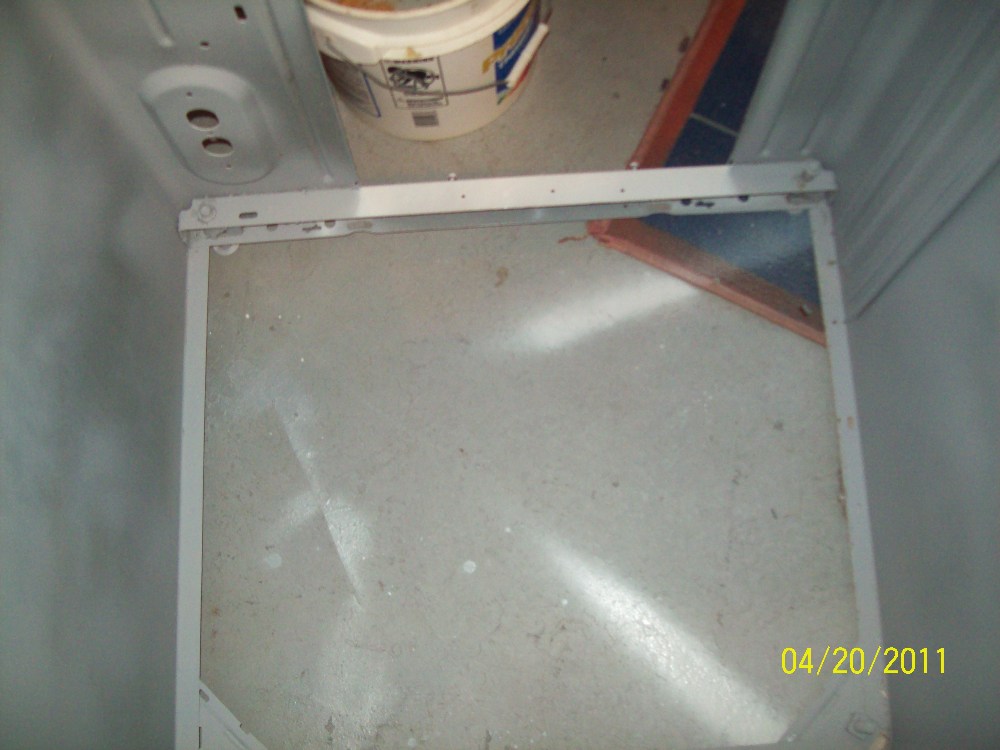
| ||
|
Post# 514646 , Reply# 6 4/29/2011 at 18:20 (4,745 days old) by akronman (Akron/Cleveland Ohio) |
||
|
it is fun | ||
|
Post# 514658 , Reply# 7 4/29/2011 at 19:43 (4,744 days old) by Volvoguy87 (Cincinnati, OH) |
||
Wow! | ||
|
Post# 514678 , Reply# 8 4/29/2011 at 21:51 (4,744 days old) by akronman (Akron/Cleveland Ohio) |
||
|
Hey Dave
Well the whole thing ain't yet back together and water-tested, maybe you want to wait for someone more experienced to post, lol.
Seems like a decent amount of local appliance parts places locally have those tools, you should call around Cinci. Removal was simple and straight-forward, once you saw the tool for it. Then I got a pail of grease cutter and some clean rags, hot water, and shoved the rags down the center post with a plastic pipe, cleaned it out well. Feel inside the top and bottom of the post so you know where the bearings and seals are supposed to seat, since my tool came with about 3 different mandrels(diff lengths) to cover quite a few WP/KM length of center posts. And my kit came with extra seals for various styles too. Top bearing(with some turbine oil coating it) goes in with a seal cup washer below it, bottom one goes in lone, with that long tool cranking from both sides until it all seats on a metal ledge. Now you're done with the installer tool. Then you easily place the seal cup under the bottom bearing by hand, and the final top bearing on top of the upper bearing. You'll see splines in the outer edge of the bearing, place more turbine oil down those spots to fill the cups. So for my 59-60 WP, bottom has tool installed bearing then hand-installed cup seal, top has tool-installed cup seal and bearing, hand-installed top seal cup. I'll get a few more pics tomorrow. | ||
| Post# 514680 , Reply# 9 4/29/2011 at 22:06 (4,744 days old) by westingman123 () | ||
|
Progress! I'm most impressed with your paint job! Do tell, what did you use? I'm still looking at my Philco fridge, I want her to be pretty again. So far, the auto shops I've talked to thought I was nuts. | ||
|
Post# 514752 , Reply# 10 4/30/2011 at 09:59 (4,744 days old) by akronman (Akron/Cleveland Ohio) |
||
|
Paint
Thanks. Primer is Rustoleum Automobile Primer-Ultimate Finish. The top coat white impresssed me compared to others I've used in the past, the finish/surface really looks and feels like factory fresh appliances.
It's Rustoleum Specialty Appliance epoxy. In the picture you can't read SPECIALTY above Appliance, sorry. Inexpensive, available at Home Depot, it's my new favorite for white. 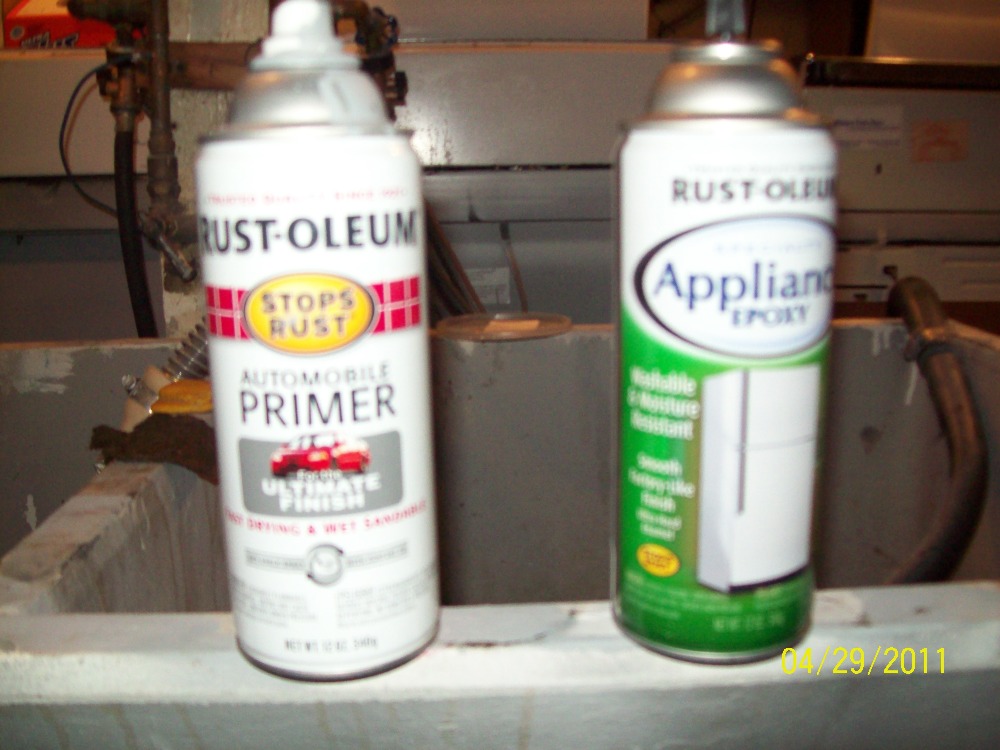
| ||
|
Post# 514753 , Reply# 11 4/30/2011 at 10:00 (4,744 days old) by akronman (Akron/Cleveland Ohio) |
||
|
Paint | ||
|
Post# 514920 , Reply# 13 5/1/2011 at 13:32 (4,743 days old) by akronman (Akron/Cleveland Ohio) |
||
|
Thanks | ||
|
Post# 514982 , Reply# 14 5/1/2011 at 18:14 (4,743 days old) by akronman (Akron/Cleveland Ohio) |
||
|
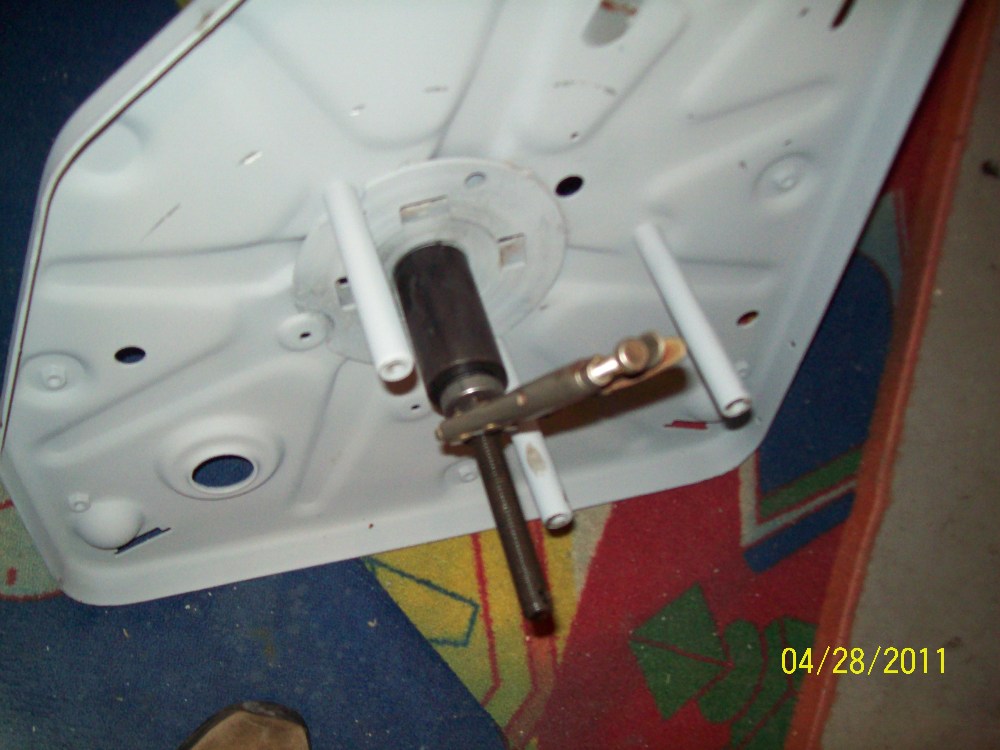
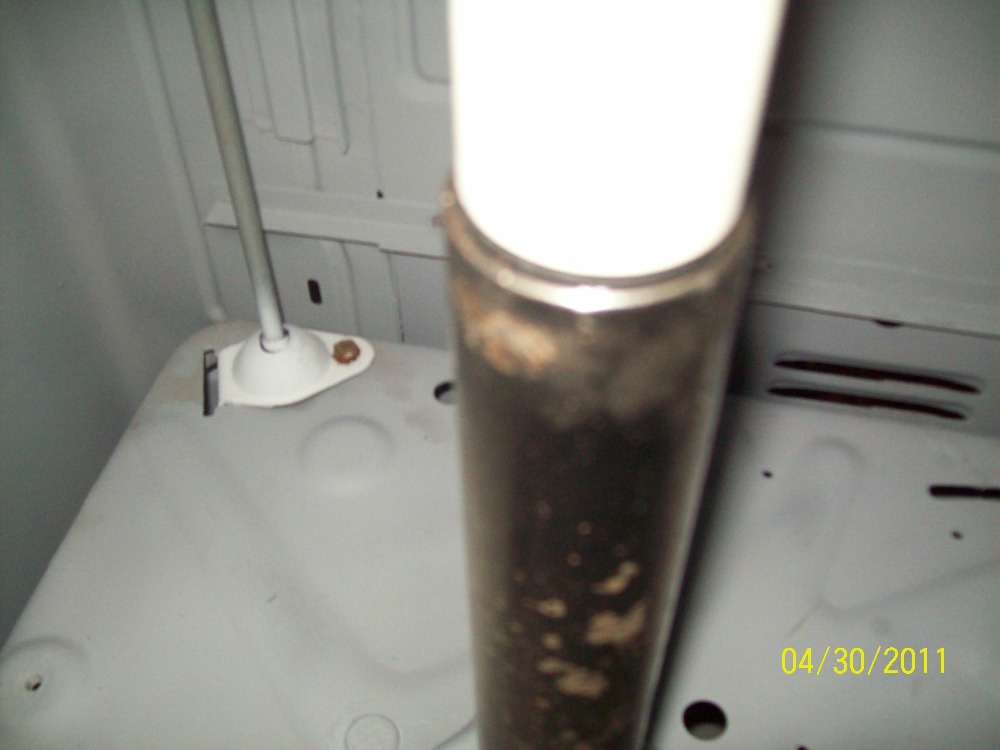
seal trouble
I don't want to break anything: metal sleeve bearings went in the bottom and top of this center post, tightly/snugly with the appropriate tool, and the top end remained very lightly barely scored, clean, etc. Now nearly impossible to seat the seals, which are hard rubber/neoprene, and should have a bit of give where metal bearings did not. I don't want to hurt the seals or the tube, I've hammered with a plastic tube seaetd on the outer edge of the black plastic. I seem stuck. Is the suspension system, rubber balls and rods, absorbing my hammer impact? Should I take the baseplate back off, set it on my cement floor, and re-do the hammering? No visible damage to the seal yet.
| ||
|
Post# 514983 , Reply# 15 5/1/2011 at 18:15 (4,743 days old) by akronman (Akron/Cleveland Ohio) |
||
|
more | ||
| Post# 515690 , Reply# 16 5/4/2011 at 19:23 (4,739 days old) by bendixmark (Winchester Mass) | ||
|
upper seal I take it you greased that seal really well.With the right tool that seal should go right in.If you get a garbage disposal elbow and cut it,it makes the perfect seal installer tool along with a rubber mallet you can really pound it with.With those I have never not had one go in. | ||
|
Post# 515703 , Reply# 17 5/4/2011 at 21:02 (4,739 days old) by akronman (Akron/Cleveland Ohio) |
||
|
Beraring job
All done with bearings and seals, thank god. Bearings were EASY with that tool, then I made the mistake of returning it before installing the seals, thinking they were just all rubber. No, it's a metal sleeve encased in rubber! I ended up cutting the last 4 inches from an ancient vacuum hose wand/extension, fit perfectly, got everything seated properly. But other ideas are a help too, though I hope to never have to do that again.
Does anyone know if the lipped upper seal would have stood up to installation with that insertion tool? I've run about 15 loads with no water leaks anywhere, everything is now smooth running, pretty quiet (not much different than before. | ||
| Forum Index: | 
| Other Forums: |

|

|

|

|

|

 Comes to the Rescue!