|
Thread Number: 37343
draining 2 washing machines |
[Down to Last] |

|
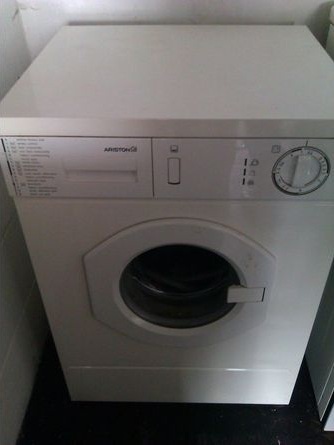
| Post# 555120 , Reply# 1 11/8/2011 at 15:54 (4,731 days old) by ariston4life ((Dublin) Ireland) | ||
 | ||
Post# 555121 , Reply# 2 11/8/2011 at 15:59 (4,731 days old) by Pulsator  (Saint Joseph, MI) (Saint Joseph, MI) |
||
 | ||
| Post# 555123 , Reply# 3 11/8/2011 at 16:07 (4,731 days old) by andyzanni () | ||
|
Yes, I was thinking, would it not just pump the waste water into the other machine !? | ||
|
Post# 555124 , Reply# 4 11/8/2011 at 16:08 (4,731 days old) by Pulsator (Saint Joseph, MI) |
||
|
| ||
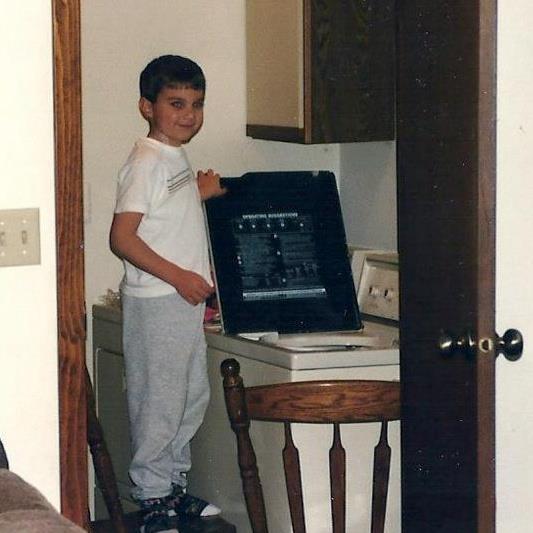
| Post# 555128 , Reply# 5 11/8/2011 at 16:23 (4,731 days old) by llmaytag (Southern California) | ||
Draining Two Machines
A buddy of mine grew up in a large family and they had two washers...and his mom had to stagger the cycles to avoid overflowing the drain tub into which both hoses fed. He told me of a time once when he was messing around with the loads and as a result both drained at once and caused a small flood which earned him a good whipping with dad's belt!
| ||
| Post# 555130 , Reply# 6 11/8/2011 at 16:32 (4,731 days old) by andyzanni () | ||
|
And also, I saw this- if anyone is interested?? CLICK HERE TO GO TO andyzanni's LINK on eBay | ||
|
Post# 555132 , Reply# 7 11/8/2011 at 16:36 (4,731 days old) by ozzie908 (Lincoln UK) |
||
Easiest solution is...
You can either buy a self cutting waste kit from most DIY stores and install it behind the washer in the standpipe below the original washer hose or, Get a T piece of matching pipe an elbow and a small length of pipe and create another stand pipe for the new machine.
Its simple enough to do if you need further explanation etc do not hesitate to say and if I can I will gladly assist you:) Austin | ||
| Post# 555145 , Reply# 8 11/8/2011 at 17:05 (4,731 days old) by andyzanni () | ||
|
that's great- thanks very much, perhaps I will give that a go next week. I have never done any plumbing work at all - so am a complete novice!! | ||
|
Post# 555246 , Reply# 9 11/8/2011 at 21:04 (4,731 days old) by thomasortega (El Pueblo de Nuestra Se�ora de Los Angeles de Porci�ncula) |
||

Don't worry, it's more than easy!
first, if you're not sure about the diameter of your pipe, simply cut a small piece of it using a manual saw proper for PVC pipes (they are usually yellow or blue, with very small teeth) and take this part (just like a ring) with you to the store so you can find a match. then you'll have to buy a Y connector and two 45 degrees connectors. also a small piece of pipe (usually the smallest size they sell is 3 meters here in south america, not sure about the U.K.) but some stores can even sell exactly what you nees (50 cm is more than enough) You'll also have to buy 1 sheet of sandpaper and 1 tube of PVC glue. Now, let's work! First, measure 30 cm aprox. from the top of your stand pipe and cut it using the saw. Always clean cut, as straight as possible. Then, sand both external ends of the original pipe and the internal part of the Y connector. you don't need to sand it too much, only enough to get rid of the cut shavings and make the parts loose the "gloss". apply a generous (but not exagerated) amount of PVC glue in the bottom part of the Y connector. and put it on the bottom part of your stand pipe. Remember you'll have to turn 1/4 to make the glue reach all the parts, so first insert it 90 degrees "wrong", then immediatelly turn to the proper position. Now lest work on the old piece of pipe that remained from the cut. use it to measure the new piece of pipe, cut the new. Put both pieces on hold, you're going to use them later. cut two 10 cm pieces of the new pipe , follow the same procedure (sand both sides) repeat the procedure to connect these two 10 cm parts to the Y connector. sand both internal sides of the 45 degrees connector, apply glue to one side, connect it to the end of the 10 cm pipe (repeat the 1/4 turn procedure) Do exactly the same with the other 45 degrees connector, on the other side of the Y. sand and apply glue to one of the pieces of pipe you have on hold. connect it to the Y connector. 1/4 turn again. repeat with the other part, on the other side. That's ready! All this won't take more than 10 minutes to do. After you're done, wait at least 12 hours before draining any water to that pipe. This time is to dry and cure the glue. only to remember, the sanding is only to make the PVC more abrasive and open some "pores" the glue can penetrate better. if you don't have sand paper, you can also do it using a nail sander or even the green side of a brand new (and dry) Scotch Brite sponge. you have to sand all the glue's contact points. so, the "out" on the pipes and "in" on the connectors. But before you do all that stuff, I'd wait for the machine to arrive. Maybe, if both machine shave thin hoses, you won't need to do anything, simply put both hoses in the pipe. Hoses are usually reasonably flexible so you can kink them a little bit to make them fit. a very small (only a few milimeters) kink won't affect the draining and water shouldn't return to the other machine, unless your pipes are too thin or a little bit clogged. Always remember that most of the european washers drain much slower than standard american washers so the chances of overloading your pipes are very small, if not unexistant. If you have any doubt, please let us know. We'll be really glad to help you. | ||
| Post# 555299 , Reply# 10 11/9/2011 at 03:21 (4,731 days old) by MatthewZA (Cape Town, South Africa) | ||
|
2 machines 1 drain because i buy and sell, sometimes we have a 3rd machine hooked up and i just shove the drain pipes of the for sale machine and ours into the same drain. its a tight fit but they both stay in and drain perfectly fine. no backwash or overflow. but lately i just put the 1 drain pipe into the toilet in the laundry | ||
|
Post# 555304 , Reply# 11 11/9/2011 at 05:16 (4,731 days old) by vacbear58 (Sutton In Ashfield, East Midlands, UK) |
||
Picture | ||
| Post# 559102 , Reply# 12 11/25/2011 at 11:05 (4,714 days old) by bpetersxx (laf in on the banks of the Wabash River) | ||
this is the setup I did when I set up my laundry studio
It is not seen in this pic but behind the 806s there is another pipe that the 806s and the 606s drain into Also not seen in the pic but the Calypso washer I have it is to the right of the laundry tub and I stretch the drain hose over to it as well 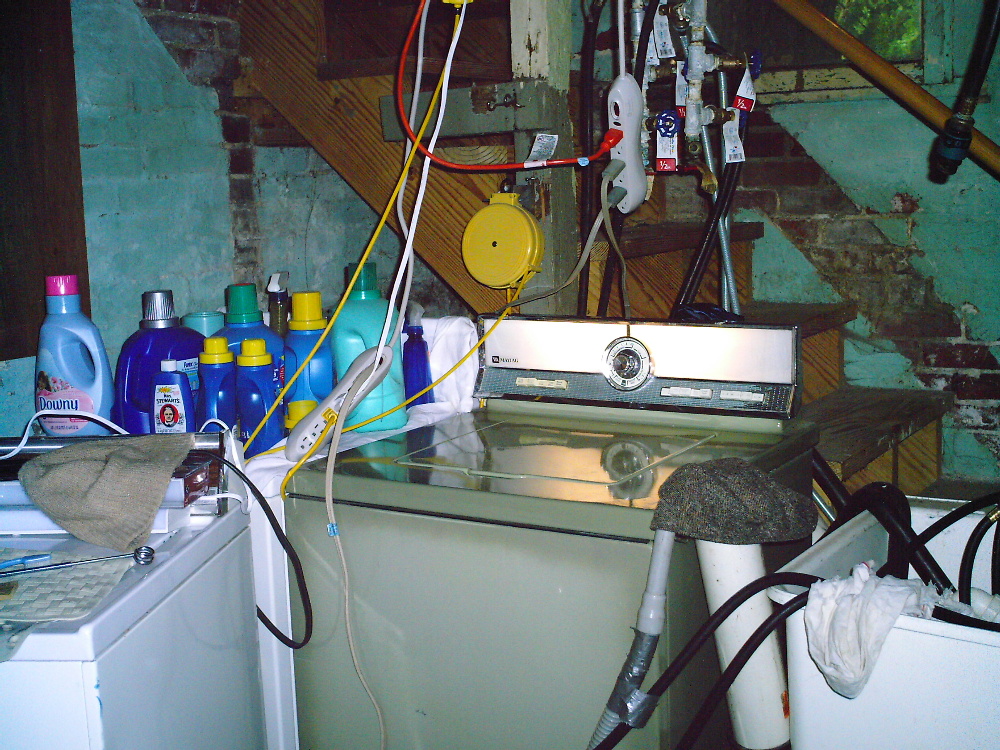
| ||
|
Post# 559118 , Reply# 13 11/25/2011 at 12:07 (4,714 days old) by yogitunes (New Jersey) |
||

I would run 2inch pipe around the whole wall, and fall right into the laundrytub.....just add 12inch risers with "T"'s as needed, and allow each machine to have their own pipe.....
I think Combo52John has 8 or 10 machines in the warehouse hooked up like this along one wall, during the washin we had almost every machine running at the same time....plus they had a few portables running into the sink also.... I have 5 machines running into one drain tub, and sometimes 2 or 3 do all pump in at one time, as long as your drain line is clear, there should not be an issue in the pic is Johns warehouse, which is a great place to visit, thank you John, and on the left you can see the pipe running along the wall, with risers and several hoses in each one...running down to the laundy tub, and emptying into that! 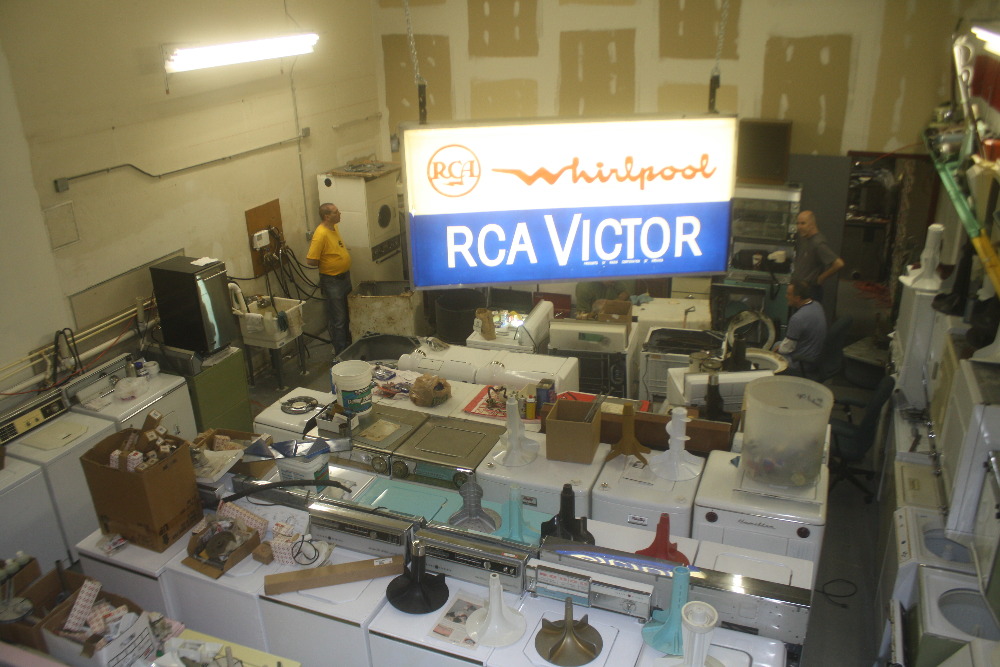
| ||
| Forum Index: | 
| Other Forums: |

|

|

|

|

|

 Comes to the Rescue!


